I hardly do reviews, but since I have delayed building two Belgian F-104 waiting for this set, I decided to post my impressions about the newly released F-104 Improvement & Completion Set from Daco Products.
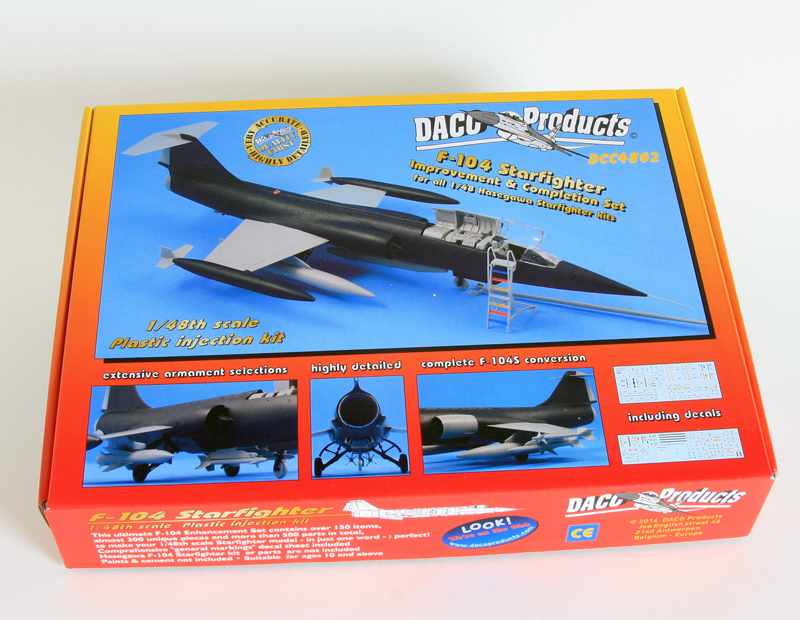
This set is designed to complete the Hasegawa F-104 kits in 1/48 and covers Starfighter versions from all over the world and has the pretention to offer as many F-104 goodies as possible.
Personally I was sold with the SUU-21 practise munition dispensers, the Red Dog missile launchers I needed for the Beauvechain based interceptors and the many BDU-33 and helmets that could be used in many of my modelling projects.
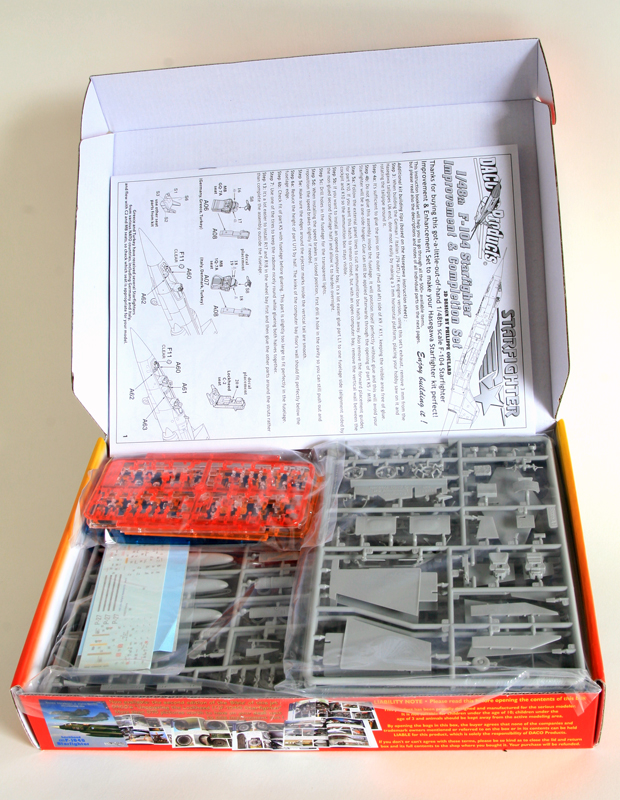
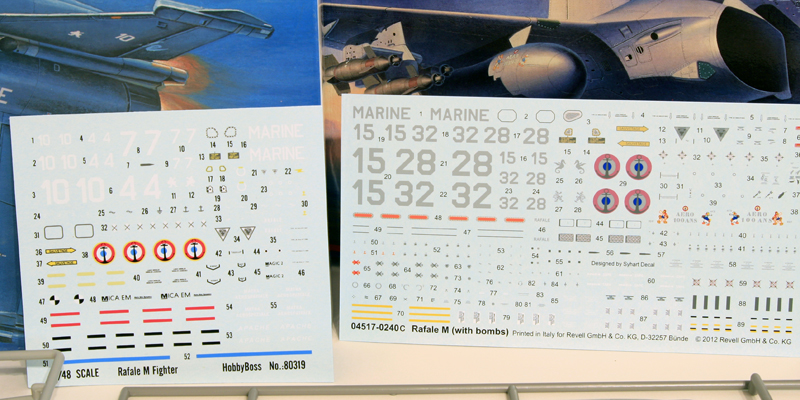
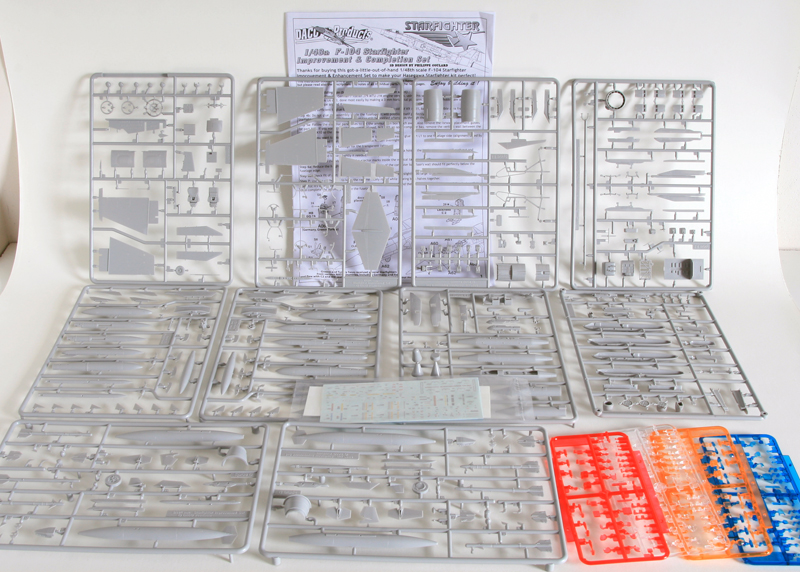
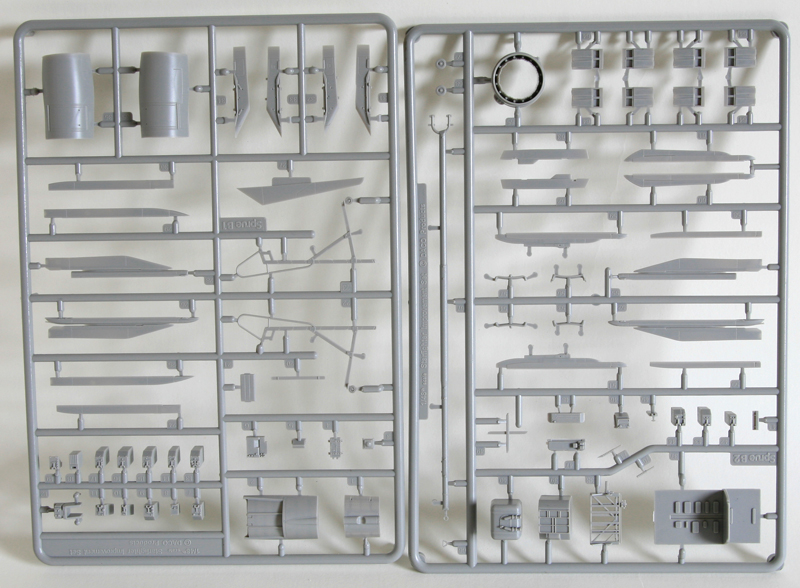
The box contains 10 sprues of injected grey plastic, 4 identical smaller sprues molded in different transparent colors so you don't have to paint the nav lights, the usual instruction booklet and 2 decal sheets for the many Starfighter goodies.
The instruction booklet is very complete but as one can imagine is pretty different from what we are used to. Indeed having so many different versions covered by the set it's not always possible to make complete drawing for everything. So Daco put a lot of notes on each page of the instruction booklet. Each sprue part is listed in a description that gives the version that specific part is suited for. Some building tips are also included where appropriate.
I must say it took me a bit of time to get accustomed to, but once I understood the way it was meant to, it became very obvious and easy to follow.
Basically get the part number and always read the part description before working the part.
Sprues are packed two by two in a plastic bag. The sprues snap one into another and don't move against each other preventing damage or wear to the plastic. That's a nice arrangement, good thinking outside of the box if I might say !!
The injected plastic is very finely engraved and details are very precise. I certainly would not categorize this kit as short run. I saw a bit of flash only around some flaps and the cuts are very crisp and cleans. No doubt this moulding is up to nowadays standards, if not more.

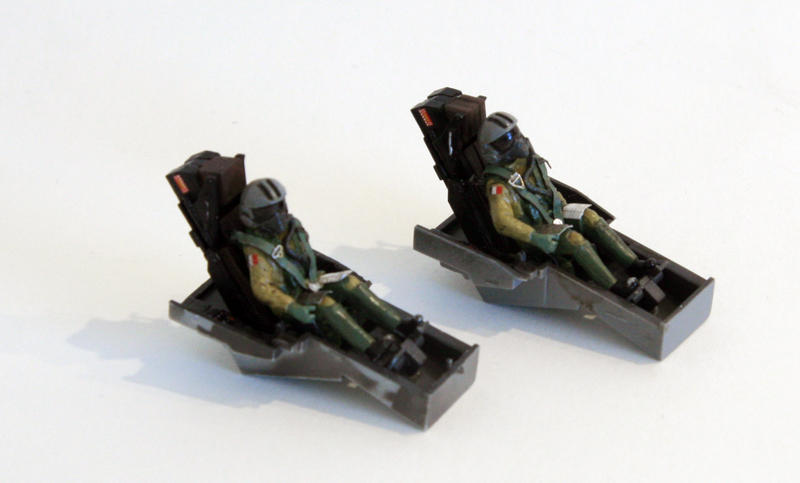
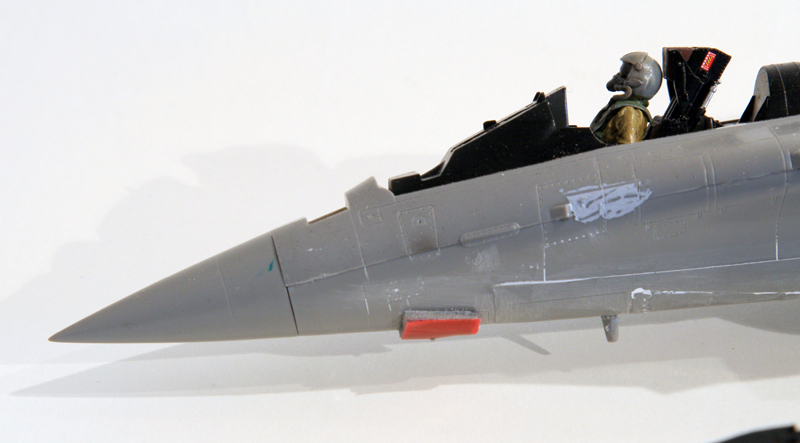
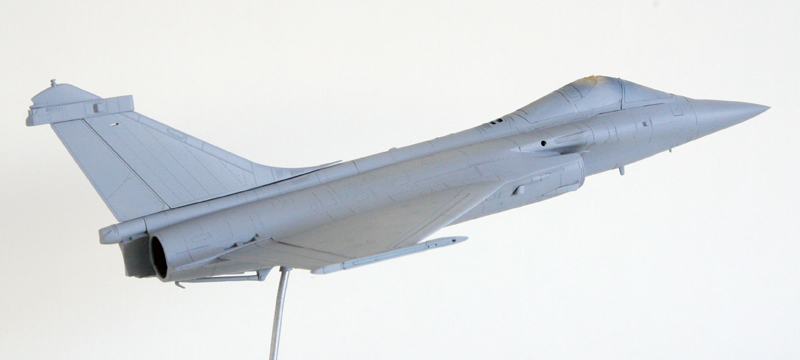
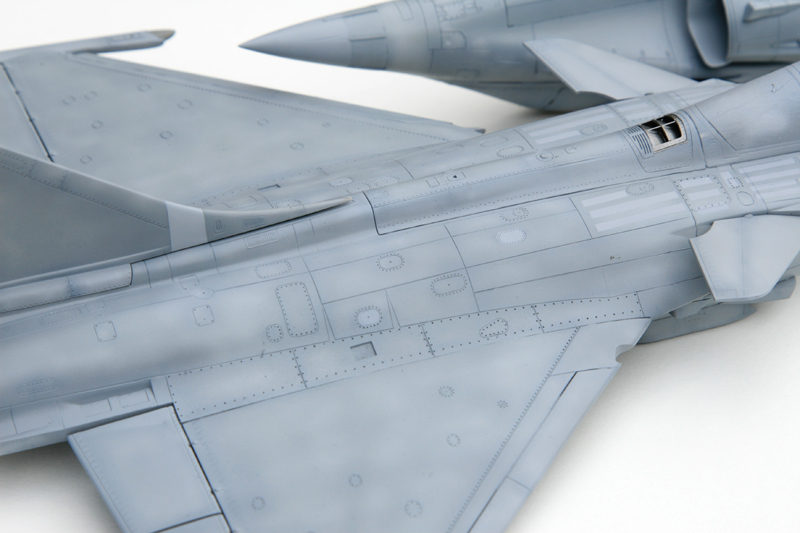
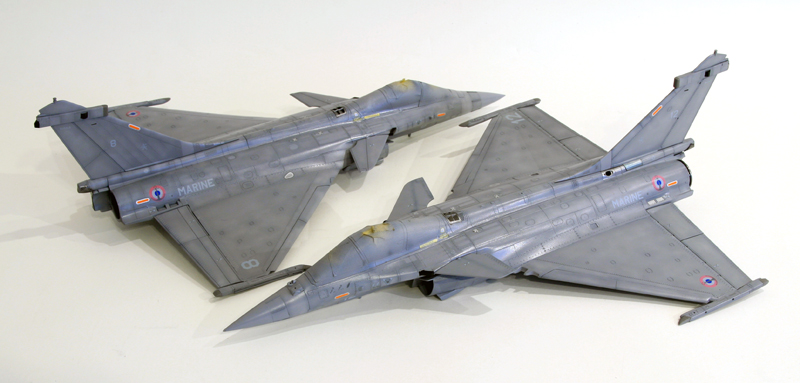
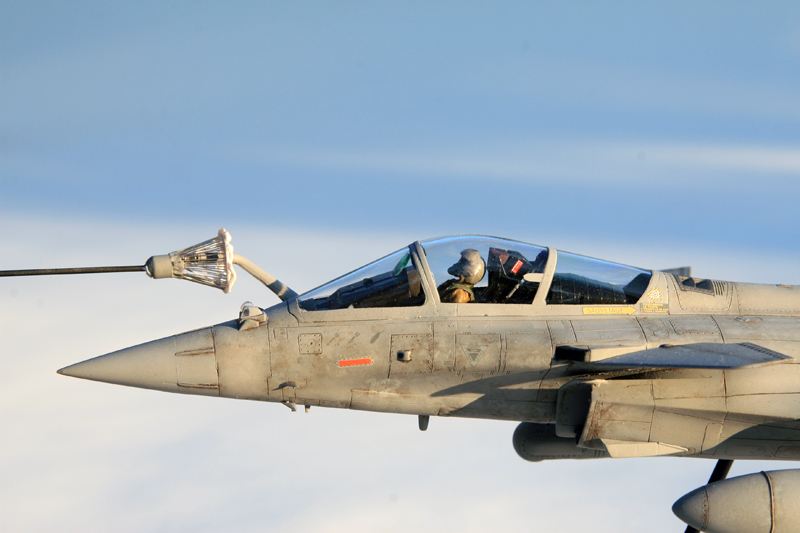
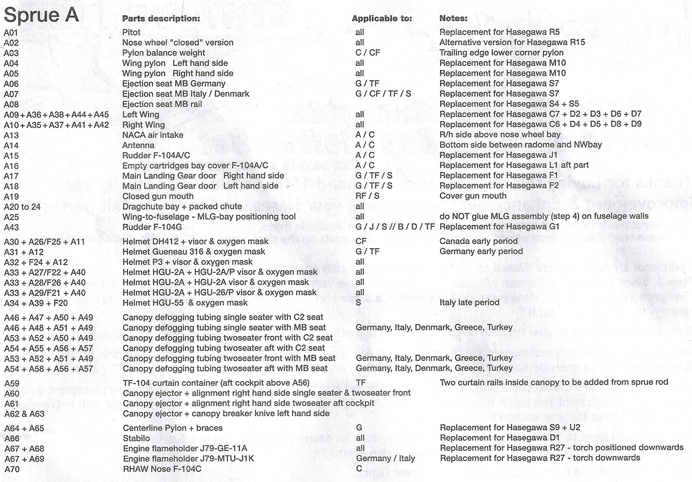
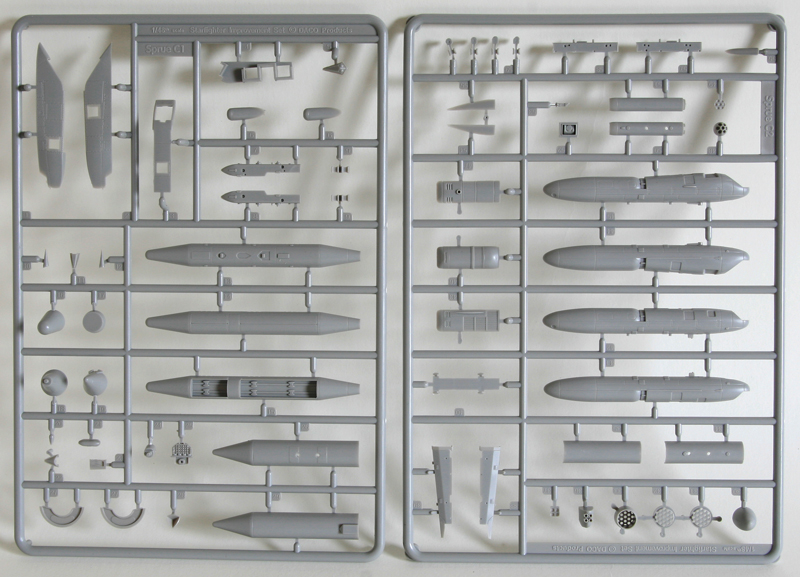
Sprues A1 &A2 contain the rivetless wings, flaps & slats and the huge tail stab. New gear doors (with less brutal bumps than on the hasegawa kit) & nose gear, wing pylons, 2 MB seats (GQ-7A & 1Q-7A), the opened parachute bay, canopy defogging tubes for both single seat and TF-104 & central pylon amongst other small goodies like the pitot and many different helmets. I remember trying to scratch those defogging tubes on past zippers. I'm very happy to have them this time. With the canopy open, they are very visible and dearly lacking on hasegawa models.
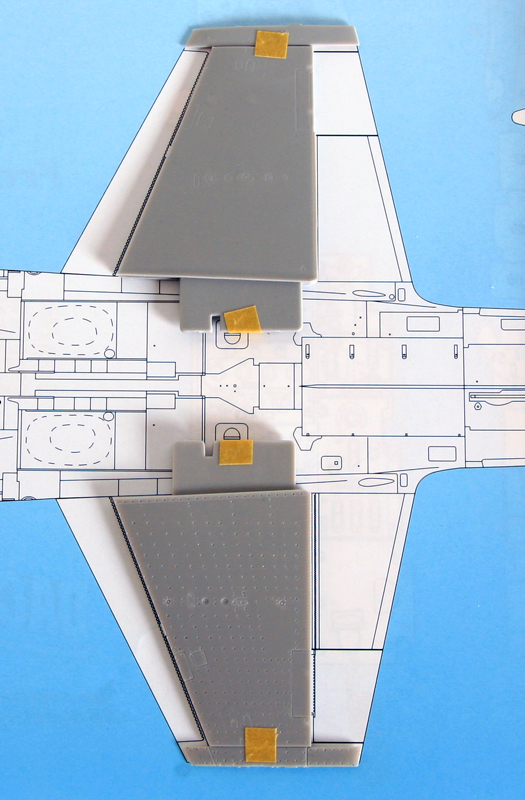
A very useful and weird piece is also available, it will allow the modeller to correctly angle the wings and their pylon on the fuselage by cleverly fitting into the gear hole. How smart.
I believe that both those A sprues are available separately from daco's new website.
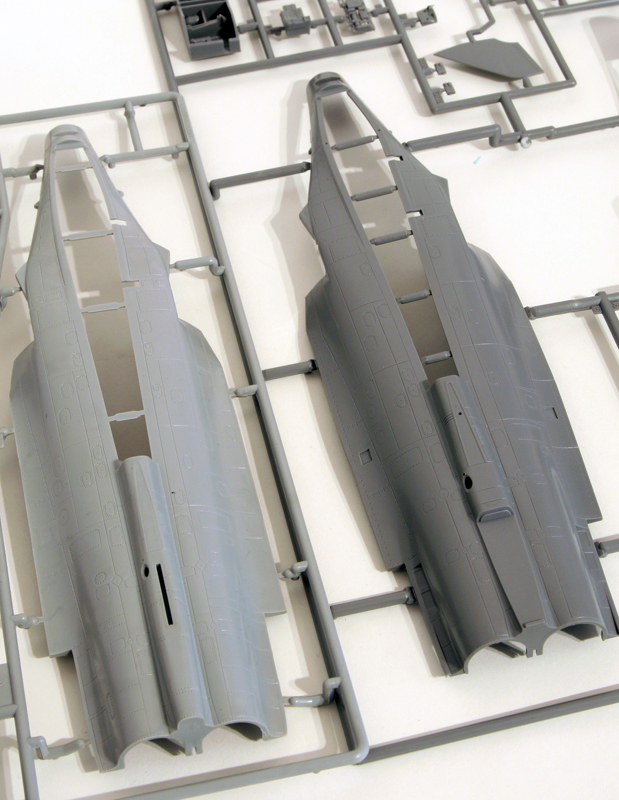
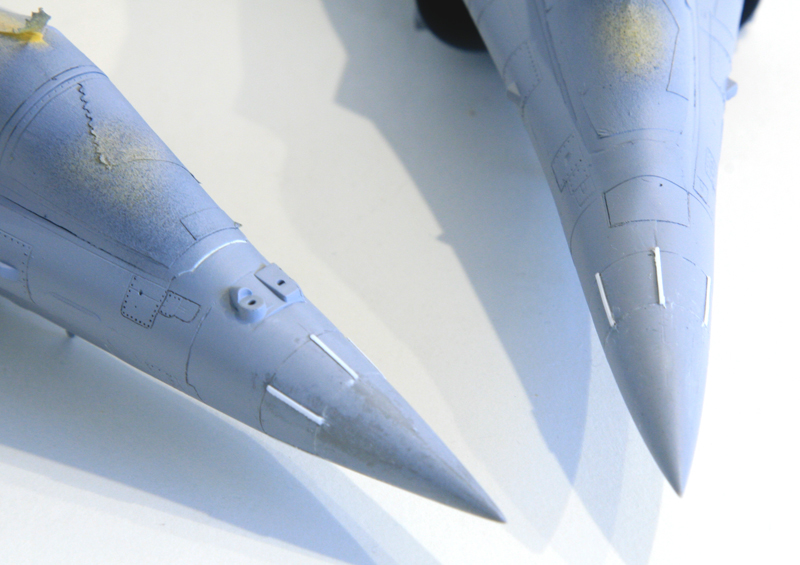
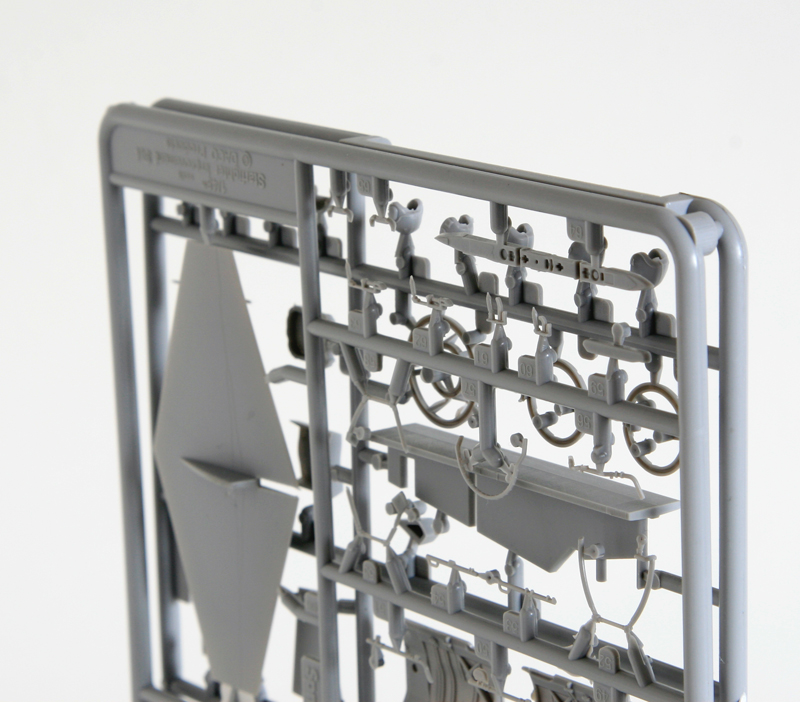
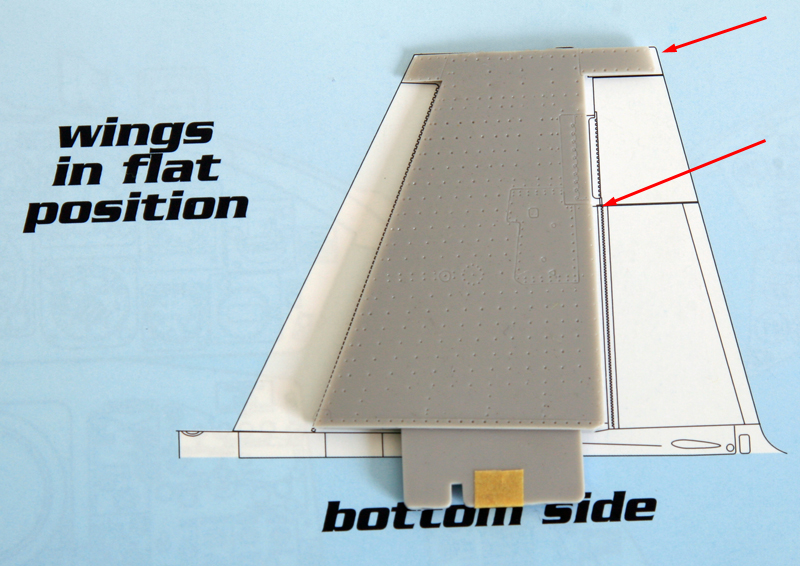
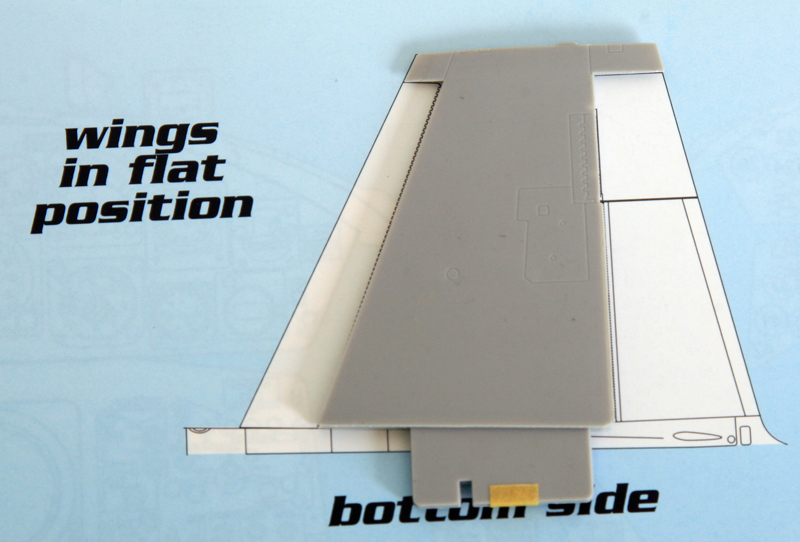
The main difference of those sprues when compared to the Hasegawa parts is the lack of rivets on the wings, stabilisator, slats, flaps and rudder.
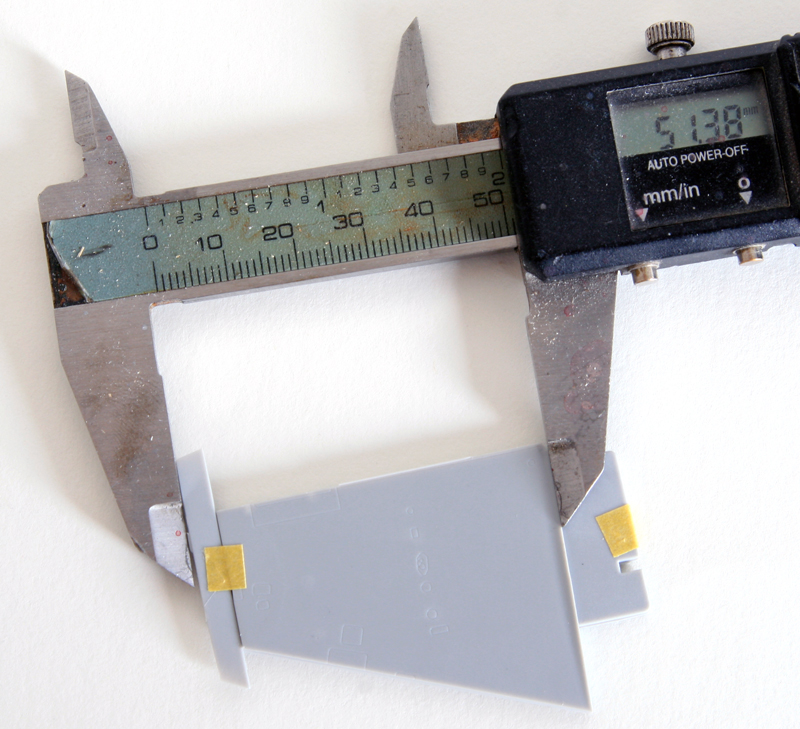
Daco wings are just about 1mm longer than the Hasegawa's. Thickness is about the same.
The instruction clearly state that the ejector pin on the Inside of the wings needs to be sanded smooth to ensure the thiniest wing as possible. It's a nice tip as it's one of the trademark of the F-104 and daco instruction didn't miss it.
The instruction clearly state that the ejector pin on the Inside of the wings needs to be sanded smooth to ensure the thiniest wing as possible. It's a nice tip as it's one of the trademark of the F-104 and daco instruction didn't miss it.

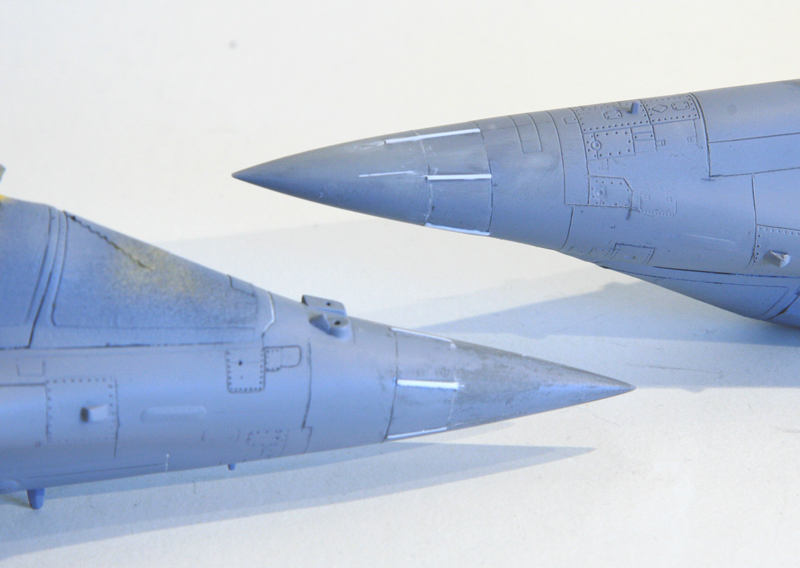
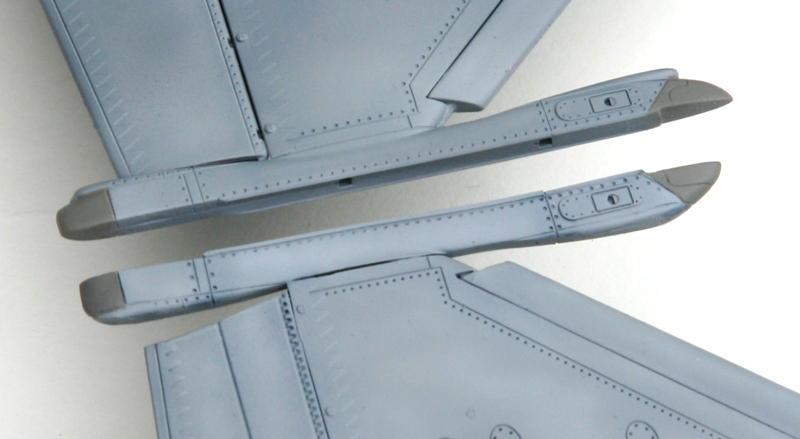
Top: Hasegawa's ; Bottom Daco's
Top: Daco's ; Bottom Hasegawa's
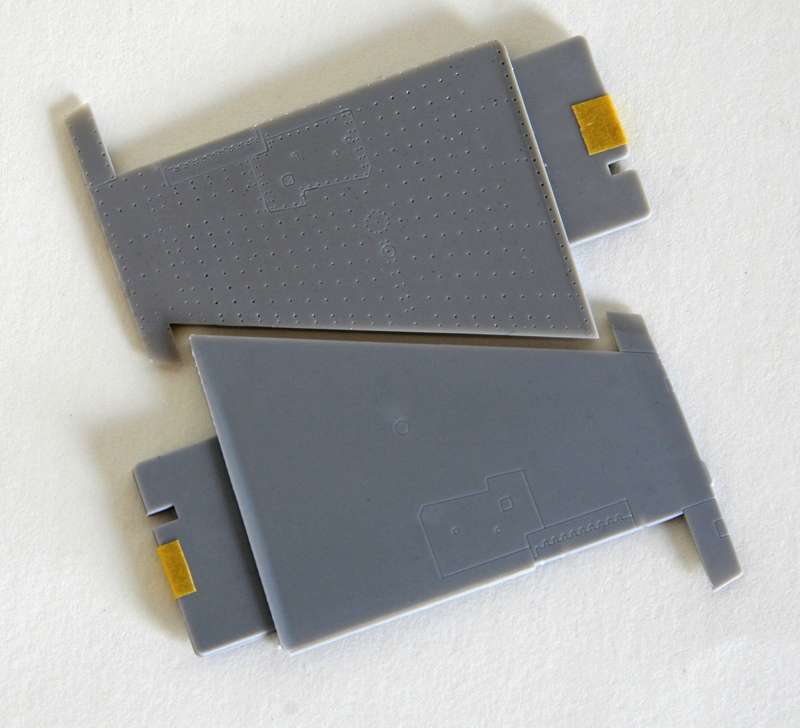
Another difference is in the chord line. Daco's wing are 2mm longer in chord than hasegawa's when compared to the Daco's F-104 book.
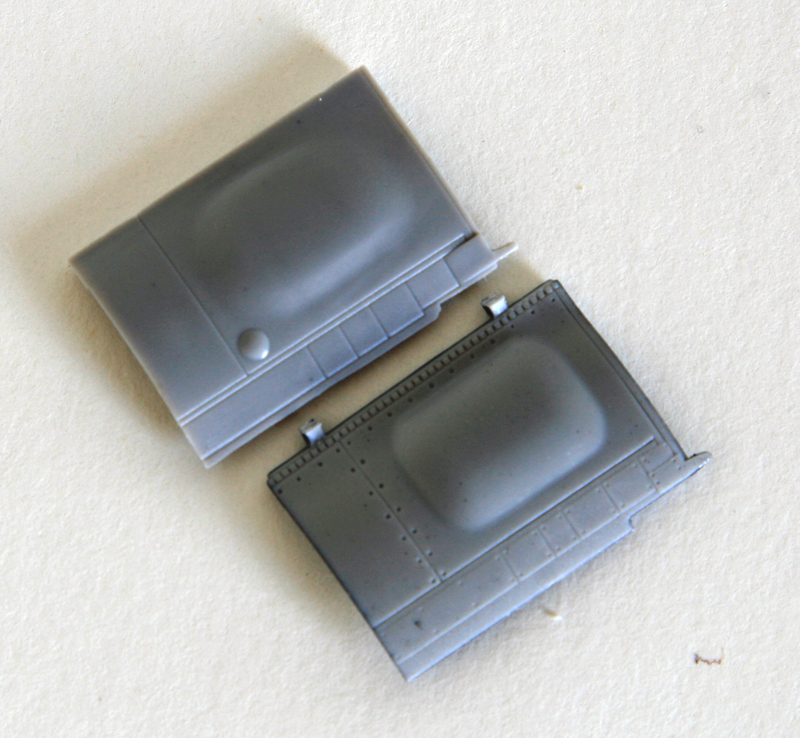
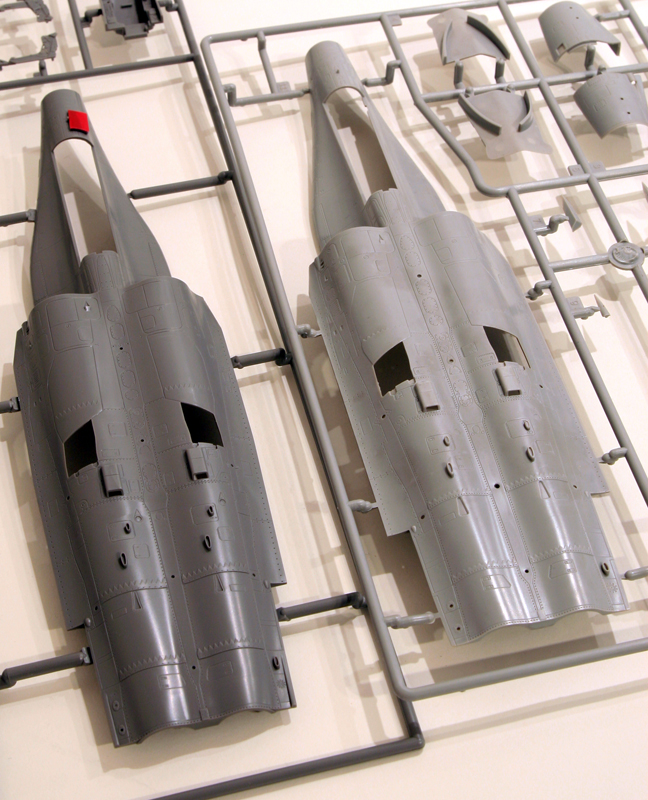
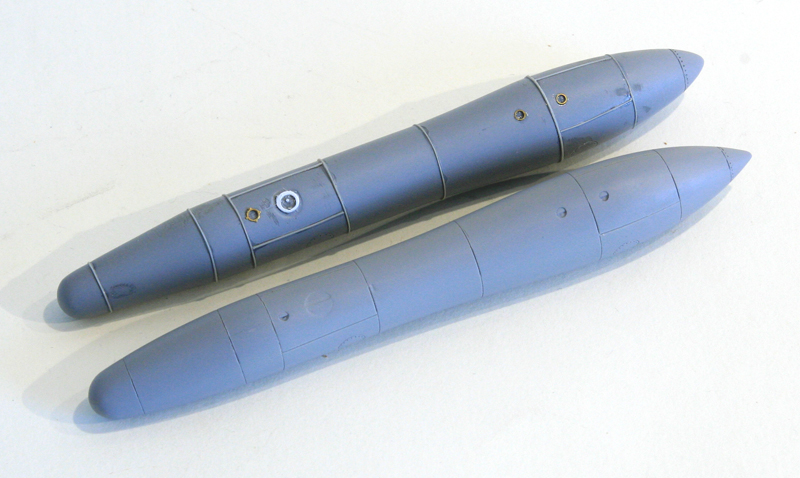
Comparison of the main gear door. I'll let you choose. My choice is made
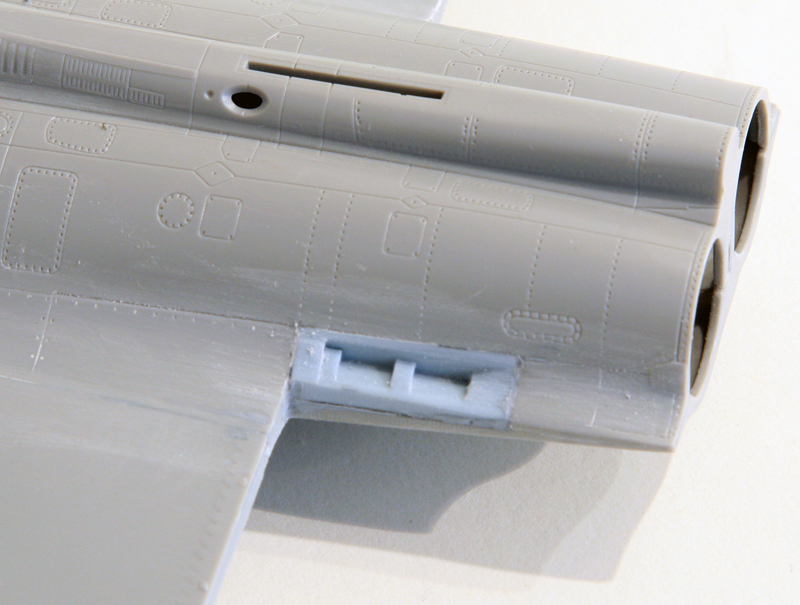
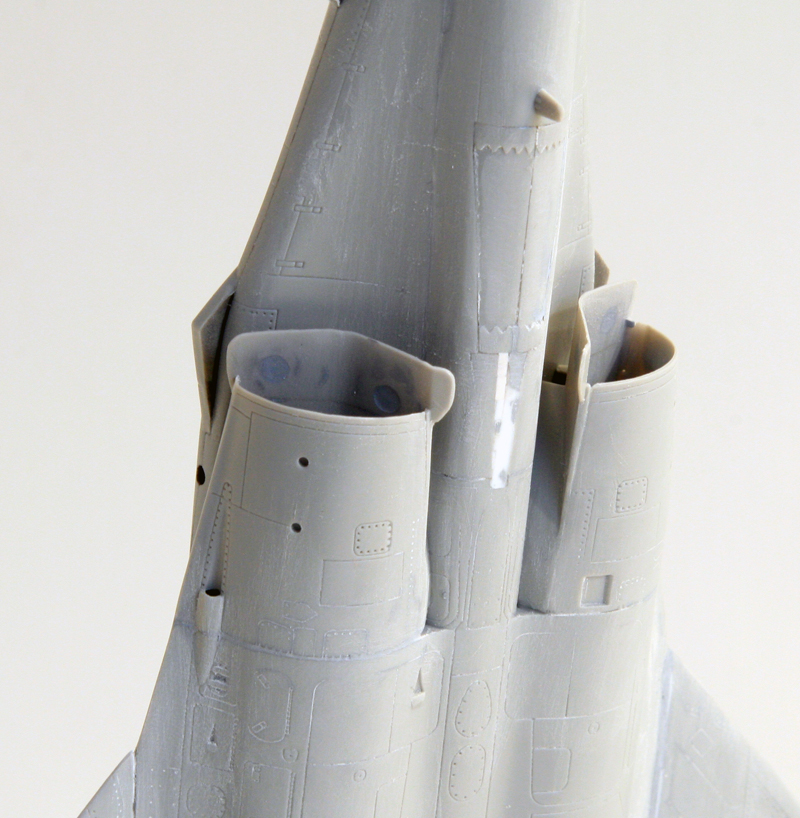
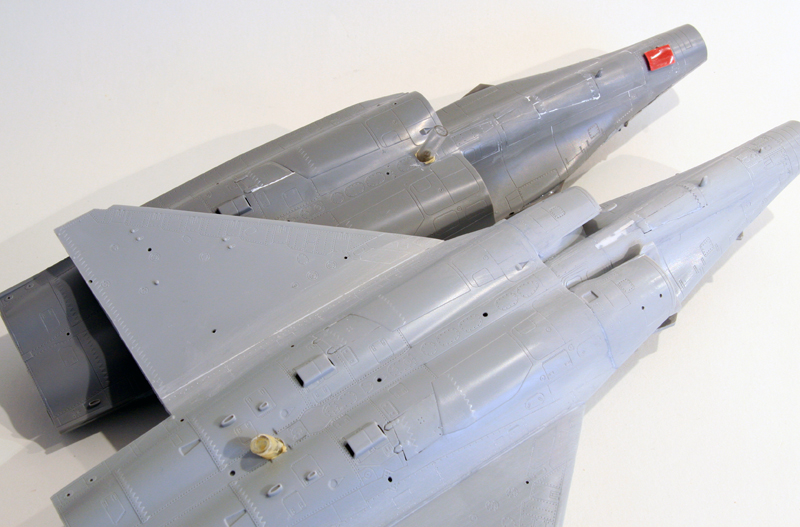
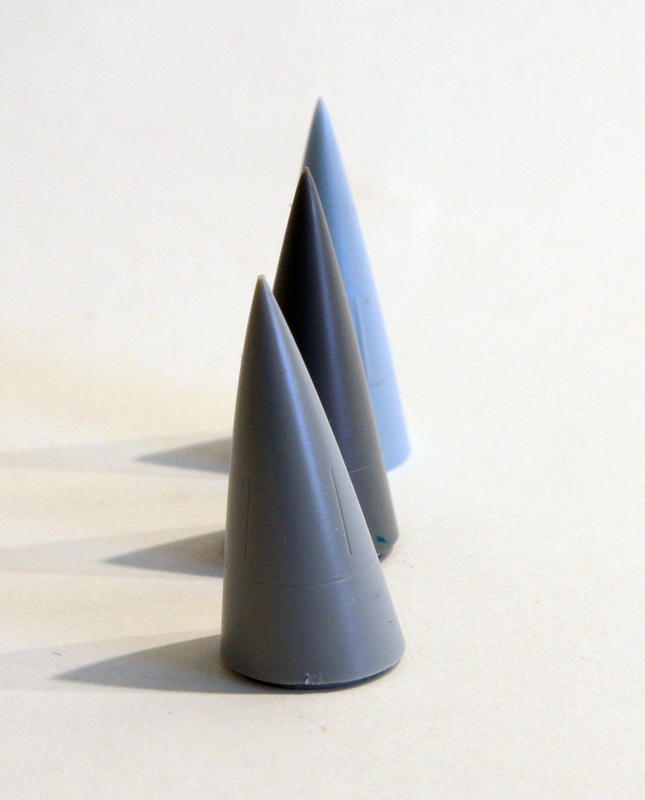
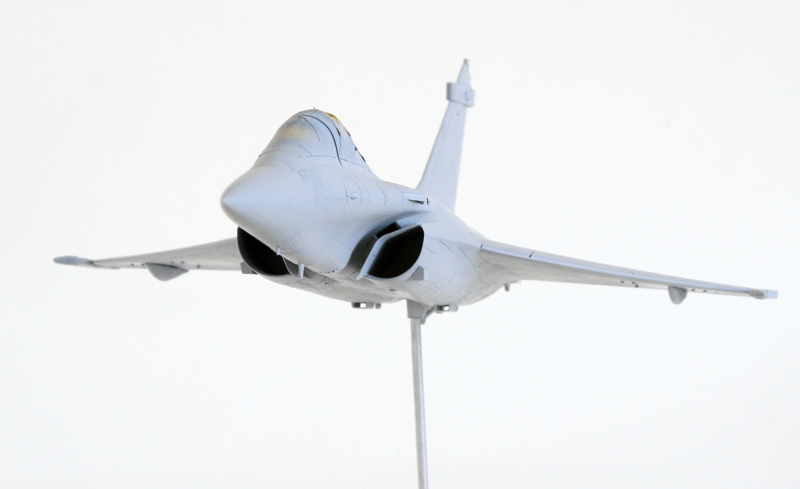
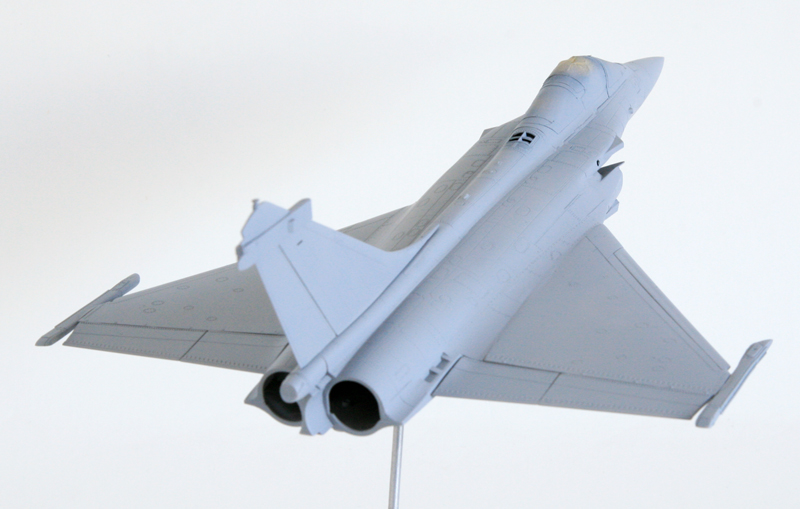
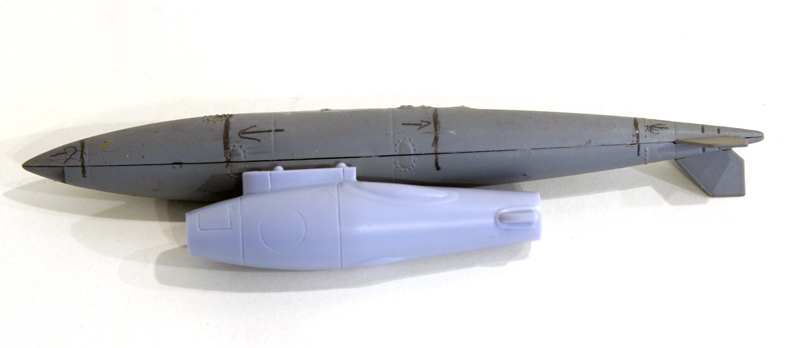
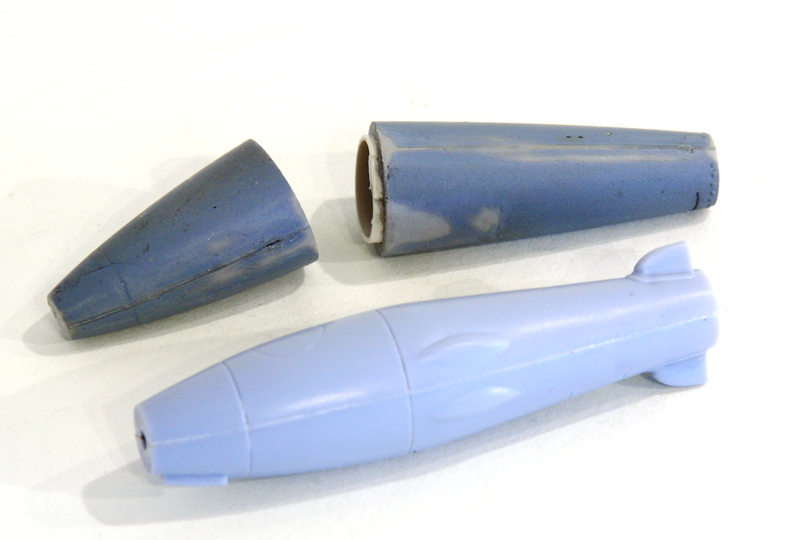
Sprue B1& B2 Contain the diorama goodies such as the ladder, the (extra long) tow bar and the parts required to open the computer bay behind the cockpit. Some (not all) F-104S parts are also included such as the enlarged intakes which fit the hasegawa parts very well, outer wing pylons, specific wingtip pylons & J-79 MTU-J1K exhaust for Italian, German and Turkisk starfighters. On that subject Daco also provides a nice alignement cone so the modeller can easily glue the petal in place resulting in a nicely aligned exhaust. Another nice initiative.
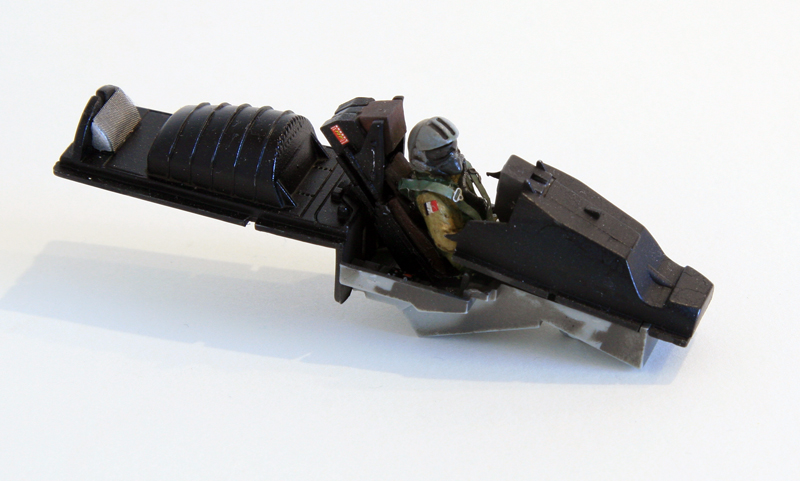
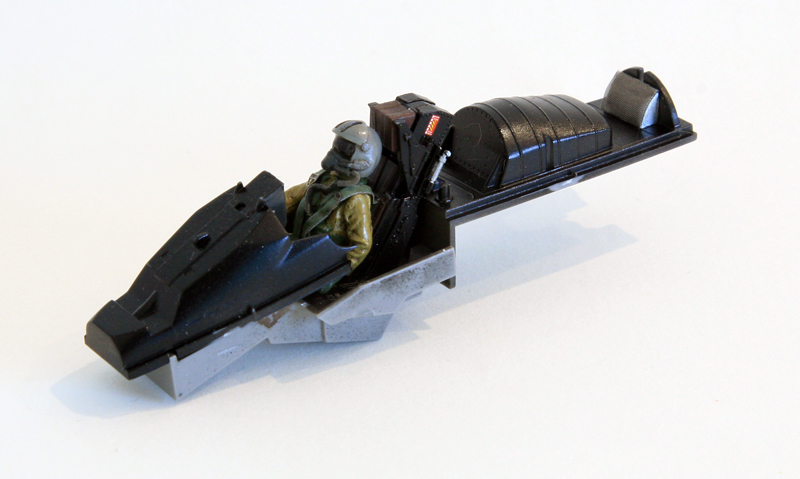
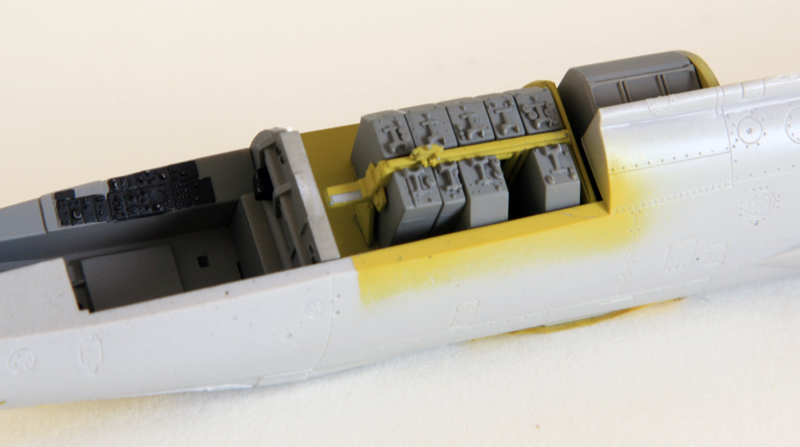
I never opened the avionic bay on a starfighter, but no doubt my next one will have it opened. Daco provides decals to populate the area as well and most cleverly the top Hood with internal detail so the lazy modeller like me don't have to detail the hasegawa original part. More review of those parts in my next build.
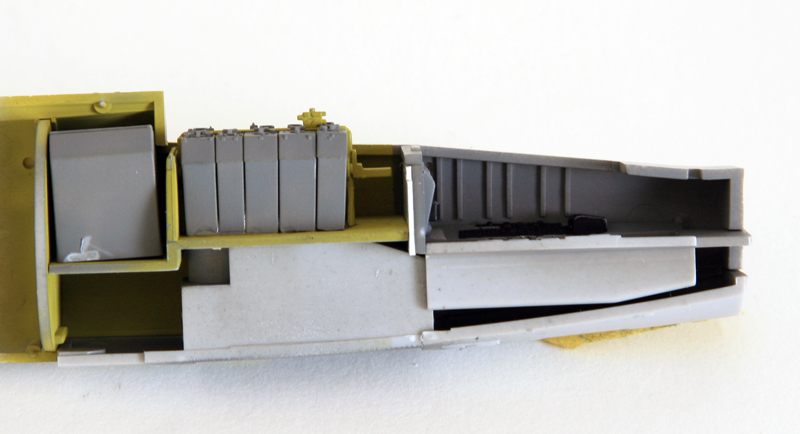
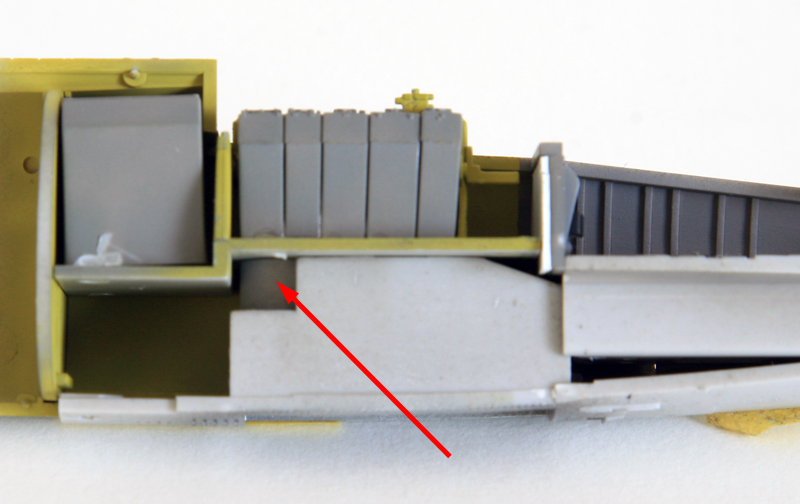
The above picture shows how the computer bay fits with the hasegawa parts. the floor rests on the nose gear bay and contacts the aft bulkhead of the cockpit. The ammunition bay (or the auxiliary fuel tank for the F-104 without cannon) is included as well but then some minor surgery will be required on the top fuselage of Hasegawa's.
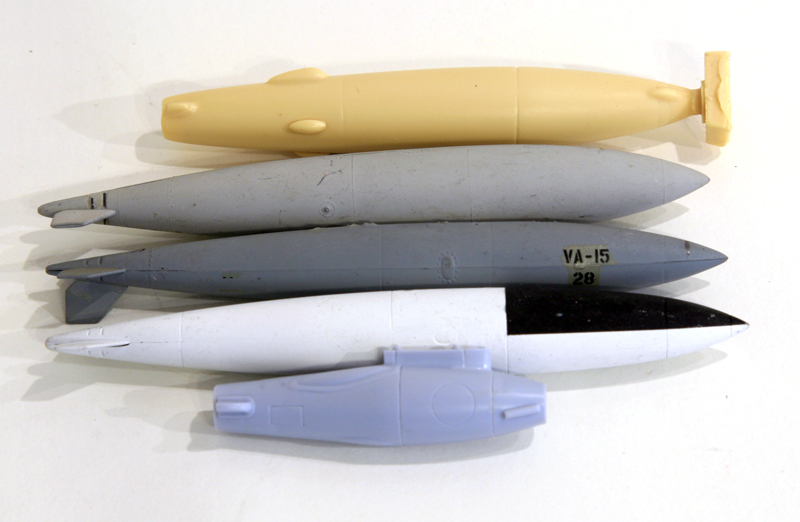
Sprues C1 & C2 start messing with external stores: SUU-21 open or close bombbay (the doors were actually added to avoid unintentional release over europe densely populated areas, Viccon recce pod, two orpheus pod (NL and Italy). That NL orpheus will go on a F-16, no doubt.
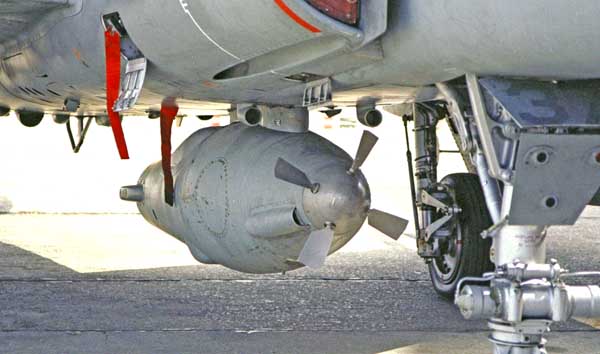
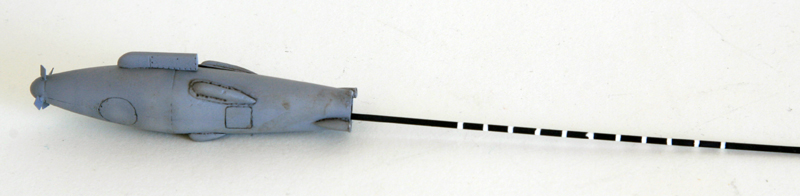
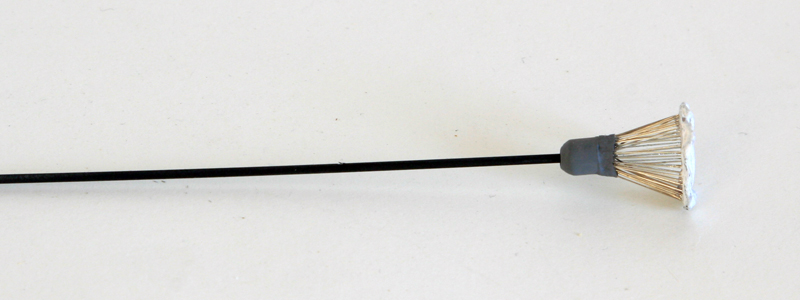
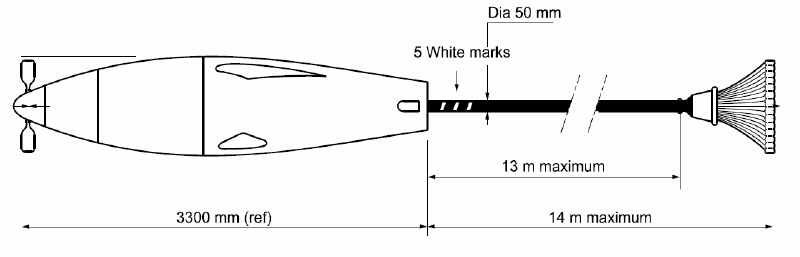
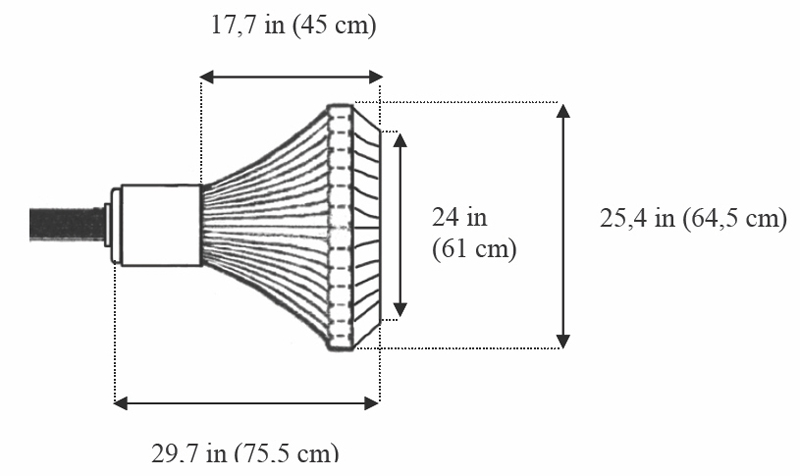
Secapem Target towing (only one - for a belgian target tow I think you need two - but the second container should be empty, so no big deal - I'm even wondering why then they loaded two - maybe for weigt and balance?) and the modified secapem reel container for the KLU tow system, but strangely no dart that should go on the other wing. Indeed the dart was Under one wing and the reel was Under the other wing, both were connected together with a cable that was attached (before release) just Under the exhaust) It is strange that DAco decided to offer the reel but not the corresponding dart. the system then is incomplete and can't really be used.
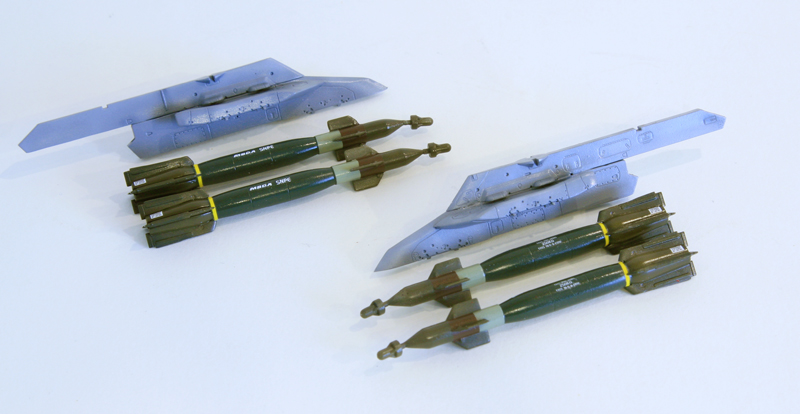
You will also find LAU-32 & 3/A rocket pods. German, Netherland and Belgium specific dispensers for training bombs and a couple of air intake FOD cover.
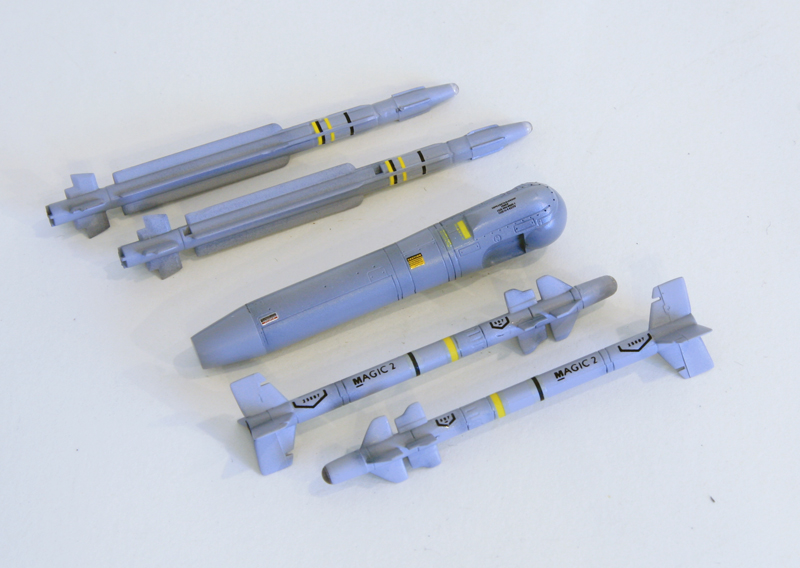
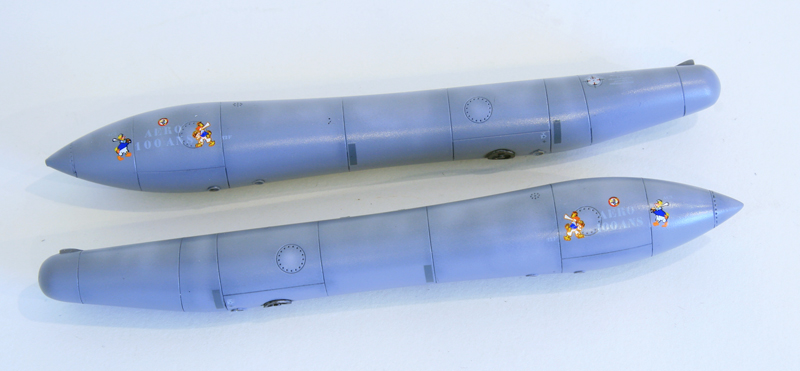
Sprues D1 & D2 are also available separately from daco website and cover the extra wing tanks (they can be configured as wingtip or wing bags) and the air to air missiles (AIM-9B, AIM-9J/N, AIM-9L) You get two of each. The missiles are finely detailled and the fins are very thin. The protective head cover are also included, you get 2 pieces of 4 different types. Another nice touch.
Also provided: Red Dog missile launchers, ventral catamarans rails and German navy chaff & flares ejectors (1 for each side of the aft fuselage)
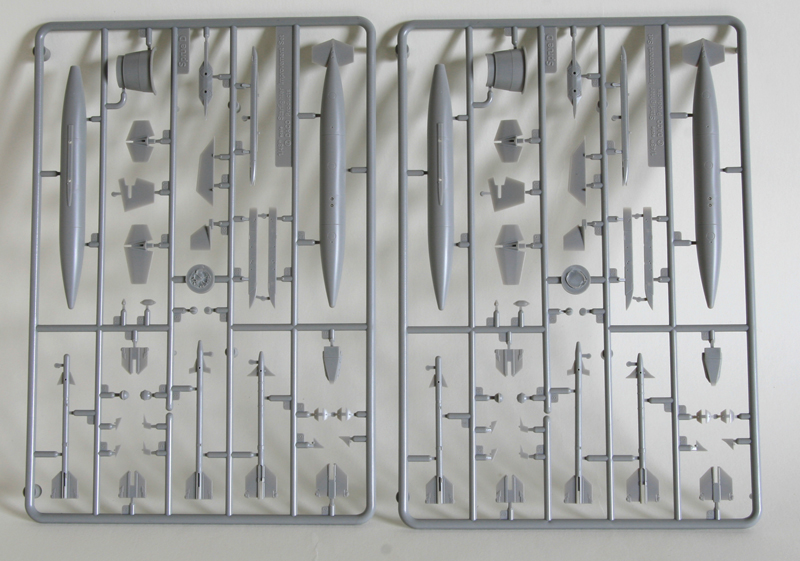
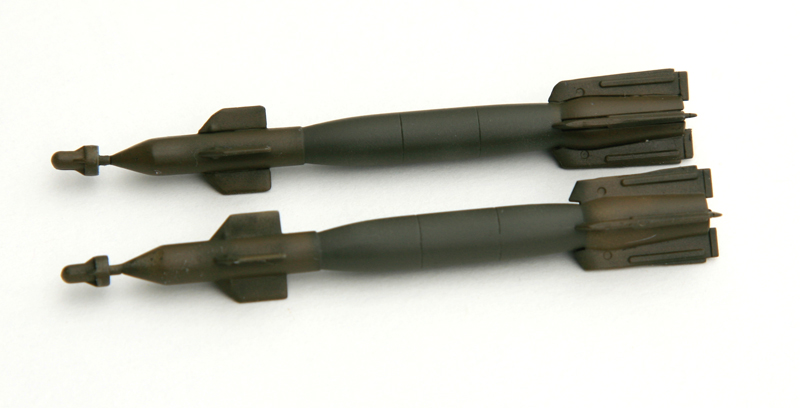
Sprues E1 & E2 are devoted to more stores, special cargo with a lot of rarely seen nuclear bombs like the B43, B57 & B61. One could contest the display of those evil weapons but they made our history and I salute the guts of Daco to actually make them. The F-104 was a very important vector of that strategy therefore they needed to be in this set IMHO. You are free to use them or not after all :)
More air to air missiles are also available: Aspide (1), Sparrow (1) and some air to surface missiles AS-30 missile (1) & Kormoran (1) and their respective pylons.
A travel pod is also included in these sprues as well as two twin carrier stores.
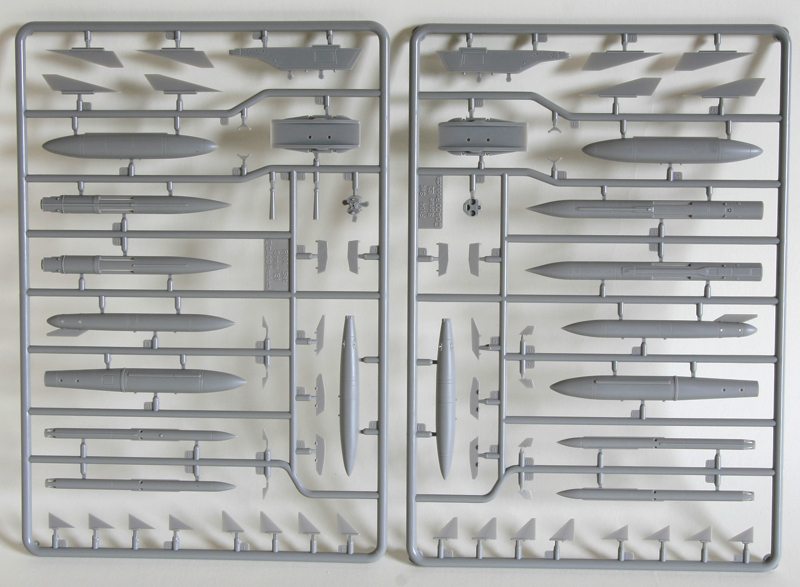
And here I think we can find the main drawback of this set. Like the Secapem pod for the Belgian starfighter and the modified secapem for the KLU target tow system from sprues C, we can only find one of the store that usually are carried by two. So if you want to have a correctly laden aircraft you will need to buy two sets or source the missiles eleswhere. I think Daco ran out of place but maybe it would have been more useful to discard the incomplete target tow systems and add the missing pairs. That said, I'd do the opposite, keep the target tow and scratch the missile which can be easily found :) okay, okay that's because I plan on actually building a Belgian target towing Starfighter!
Sprues F are dealing with transparent parts which you won't have to paint. Excellent idea, especially with adding multiple parts of rarely moulded goodies that can be used about everywhere in aircraft scale modelling: BDU-33 (12), BDU-48 (12), helmet visors, lights, Hud, missile heads, ladder steps etc etc.
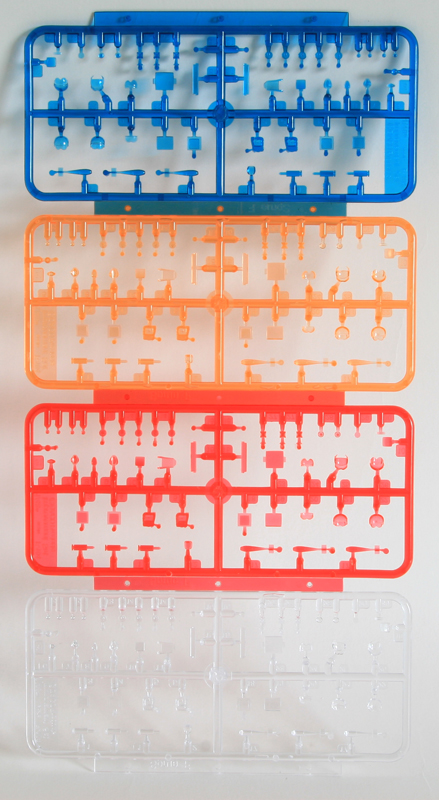
It may have increased the cost by a very small amount, but I find this idea very clever, well done Daco.
So: "Do you need this set?"
Well Hasegawa models of the F-104 are pretty good already but the rivets might be too visible. Sure you can fill them, it's easy enough to do on the wings, slats and flaps and the huge stab. But Hasegawa's models are also very simple and don't provide much specific parts. You can't open the avionic bay or the parachute container, you only get two tiptanks, no wing pylon or store to hang from there. I haven't seen their F-104S kit so I don't know if they have the specific sprues of the S model.
So with this set you can basically build any starfighter with any boxing. From the F-104A & C to Belgians (interceptors from Beauvechain or Strikers from Kleine Brogel) and Germany (Luftwaffe or Navy) and Dutch G's, Canada's CF-104, Italians S, TF-104G, RF-104G, F-104G from Volkel (NL) without forgetting Norway, Turkey and Denmark Starfighters
And you will have lots of extra for other projects like rarely seen stores (specials, BDUs, ...) and diorama accessories like ladder and tow bars and intake covers.
I have two belgian starfighters to build. A F-104G and a TF-104G. I wanted to build them both from the 1st wing at Beauvechain. Those guys were the fighter wing doing mainly air to air (Kleine Brogel 10W was the bomber wing) but I can't build the hasegawa's as fighters as I don't get the red dog missiles to mount the AIM-9 rather than the wingtip tanks. Equally you can't really have a loaded 10W (bomber) belgian starfighter because you get no weapons dispenser. So even for a belgian Keebee based F-104 I'd need this set.
If you're building Italian S starfighters, there is no doubt in my mind that this set will be necessary as the S have many specific items that the daco set covers fully.
Same goes for the recce RF-104G with their weird pods and camera suite or the typical equipped german Navy F-104.
No doubt you will have a lot of parts remaining after your project as this set is purposedly made for many different F-104 at once. So if you have only one Starfighter to build, you'll have many extra to trade afterwards, which is a nice trend going on in different web communities nowadays. The price of the set is around 50 euros. It's not cheap considering the price of nowadays injection kit but there is no doubt in my mind that it is the work of passionate people who didn't count their time developping this update set - like the true modeller amongst us. And when you consider that some people (like me) are ready to spend 30 euros on resin exhaust, 25 euros on resin cockpit and 20 euros on PE fret for the same model .... then this injection improvement set becomes very cheap. You get more with less money.
My only drawback before actually building it is the lack of double stores where needed (Aspide, Sparrows, Secapem target tow and Air to Surface missiles .... and no C2 early seats :)
Regardless I will definitely recommend it for any 1/48 starfighter project.
And as Danny said: Have fun building it. I sure will have very shortly.
The F-104 improvement set is available from http://www.dacoproducts.com
I was not asked to make a review
I was not asked to make a review
The review sample was paid in full