It started with a SAS Willys Jeep from an old tamiya box I had in the stash. I also used the Eduard PE set.The model is mainly dry assembled from now as I don't seem to be able to assemble completely the model before painting (old aircraft habit die hard :) )
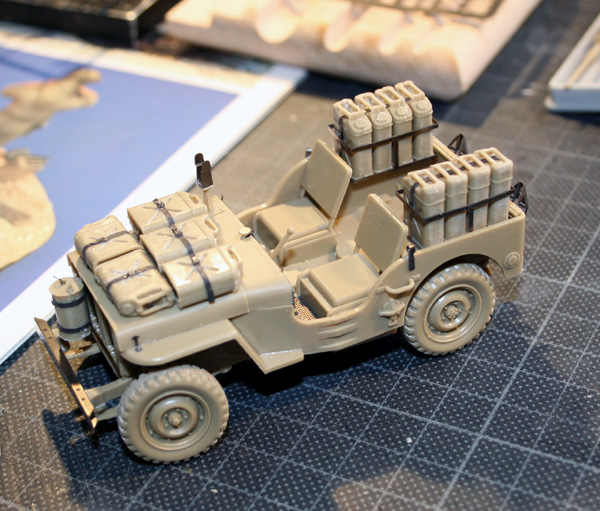
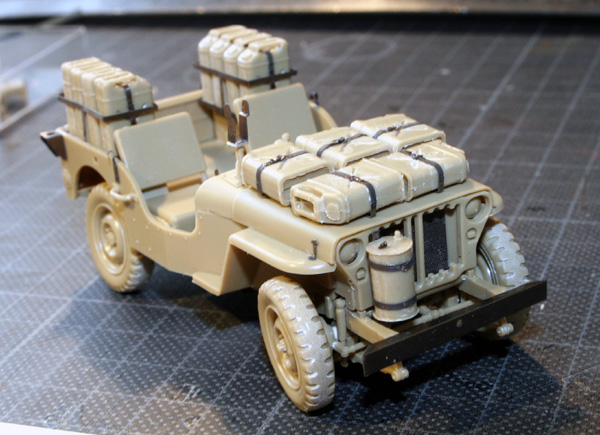
I put the jeep aside, ready for painting while I build the truck, I'll paint the two at the same time.
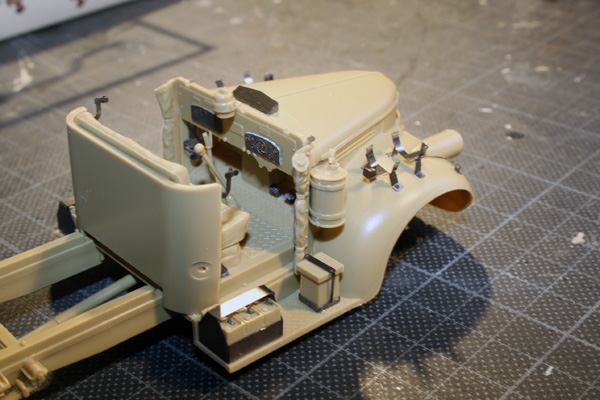
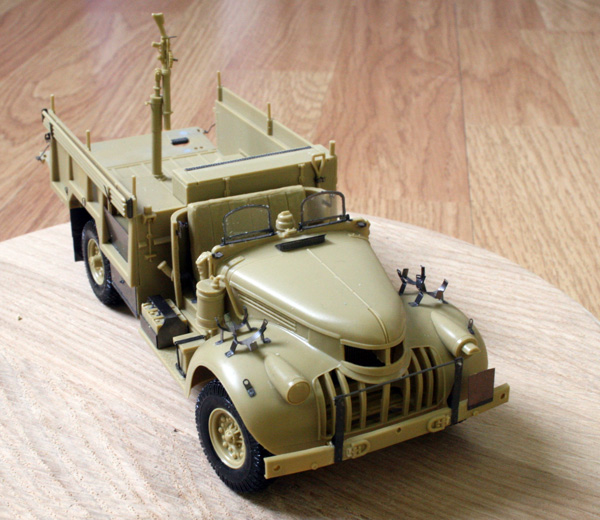
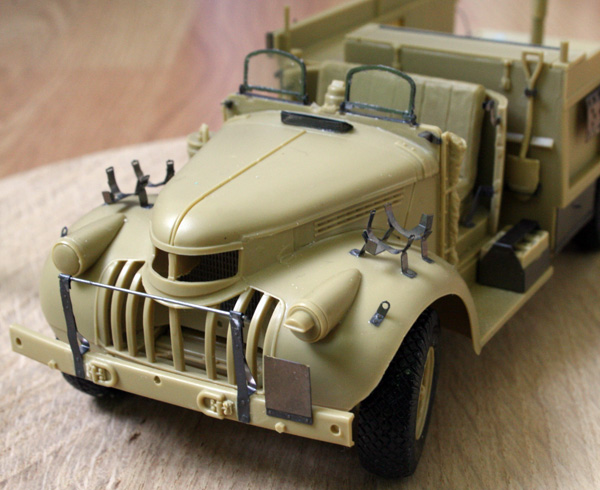
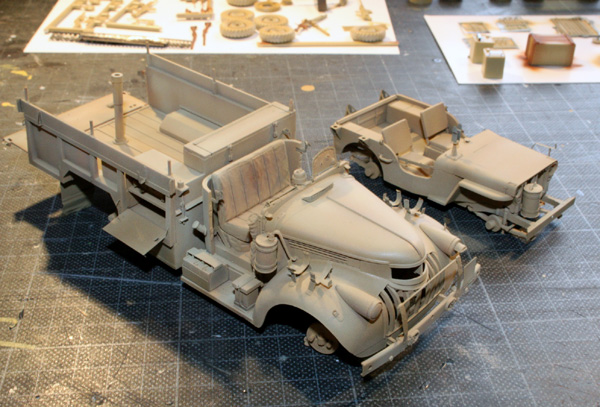
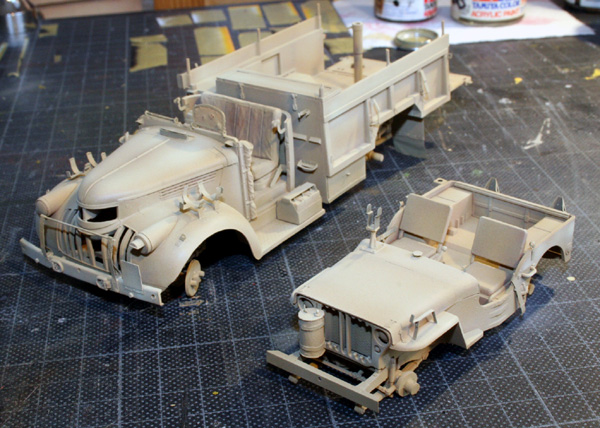
I realized the 30CWT was packed in 1976 ... almost as old as me, it was about time someone took it out of the dark and give it a better place to be displayed. So here we go, same treatment as the Willys:
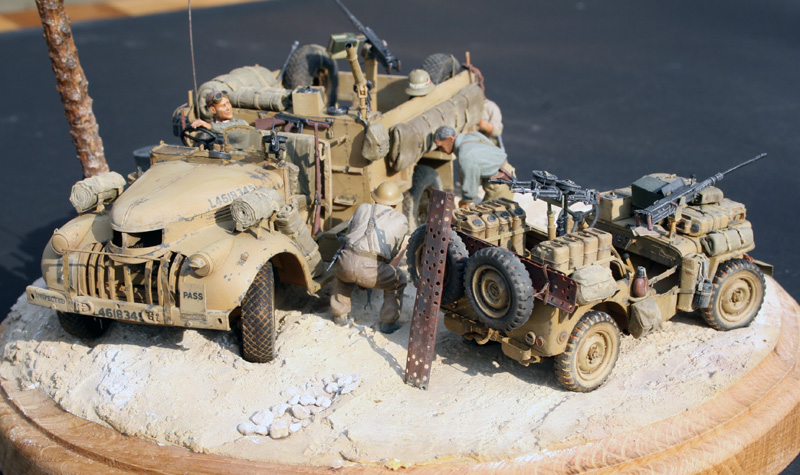
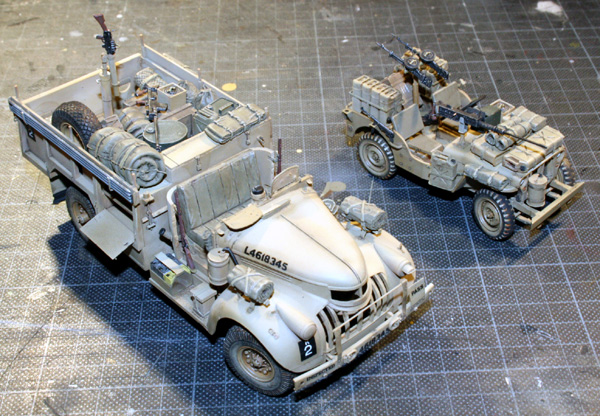
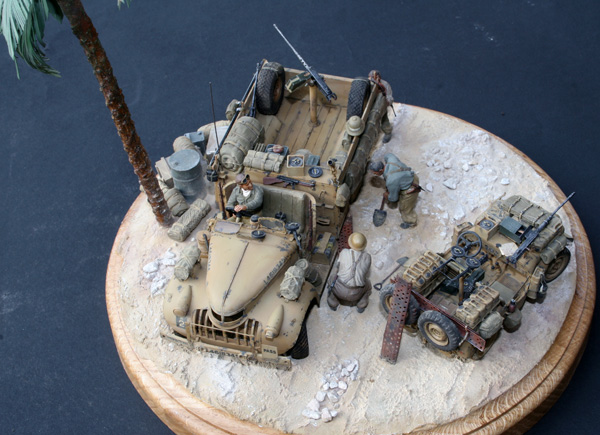
Trying the position of the vehicules on the small diorama:
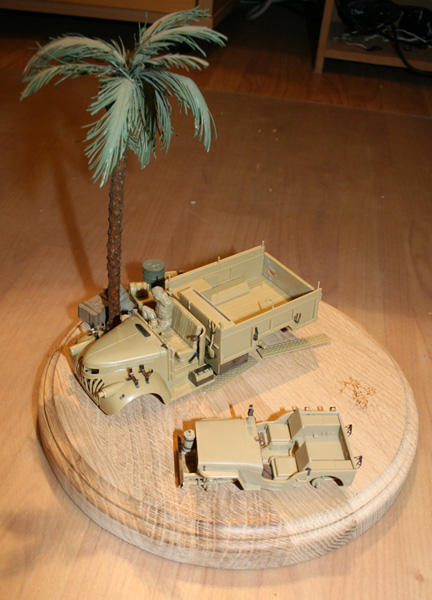
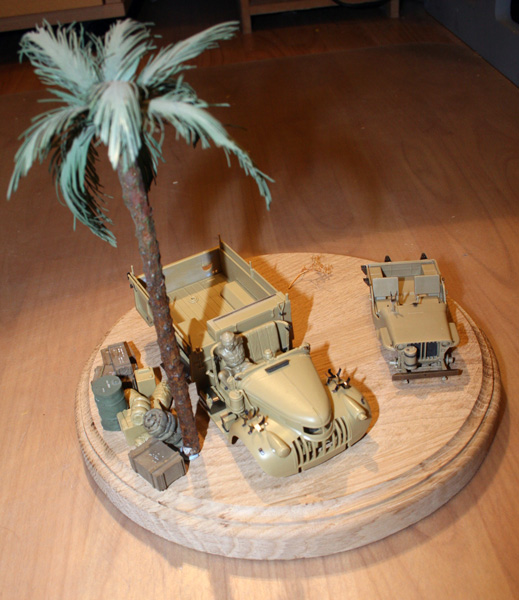
Here's the scenario:
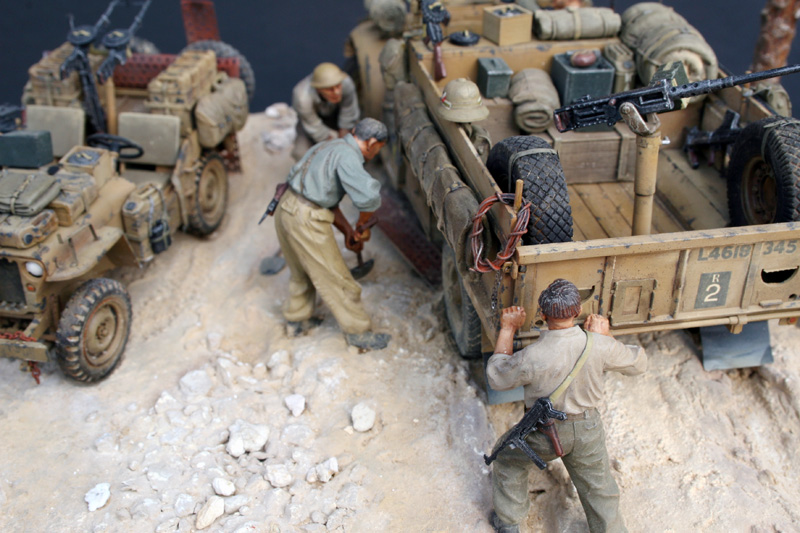
The chevy driver gor careless and stuck in the sand in a area where normally it shouldn't happen and the jeep came to the rescue. The truck was unloaded and the crew is trying to unstuck the CWT with the PSP plates.
One is at the wheel and probably 3 others will be around the truck, two pushing, one digging and placing the PSP. Well that's the idea... Now I really need to look for decent figures!
I have a bit of paint research dilemna ...
Apparently, there's a sensitive subject as far as the blue being used in British armor disruptive scheme in the MTO: The so called Blue Caunter scheme
Here's what I found googling:
Apparently, the 3 tone disruptive "caunter" scheme. The colours are clearly light sand, blue and green. The colours that were actually used are light sand, light grey and slate grey.
This goes for ALL vehicles using the caunter scheme. The caunter scheme was, by the way, replaced in October 1941 (Before operation Crusader) by the 2 tone disruptive camo scheme.
The colours for these are Light Sand and Slate grey, but often different colours were used. A lot of tanks were also just fitted with a single light sand colour. The blue looks great IMHO but apparently may be an historic mistake (done also on some refurbishing armor now in museum)
I also found black and white photographs of the LRDG and we clearly see the 30 CWT camouflaged in 2 (maybe 3) tones but being B&W, I have no way to judge the colours
To illustrate the Caunter scheme:

The caunter scheme seems to be made of slate grey, silver grey and portland stone.
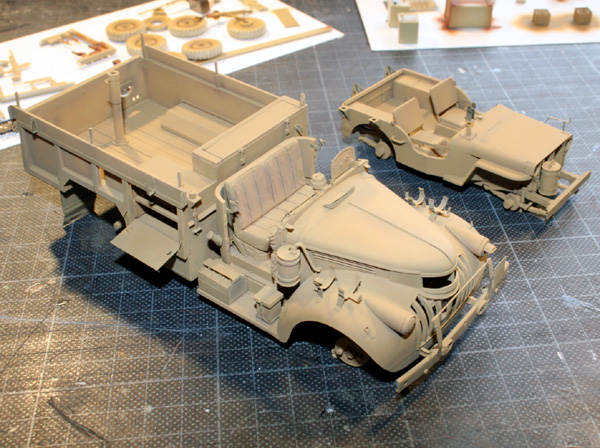
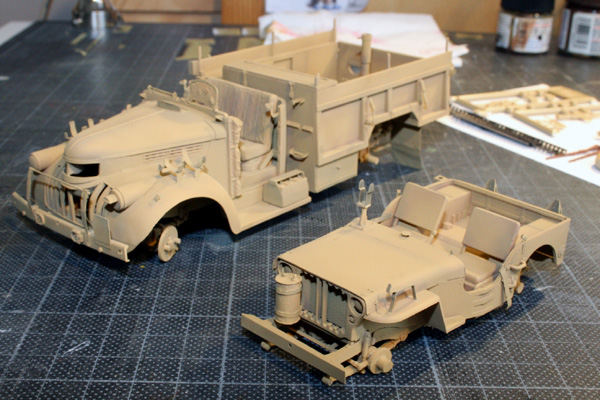
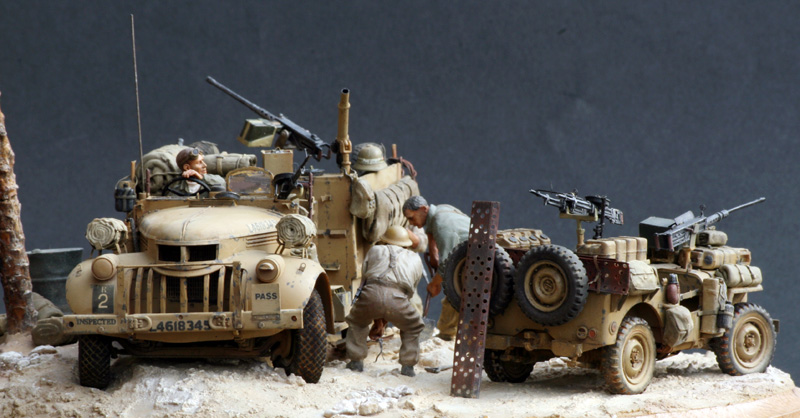
But both my vehicules will be painted in desert yellow and lightened with buff. :)
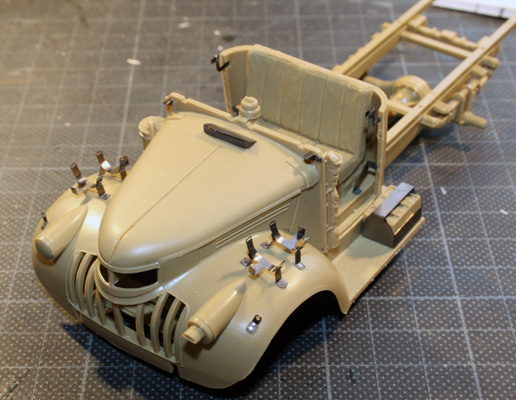
In the meantime, the chevy is assembled and both are ready for a long paint session during the coming week end.
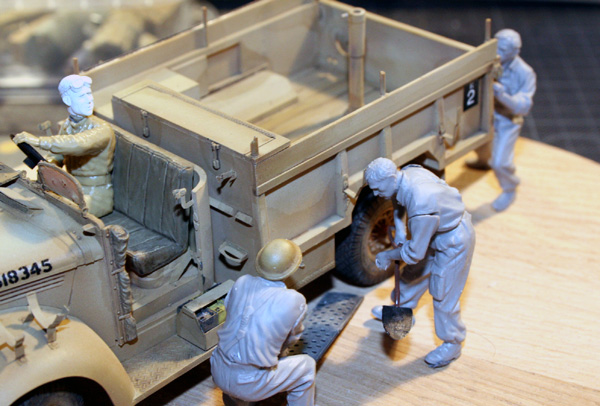
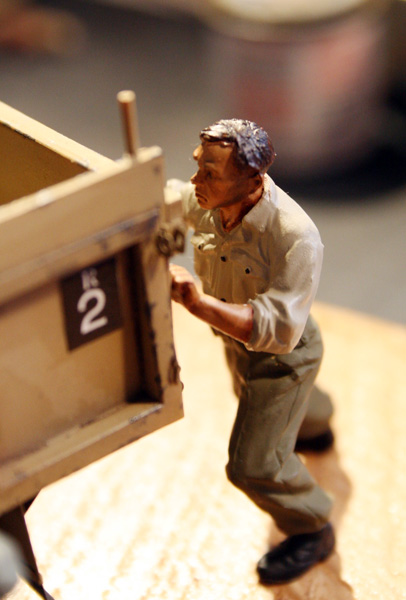
I found the figures I'll use. They are german tank crew at work from Miniart and their pose is exactly what I need. It will need only minor conversion to make those british but at least their general pose will be spot on for this project.
I'll probably change the pockets and update the heads, too bad they don't wear shorts but that will be it. One guy digging, one guy pushing, one guy placing the PSP:

Did some preshading with XF-64:
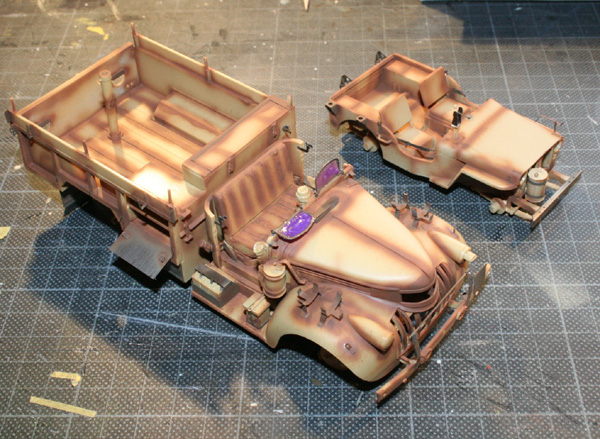
Then a coat of Tamiya desert yellow:
Next step, lightening up with Sesert yellow +white and buff:
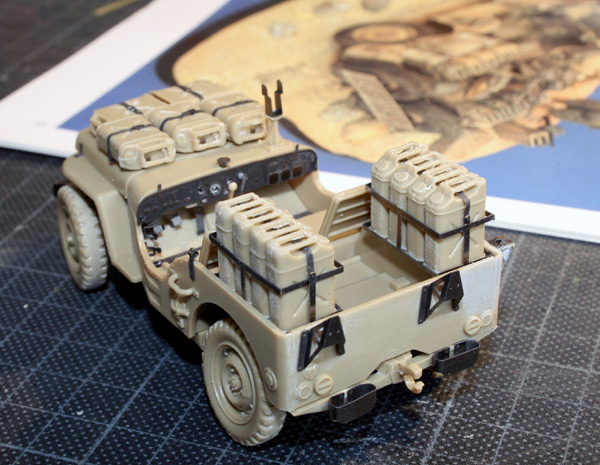
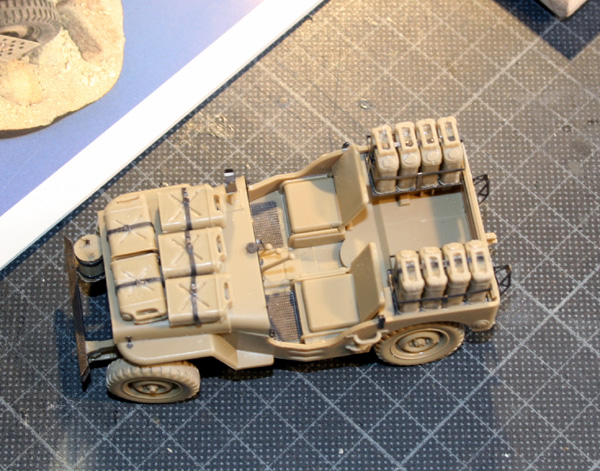
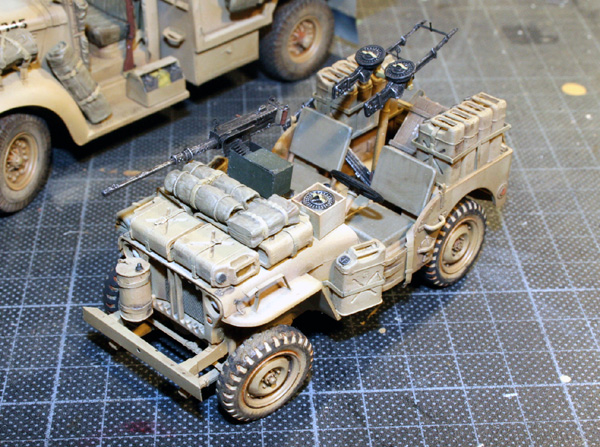
Not finished yet, still some paint chipping and some more specific weathering to do but it starts to get life. The jeep is loaded not 100% decided on small details, and I still need to add some hanging bag and pouches
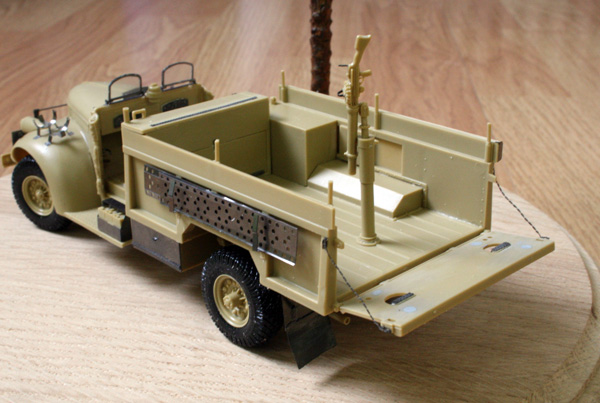
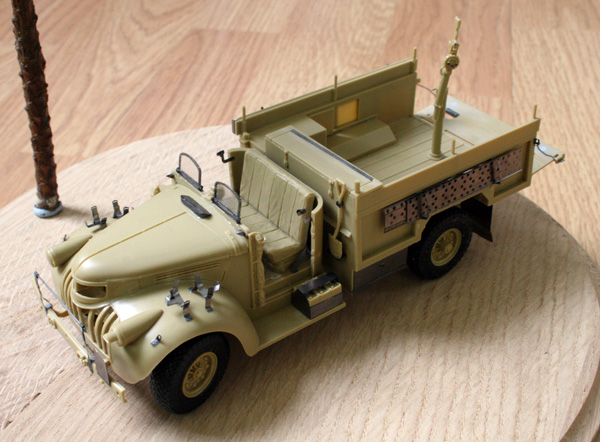
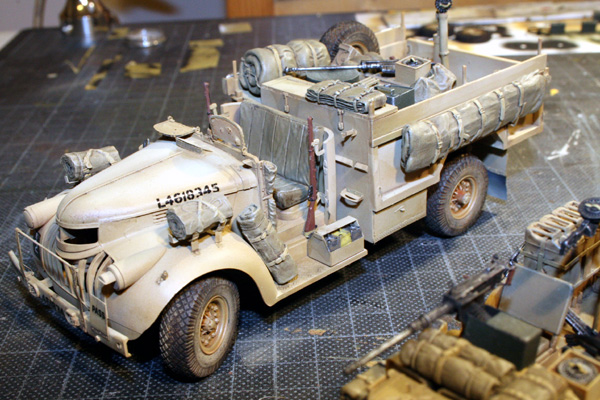
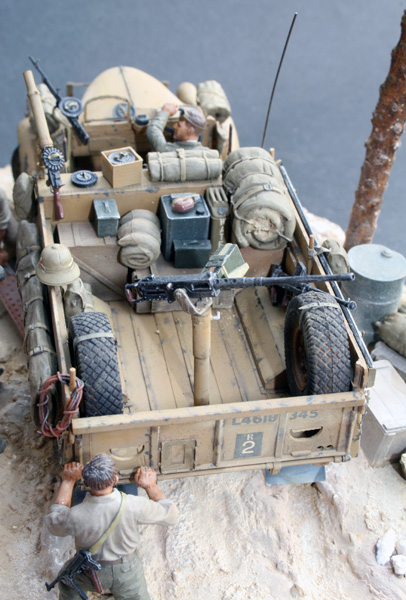
The chevy has been loaded to see if all that will be deposited on the ground can be loaded in the truck. I worked on the vinyl wheels to try a new technique which I feel gives very satisfactory results:
Also some more minor details needed here and there, I was concerned with the decals but gave it a go anyway.
Well, here's the idea for the figures assembled with blue tack
The driver, the digger, the pusher & well the guy struggling with the PSP:
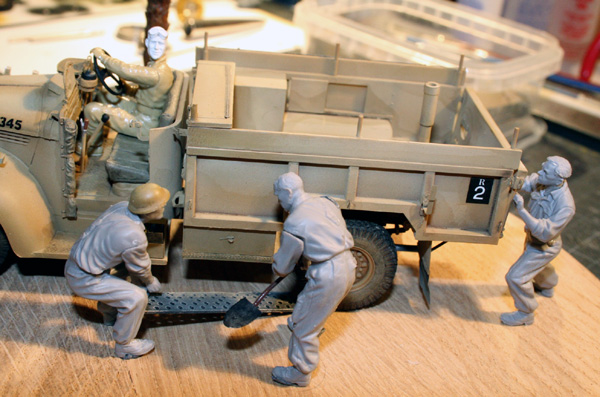
I'm concerned with the driver's head - I don't have too many british headgear and the tamiya SAS heads aren't very fined moulded, so I'd prefer avoid using them.
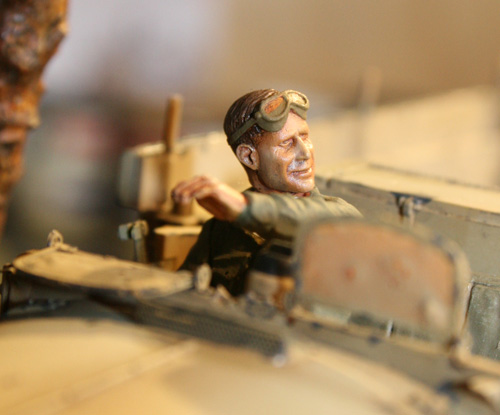
The figures are painted, carnations are done with oil and clothes are done with Humbrol, they will get the oil treatment afterwards
I also chipped both vehicules, they are now ready for filters which I will try for the first time
Basic work a little on the dio base.
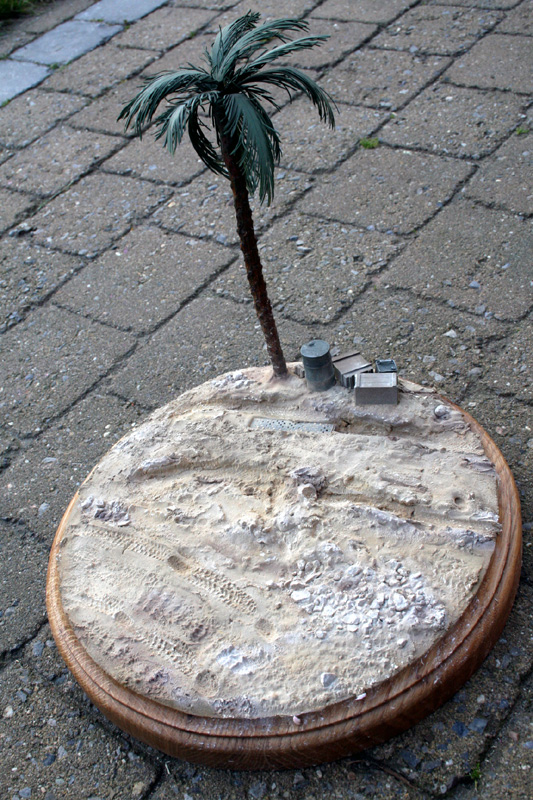
The base was done with styrofoam, wall plaster, cat bricks then painted Desert yellow and lightened with Buff & white and finished with a darker wash and some mig pigments.
I tried to fix the pigment with thinner and even the Mig pigment fixer but couldn't reach the desired effect. it seems that when I put the brush with the fixer in, the pigment simply vanished.
And although using lighter pigments I ended up instead with a darker general shade because of the pigment fixer.
So after a day contemplating it, I decided to get my wife's pastels out of their hiding place (sshht, don't tell her) and applied lighter pastels on the groundwork.
Much better nuances now and I think I'm happy with the results
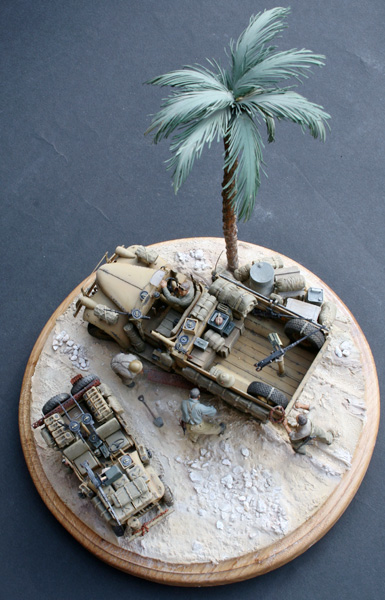
Here it is finished then:
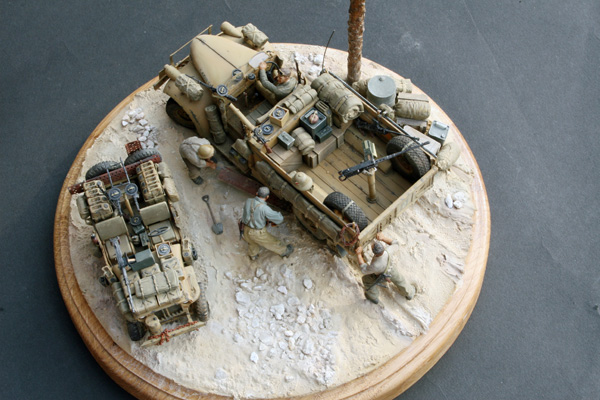
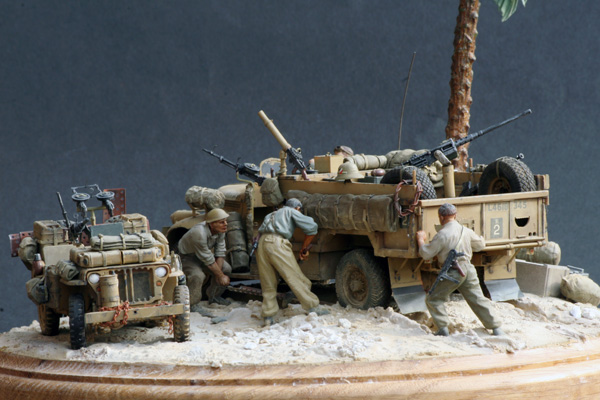
Figures were painted with Humbrols except for the carnations, washed with raw umber and drybrushed with oil yellow. then blended into the scene with Mig sand.
The chipping on the vehicule was done prior to the washes and I used humbrol 111 mainly. Washes were made with burnt sienna and raw umber, then Mig sand was used to blend the vehicules into the scene.
The vynil tires from tamiya surely teared as expected. I only used the spare tirein the back of the truck.
I changed the weapons on the chevy truck and added a lot of stuff from the scrap box.
It was a real nice build and a good change from stuff with wings with a lot of new technique tried.
I really enjoyed building this small diorama. It was completed in May 2008 and a present for an uncle who is an ex paratroop.