Shall we start with an ambitious WIP project ?
I have two F-104G on the bench. One 1/32 and one 1/48 both from Hasegawa. Both are meant to be Natural metal belgian starfighters.
I have two F-104G on the bench. One 1/32 and one 1/48 both from Hasegawa. Both are meant to be Natural metal belgian starfighters.
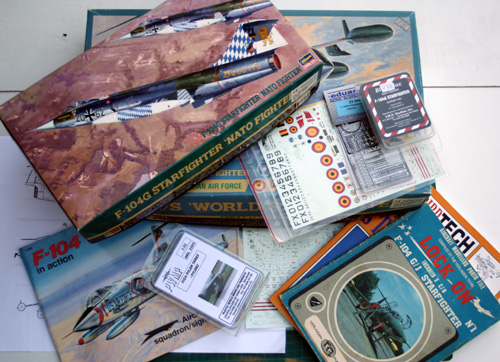
The1/48 will be straight from the box, it looks perfect for that. Of course I'll use Daco decals.
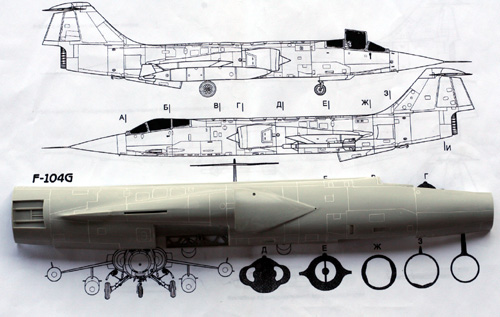
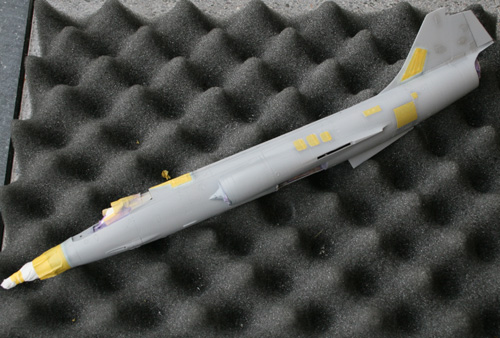
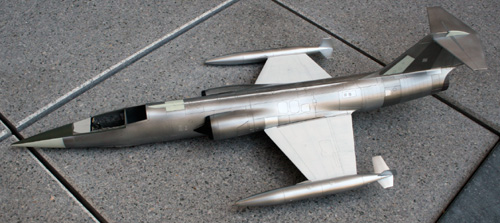
The 1/32 though needs a lot of work: engraving panel lines, new cockpit, new PWMC wing bags and eduard PE fret. Lot more work planned! Natural paint doesn't forgive much and not being a panel line specialist I am a bit concerned about the venture, but let's do it anyway.
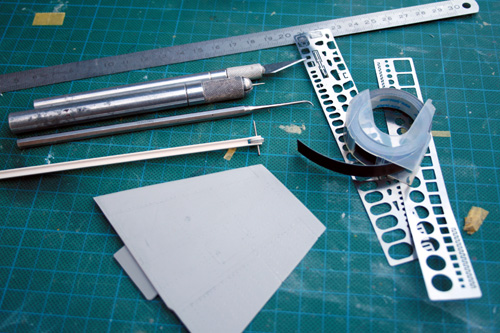
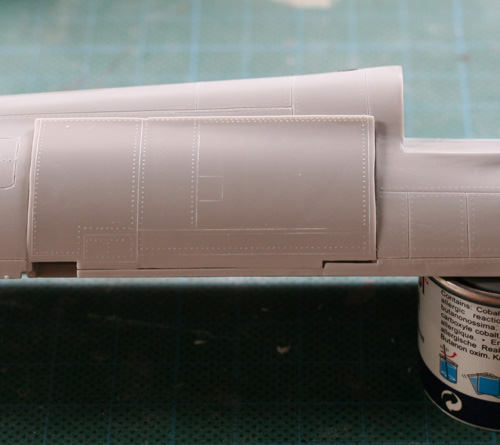
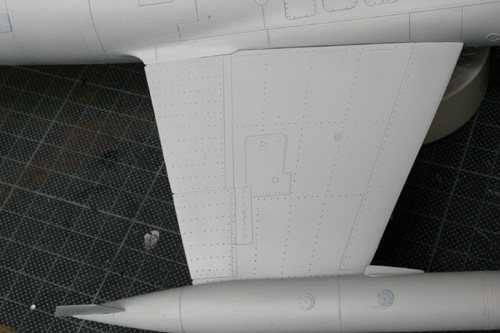
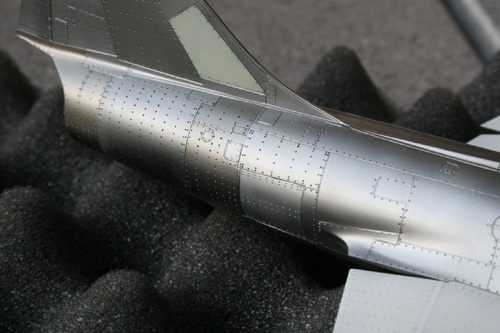
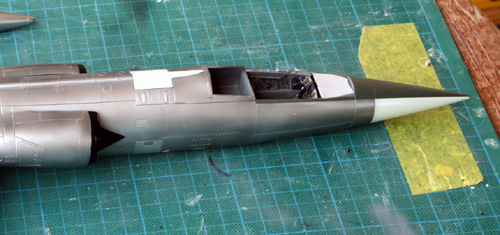
To scribe the panel line I used the original panel lines, then I sand and clean the dust with a rag damped in white spirit. Rivets are then punched.

Scribing is a boring process and prepping the resin cockpit is a welcome change in the interim.
Then back to scribing, sanding, cleaning, scribing, drifting, correcting, sanding and scribing again ...
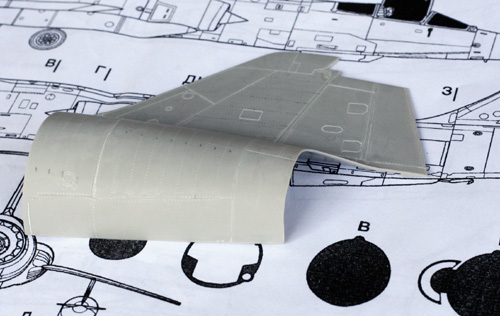
I'm sogladthe oiginal panels lines are good enough for me :) The right side is finis
hed.

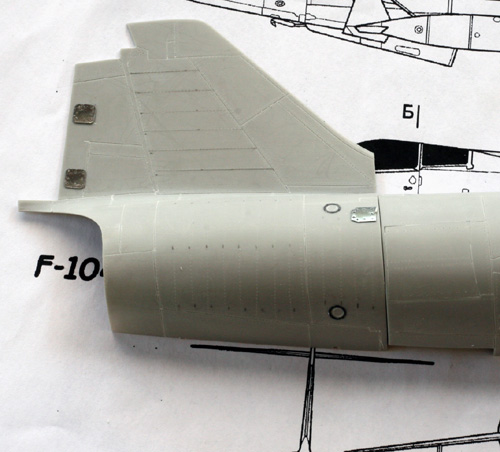
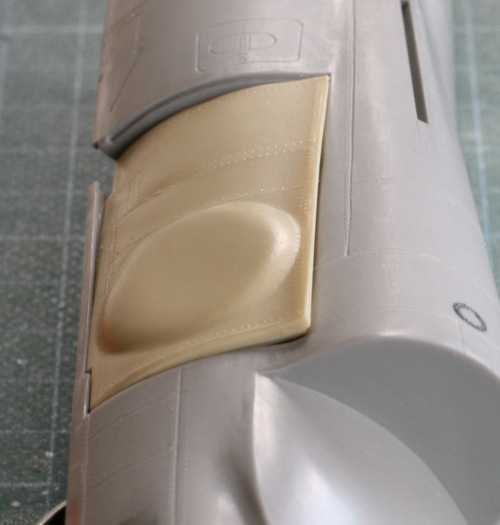
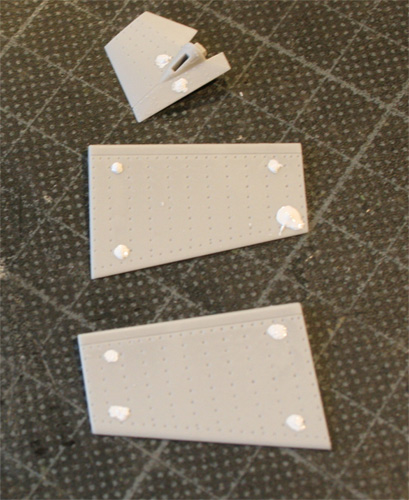
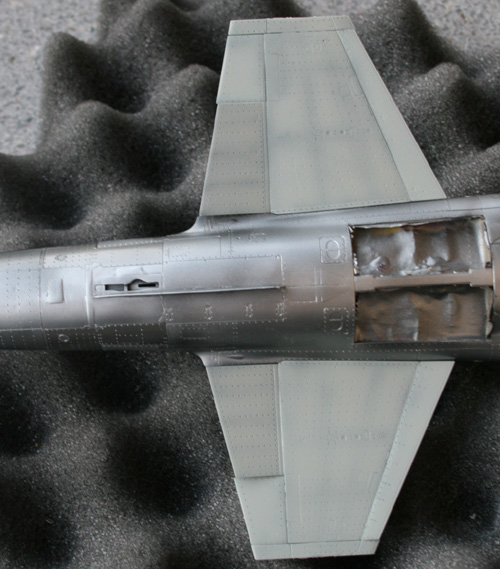
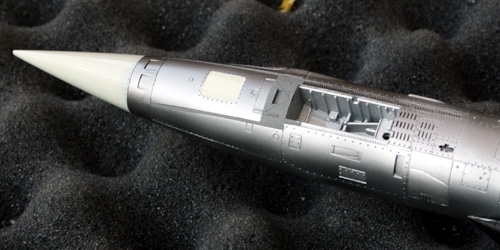
The speedbrakes have been closed. It's raely seeen open on the ground. I used aluminium from a can to make a few panels here and there. They are a bit too thick and I'll try to thin them or punch them into the plastic with a soldering iron. A tip I recently read on largeScaleplane.
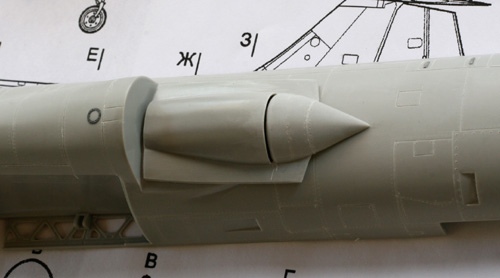
I also opened a few vents and the bleed air slice on the air intakes.
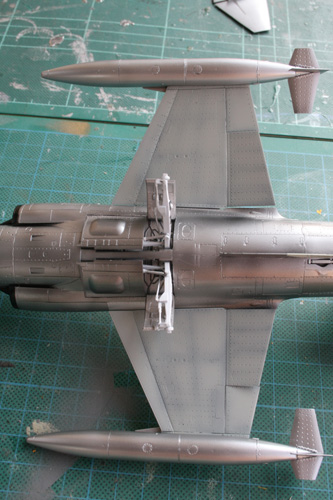
A few problems around the gear bay:
1. The resin door is too short. I need to use the bulged door because this version of the starrfighter had larger wheels.
Secondly, the main doors are not totally shut when the gear is down. I'll need to adjust the parts a lot to make it so on that model.
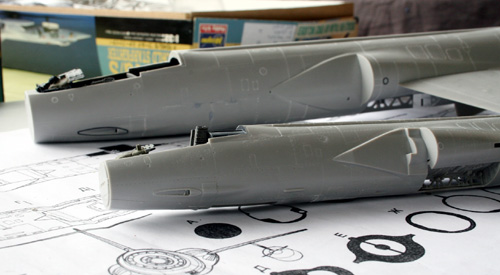
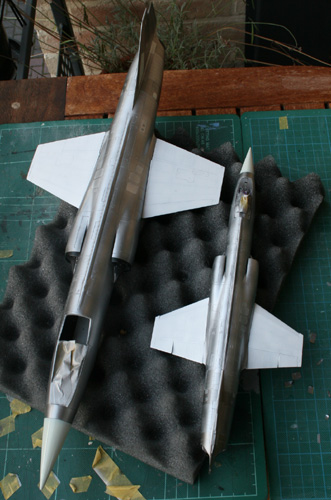
Some progress on the Starfighter duo:

Fuselages are glued. If that was easy a quick on the 1/48, it was not quite so for the big one.
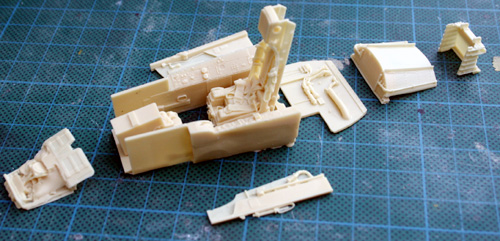
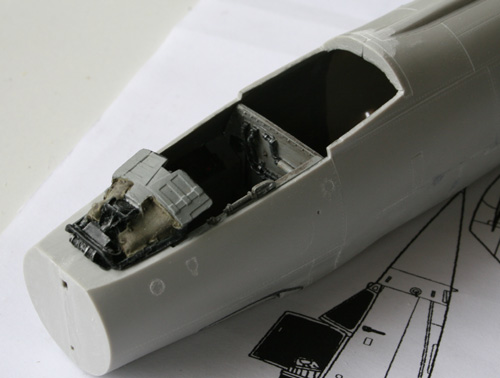
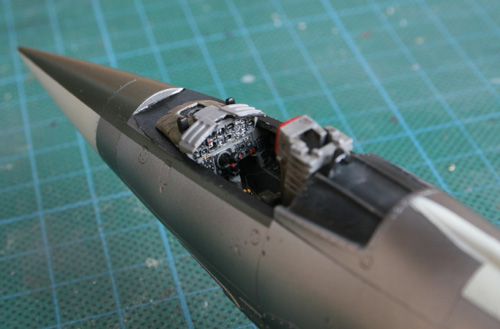
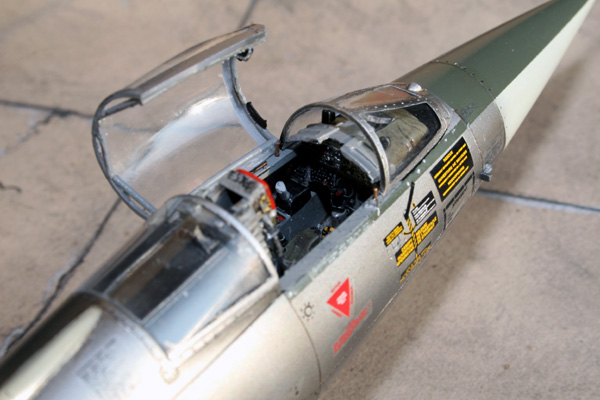
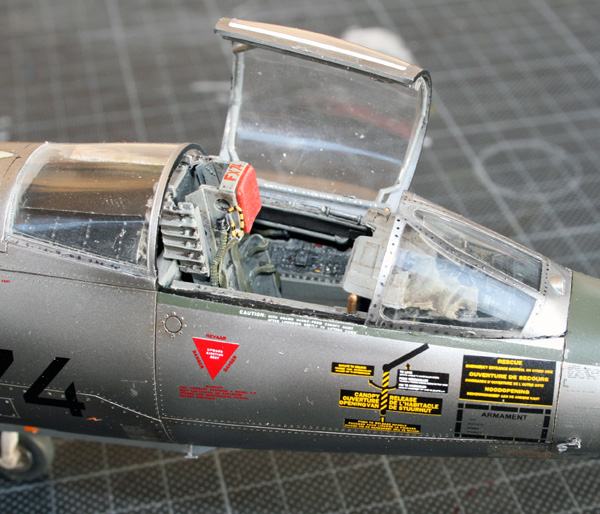
The Black Box resin cockpit sufers from lack of detailled instruction inducing fitting issues.
The resin was deeply sanded to allow the two half fuselage to touch. The canon door gave me trouble as well. the fit isn't very good and a lot of putty was needed. Of course trying to fix the issue from inside with glue didn't help, it rather melt the plastic :)
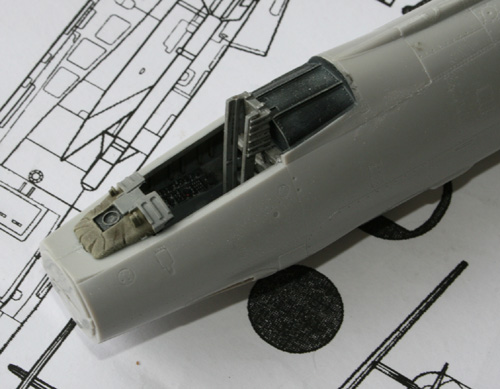
Both cockpits. 1/48 above and 1/32 below
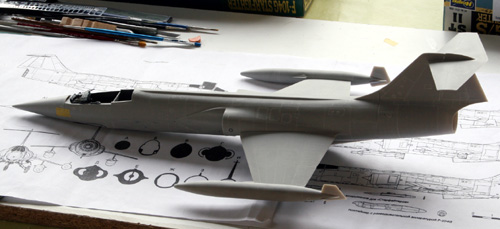
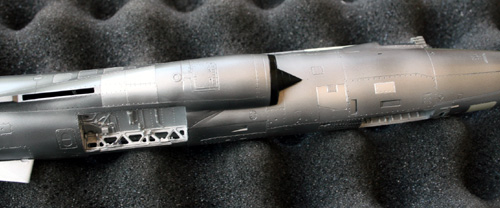
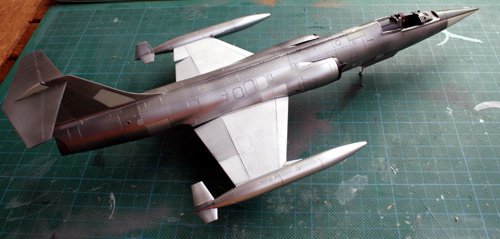
The first dryfit for the bigger brother, Not much left to do except the slats and flaps.
While inspecting the 1/48 parts, I detected a few mould ejection mark and filled them with tipp-ex.

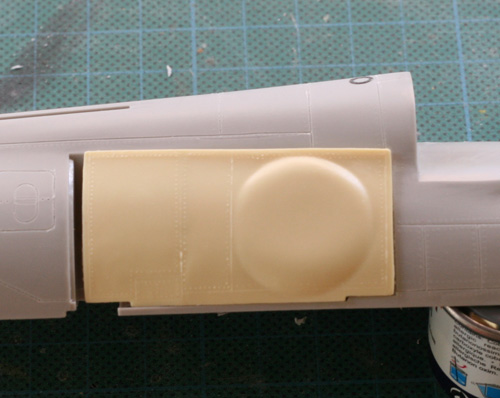
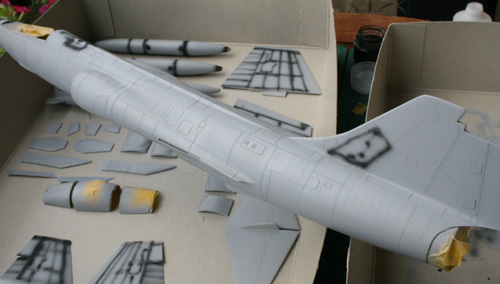
The brothers are finally ready for the primer coat. I usually use Mr Surfacer 1000 applied with an airbrush.
That coat is the final check to apply correction where needed. That is done with Cyanocrylate and a quick sanding session.
At this stage I also punched a few rivets in the 1/32 wings. not as many as on the 1/48th model though.
At this stage I also punched a few rivets in the 1/32 wings. not as many as on the 1/48th model though.
Then comes a bit of preshading for non alu parts

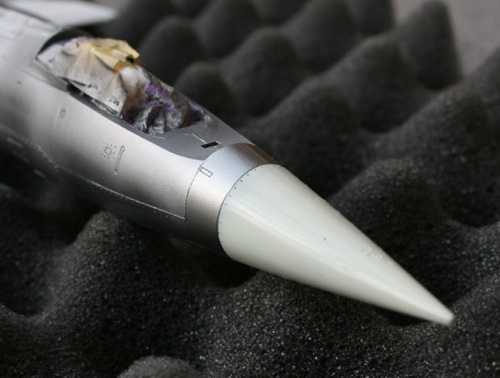
The nose and tail panels are painted with daco PA-15 reference.
Then a few test with alclad without the gloss black undercoat:
Masking tape is next
Now comes the decision time for the alclad shades!
Aluminium, with base coat grey or black?
White aluminium with base coat grey or black?
Polished aluminium, mandatory black base coat.
Well I finally decided to go with the polished aluminium... Wrong decision ...
So first the gloss black:
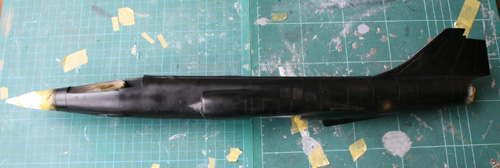
The the polished aluminium and after looking at the model for hours, I decided it was too dark.
I applied a second coat of polished aluminium, still too dark. especially when comparing with the initial painted aluminium panels. So I finally applied an aluminium coat to lighten it and I was finally happy with the result.
The 1/48 benefited from the error on the 1/32 model and got straight his aluminium coat
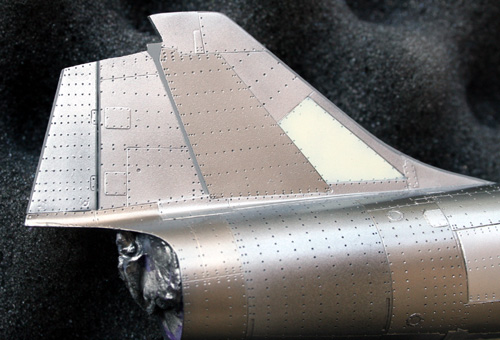
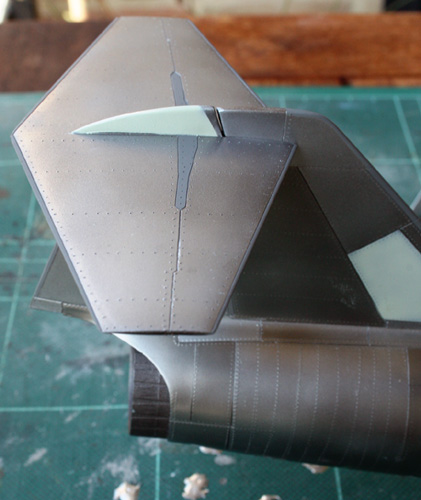
I'll now paint different shades of metal (aluminium, magnesium, ...) on specific fuselage and tail panels.
Aluminium, with base coat grey or black?
White aluminium with base coat grey or black?
Polished aluminium, mandatory black base coat.
Well I finally decided to go with the polished aluminium... Wrong decision ...
So first the gloss black:
The the polished aluminium and after looking at the model for hours, I decided it was too dark.
I applied a second coat of polished aluminium, still too dark. especially when comparing with the initial painted aluminium panels. So I finally applied an aluminium coat to lighten it and I was finally happy with the result.
The 1/48 benefited from the error on the 1/32 model and got straight his aluminium coat
I'll now paint different shades of metal (aluminium, magnesium, ...) on specific fuselage and tail panels.
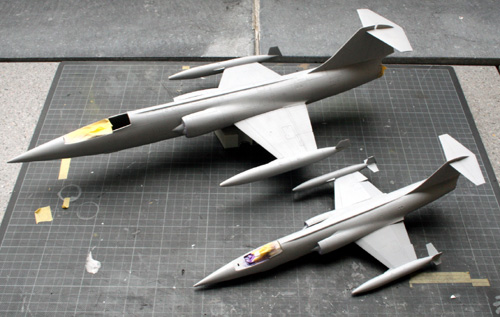
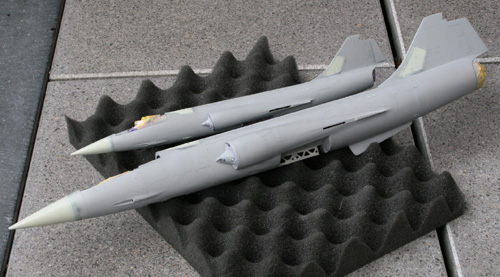
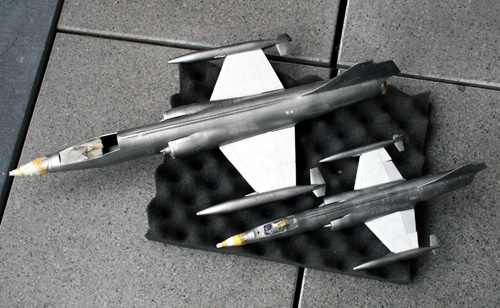
Top picture is 1/48, bottom picture is 1/32

The nuances are made with alclad magnesium, duraluminium, pale burnt metal or mixes.
The wings are white on top and light grey (H57) on bottom.
The next session has been a disaster ... for the stock of the tamiya masking tape. 
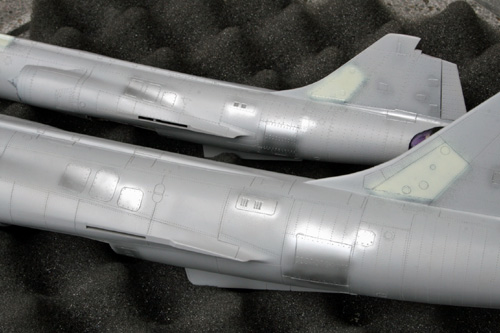
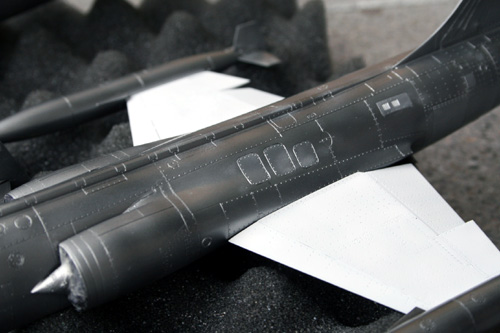
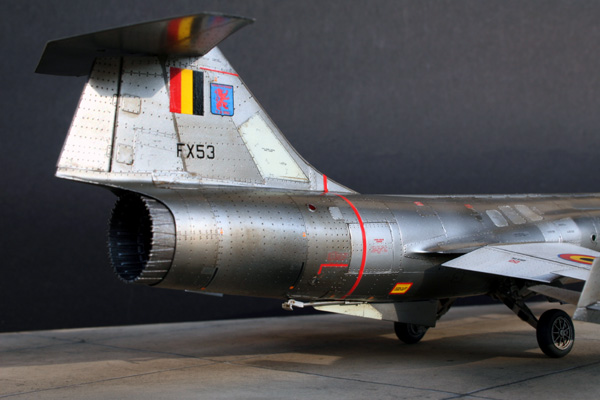
Micro painting was finished with more aluminium nuances, anti glare in dark green (H309), some forgotten fiber panels with daco paint PA-15, dark grey H317. More gloss black around the air intakes and some gloss varnish for the white wings haveing been sanded beforehand.
Micro painting was finished with more aluminium nuances, anti glare in dark green (H309), some forgotten fiber panels with daco paint PA-15, dark grey H317. More gloss black around the air intakes and some gloss varnish for the white wings haveing been sanded beforehand.
Top is 1/48, bottom is 1/32
I love the 1/32 model. it's less crisp and need more work but it's so impressive! I can feel the canopy will give me some headache though

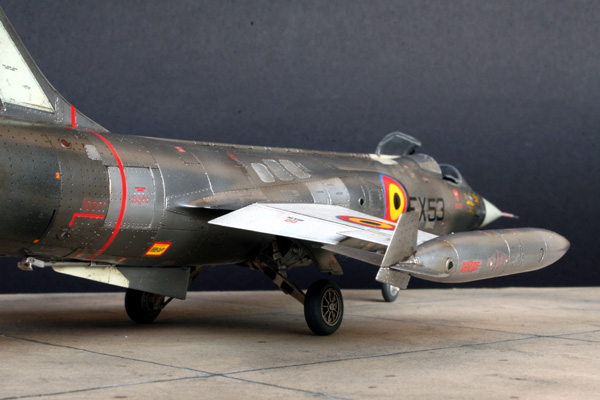
Our F-104 were in two wings. The fighter-bomber wing was based at Kleine Brogel and made of the 23rd and 31st squadron and the Air defense wing was based at Beauvechain. The air defense squadron didn't quite use the wingtip fuel tanks because they were installed with air to air missiles. The fighter-bomber wing did. In this case, both model will sport the colours KeeBee wing. The 1/48 will be from the 23rd squad and the 1/32 from the tiger squadron (31st)
Painting being over, I stopped working on both model at the same time and started with the 1/48 model. Gear have been assembled and I'm about ready for decals.


I prefer not to use SOL&SET on the alclad and I know the daco decals will need the setting solutions, so I decided to protect the paint with a coat of gloss varnish. The decals finally give colours and life to the models:
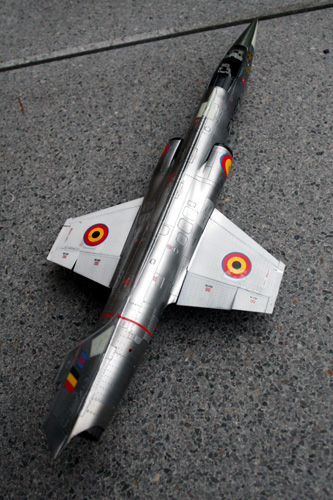
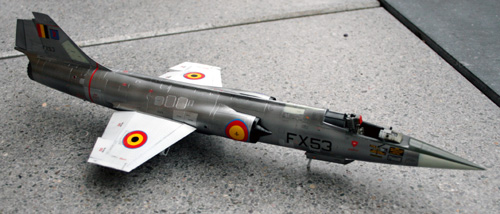
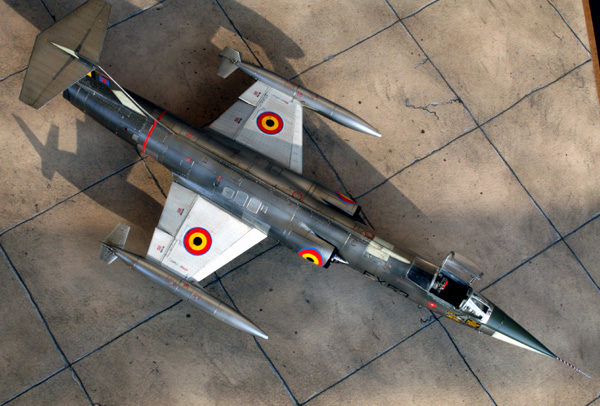
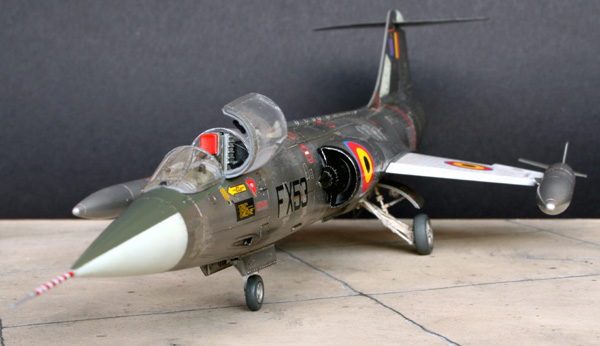
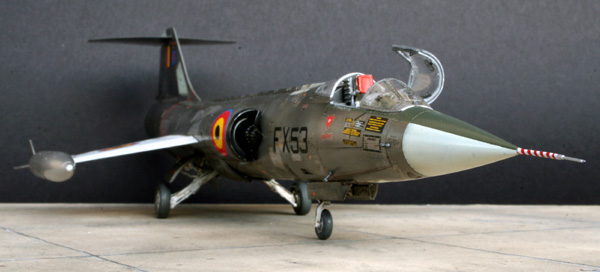
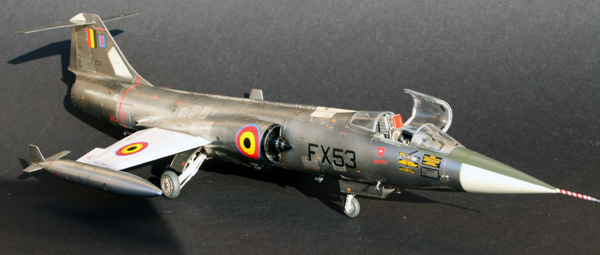
The aircraft will be FX53 from the 10th JBW of Kleine Brogel. She's now preserved at Brustem and it wasn't easy to find a F-104 that didn't finish in a field. The rate of attrition of those aircraft was quite high but we used them for quite a long time too.
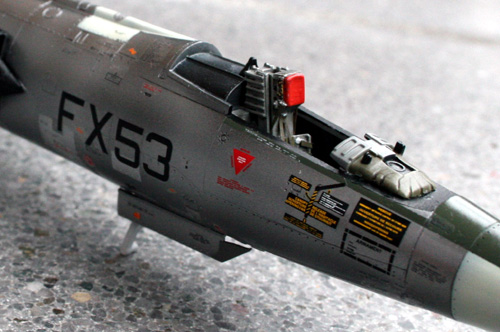
The daco decals are quite thich and react better to the daco decal solution rather than on microsol and microset. the oblong intake decal was quite a challenge.
The 1/48 model is finished after a protective coat for the decals and a very subtle wash
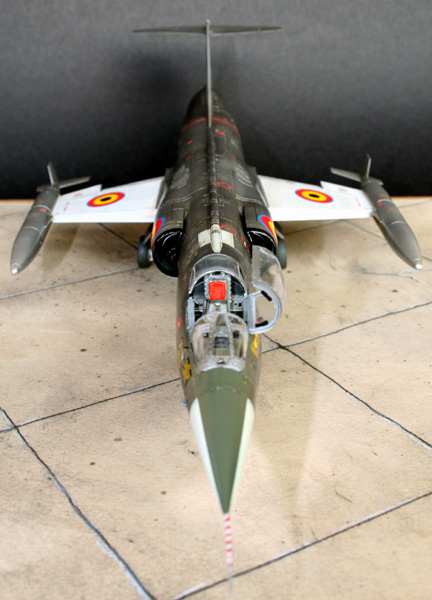
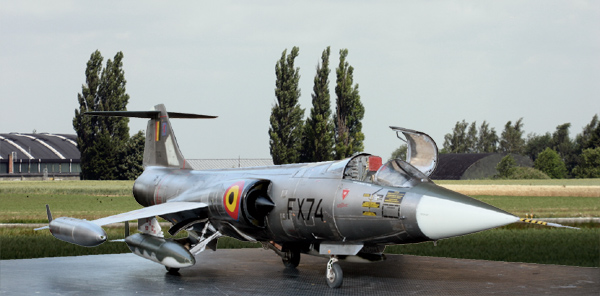
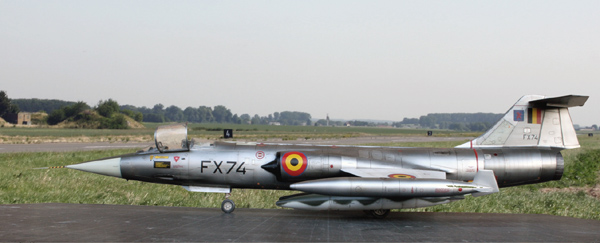
The 1/32 model followed suit with the same steps:
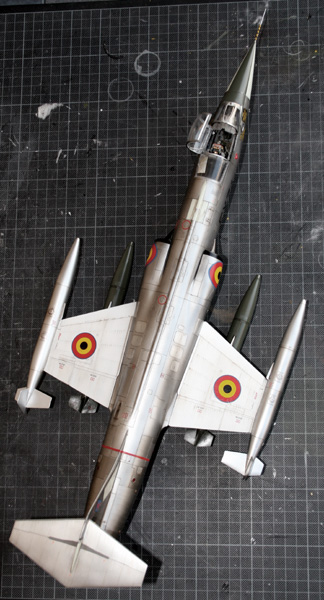
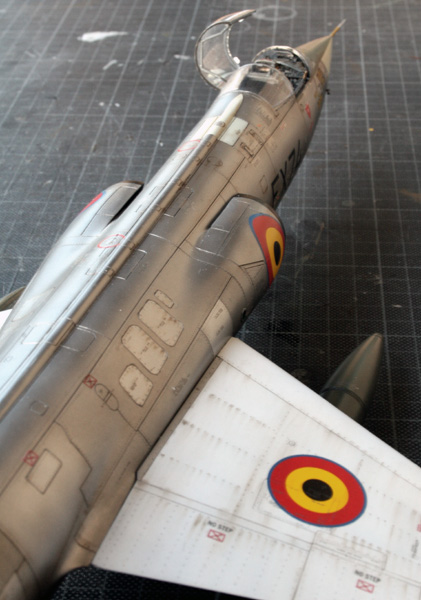
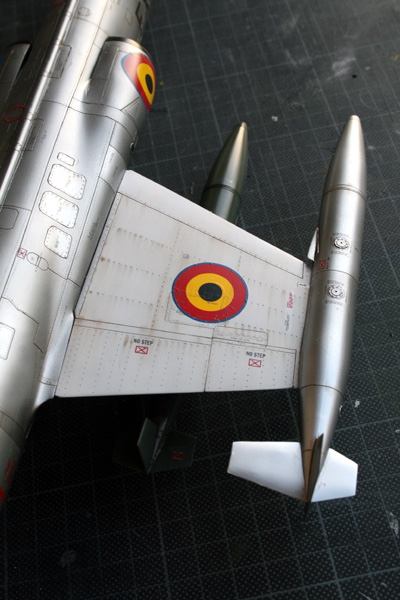
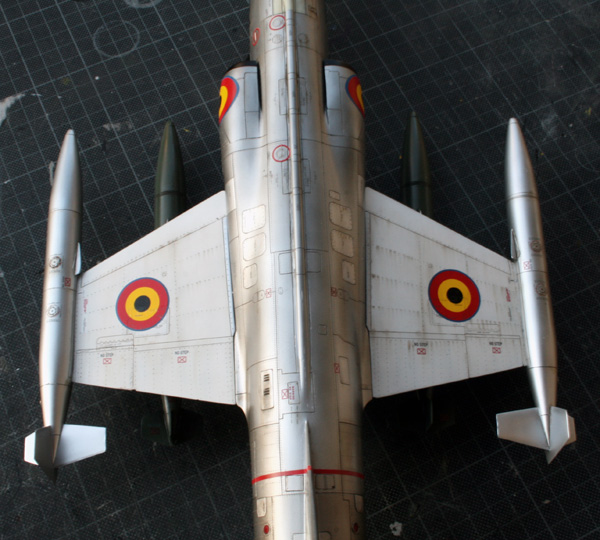
FX74 is the chosen one. The wing bags are quite heavy being resin and needed to be attached with pins. Knowing the thickness of the wing, that was not easy.
Et un ptit montage photo pour finir, comme le veux la tradition.
Not an easy model to photograph, it's so long that the aperture needs to be very high. This was the main build of 2006.