I have 2 Mirage V to build. The first one will be the pointy nose attack aircraft (BA) and the second will be the recce bird (BR)
To reach that goal, I have 3 boxes, 2 conversion sets, 4 big tanks and one PE sheet from eduard and 2 decal sheets. :)
The first model is a Mirage IIIE from Fonderie miniature which has the full heller Mirage in there plus specific plastic, resin, metal parts from FM.
The second model is a Mirage IIIE from Italeri.
The third is a IIIR from academy from which I'll need the nose.
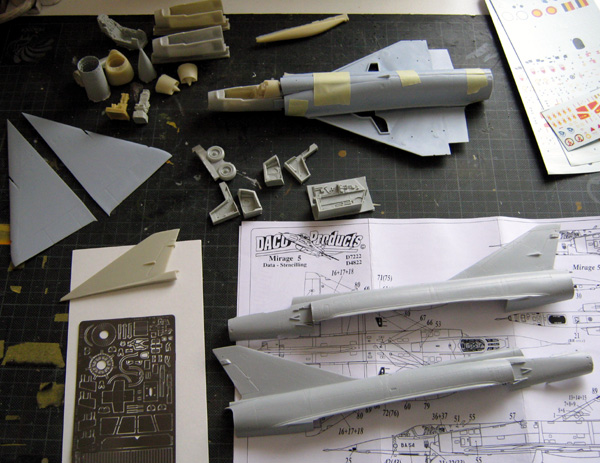
The first conversion kit is from Eagle design kit I think, looks quite old in quality but I'll try it anyway for the BR bird at later stages.
The second set is from PWMC and it's looking great although it could use better instructions, especially on where the front section needs to be cut.
I realized the new front fuselage resin part was broken in the PWMC and JP replaced it with a couple new parts, many thanks JP, you do have a very good after sale service.
Both set of big tanks are from JP as well.
I will use the FM model to make the BA bird and the Italeri/ Academy models to make the BR. Not sure yet which one will be better to use.
Okay, what do I need now? Time, dedication, patience, ...
Be ready for a release of a brand new Mirage V from a well known model company just after those two are done.
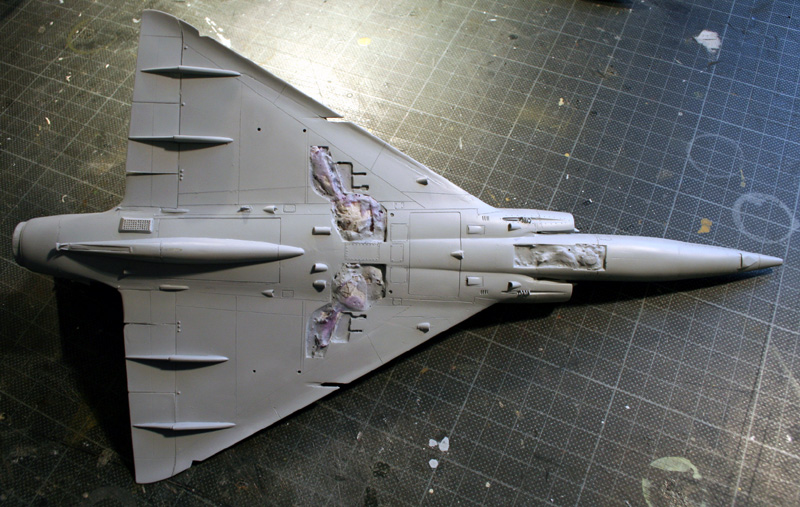
I started by regraving the whole panel lines an rivets on the FM part and replacing the raised lines by recessed engraving on the heller parts. The resin parts only needed some rivets added so I get rivets everywhere since the FM parts have them. Lots of rivetting is visible on the mirageV !
I chosed to mate the resin intakes. The FM fuselage needed a lot of sanding before the intake can be glued on. I also added plastic card on the lower part, so the intake comes flush with the lower part of the fuselage. If it is not done, the gap to fill there would be huge once the heller wings are placed.
The gear bay were sanded as thin as possible and the wings where glued together. I also cut out the speddbrakes which seriously complicates the resin bay inserts but I wanted a finished bird with the speedbrakes slighly opened. The seam line between lower wing and top wing is huge and I filled it with superglue before sanding.
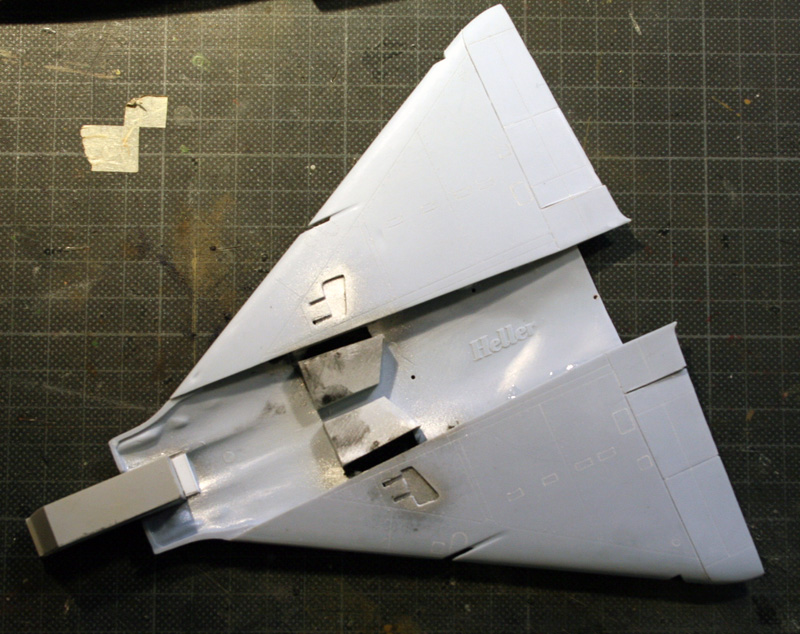
The lower wings flaps actuator were thus recut.
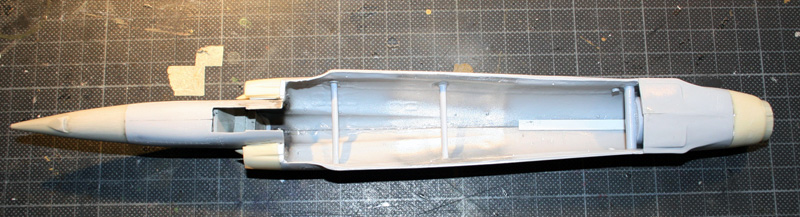
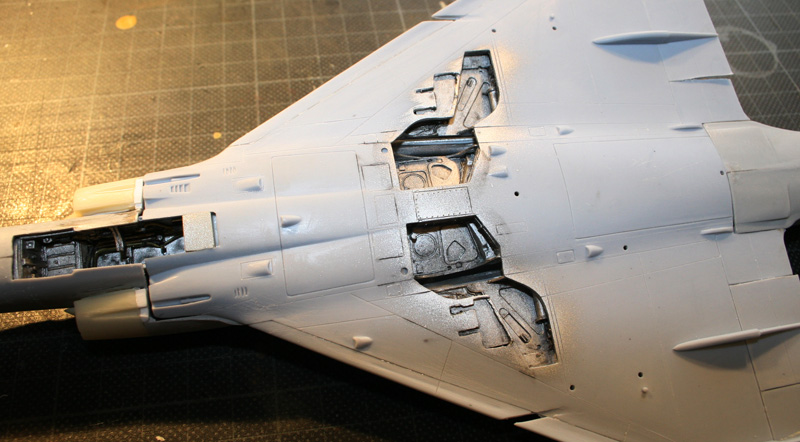
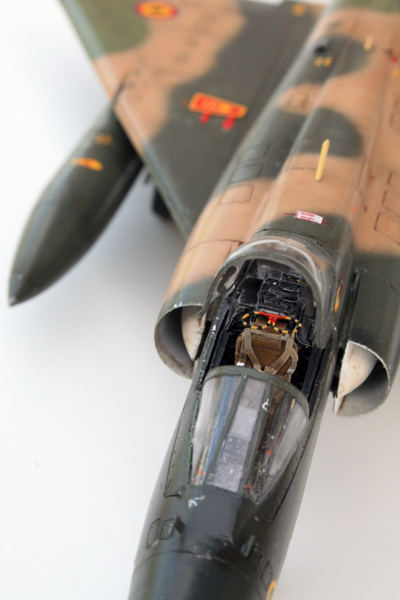
The fuselage was a nightmare. I finally opted to glue both part together (after having cut the tail) without inserting the resin cockpit. Once dry, I inserted the cockpit from the large wing hole and placed it correctly. Placing it before gluing the fuselages together is a disaster waiting to happen.
The tail cut was reinforced from the inside with plastic strips and I added three structural rods inside the fuselage that will hopefully give me a better fit on with the wings. (that's the next disaster).
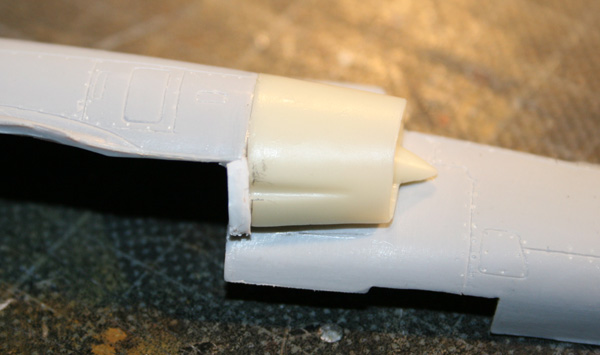
The 5BA resin engine cowling was fitted without too many problems. A light sand or the resin part was required. The back of the engine is provided with the Heller parts cut to length and detailled with the eduard pe.
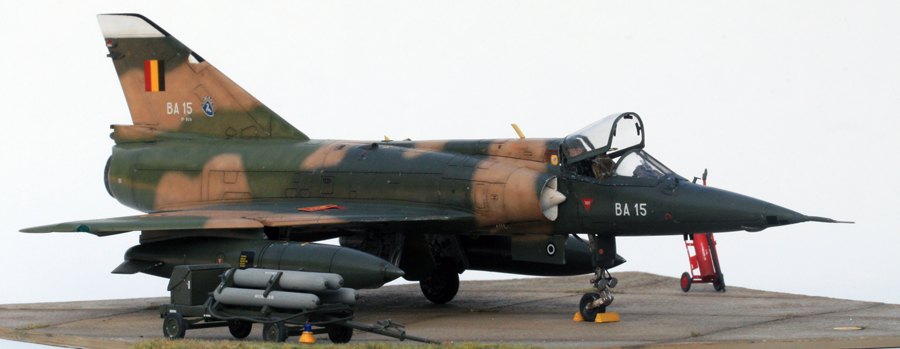
I opened a small panel just aft of the wings which seel to be always opened when the aircraft is on the ground. they attached a can there to collect the leaking fuel to avoid ground fire hazard.
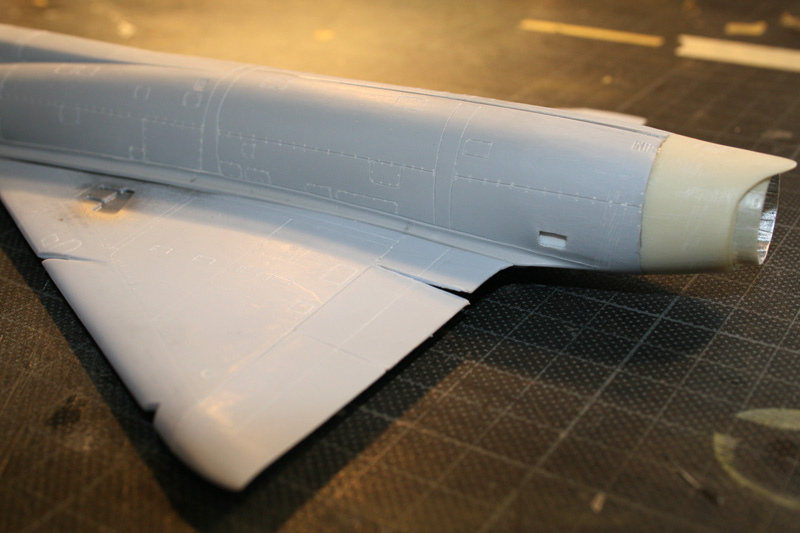
On the nose, the resin radarless cone was fitted but is smaller in diameter than the end of the FM fuselage. A lot of sanding was required here. Of course I realised afterward that I also have the Eagle design nose cone that I could have used ... but too late!
We are now ready for a dryfit.
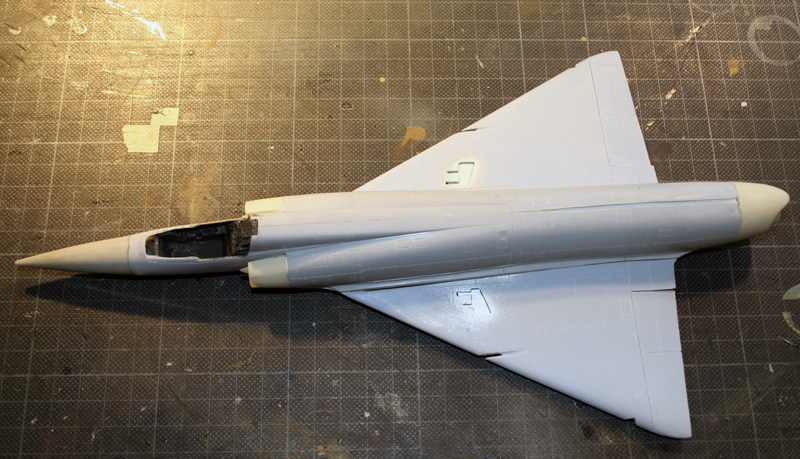
Not bad considering the huge gaps that we could have had if it was done in a hurry. I'm surprised I still can get a decent longitudinal axis. With all those resin parts, it's very easy to end up with a curved model.
There are still huge gaps below the intakes but that will be fixed easily now. The top of the wings will nevertheless require some sanding but at least the wings touch the fuselage now :)
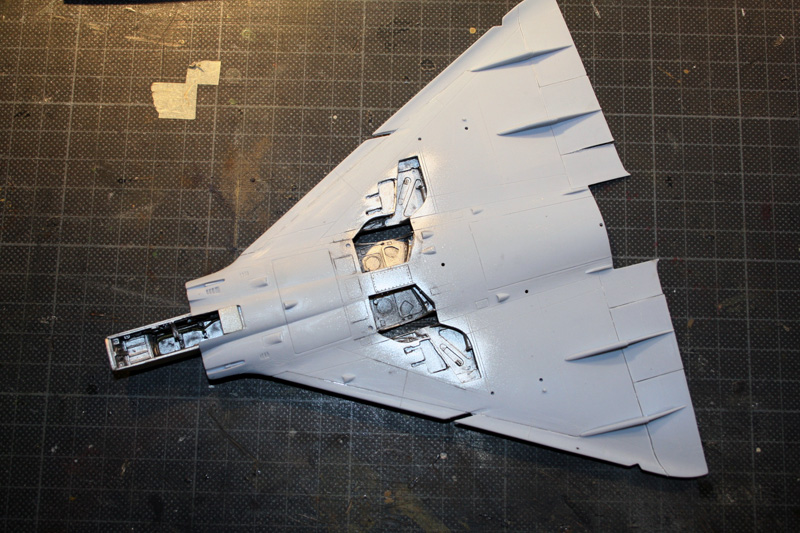
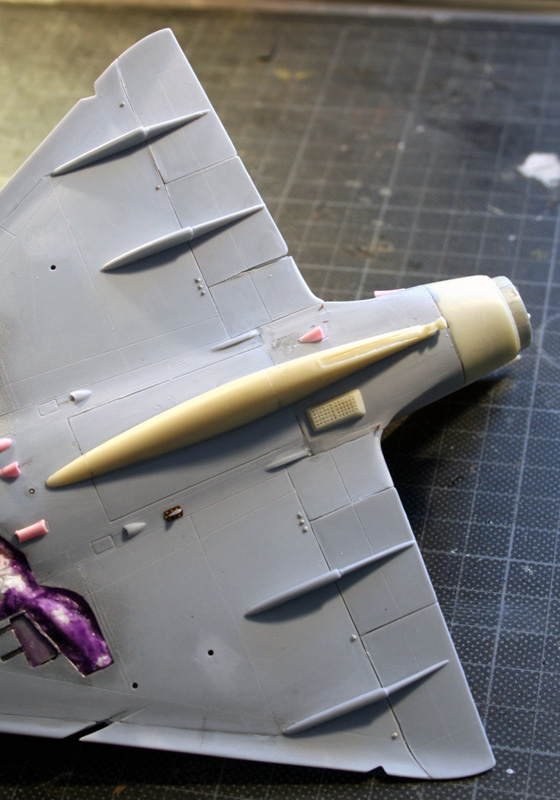
I detailled the airframe with new scoops (a lot of them) made with Q tips (thanks Kermeit for the tip on the Amay forum) I also added some PE from eduard and finished up the engraving (still lack a few lines)
I also assembled the bags, not an easy task because of lack of documentation (especially the angle and position of the small trailing wings) Here's the model before being primed:
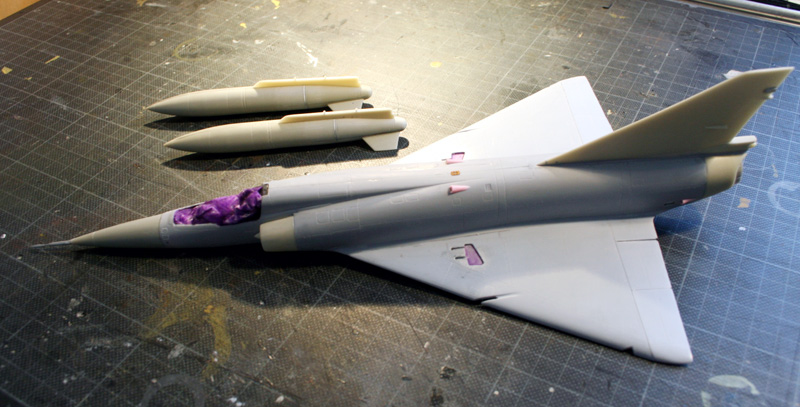
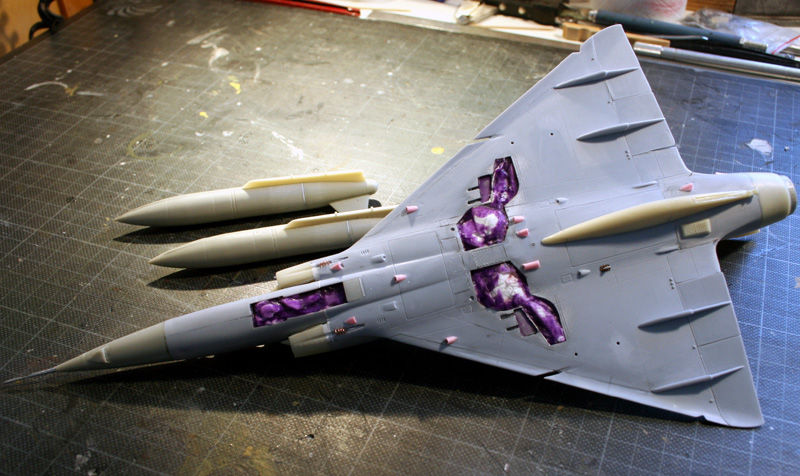
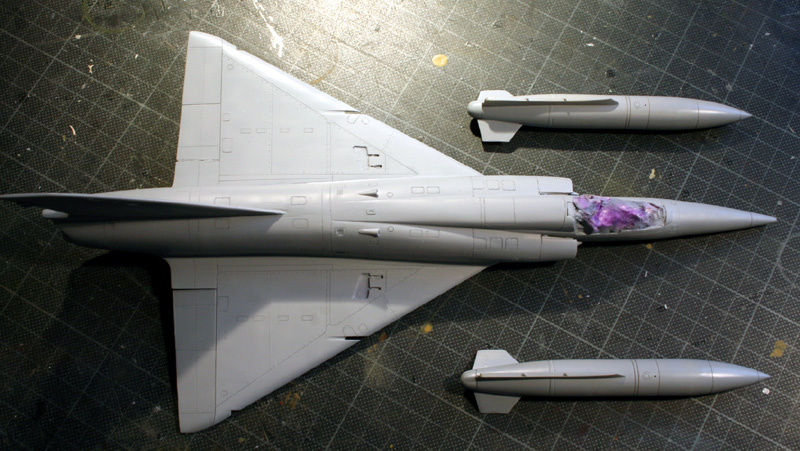
I just need to add the engraving for the doppler antenna under the nose and I'll be ready for preshading, although I don't think it will be quite usefull because of the dark camo to come over ...
I'll also have problem with the front canopy since most of the plastic was sanded during adapting the nose section. I'll address that later when the transparent parts are glued in place, it will be easier than working in the blind now.
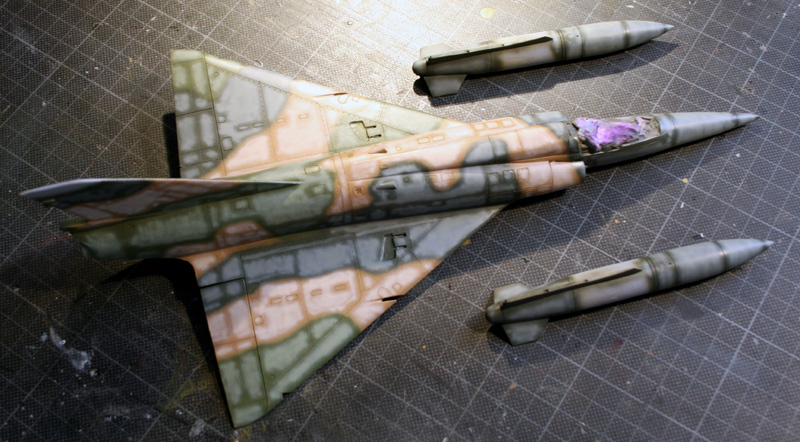
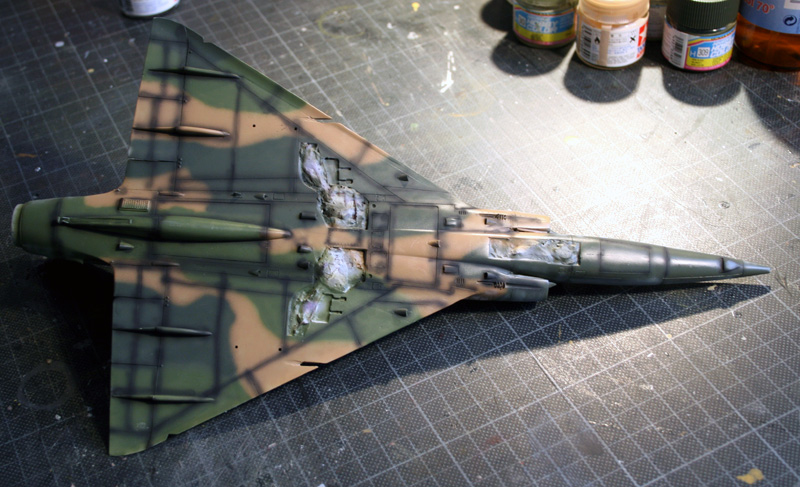
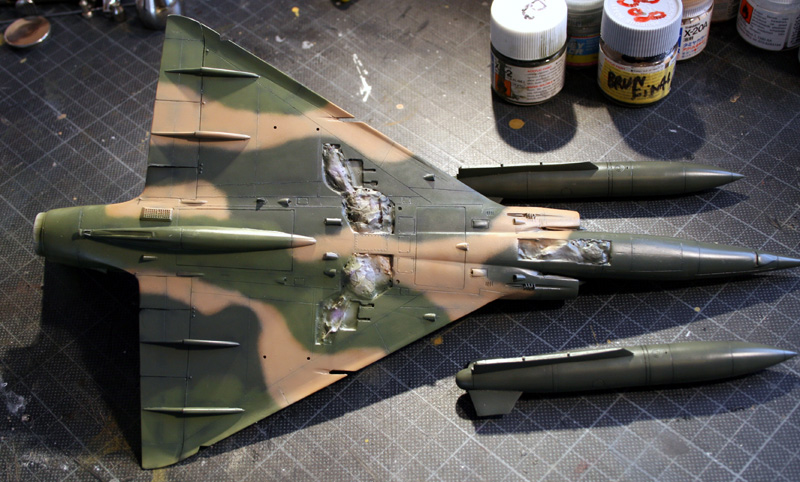
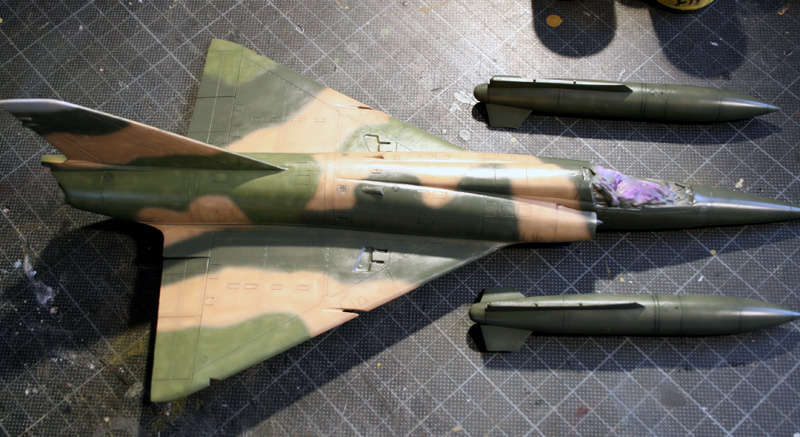
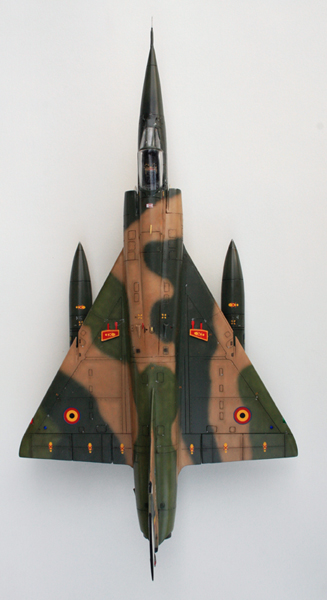
Colours are Gunze H309, H303 and H310. Started rough freehand camo pattern.
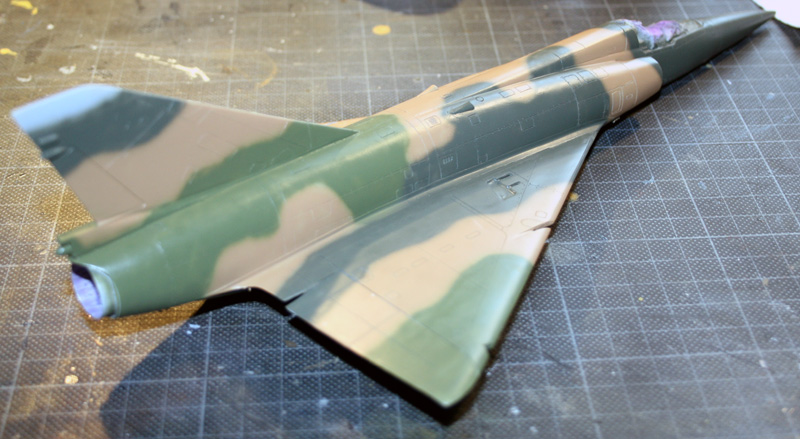
Since our Mirages were pretty weathered at some point, I will use two techniques: Lightening the colours inside the panels on top and preshading in black under the airframe. First time I try this on a camouflaged airplane:
1st step: Base colour + white:
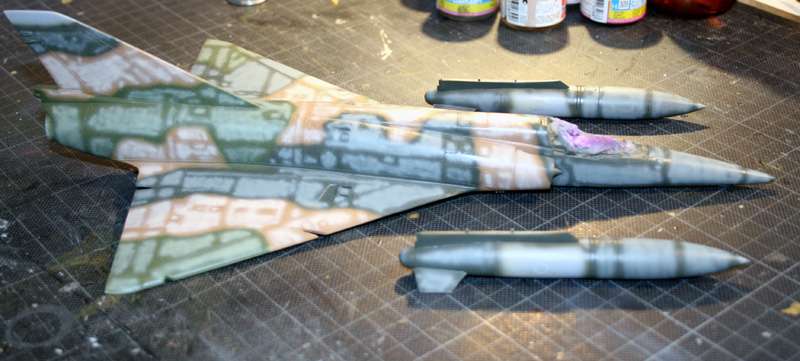
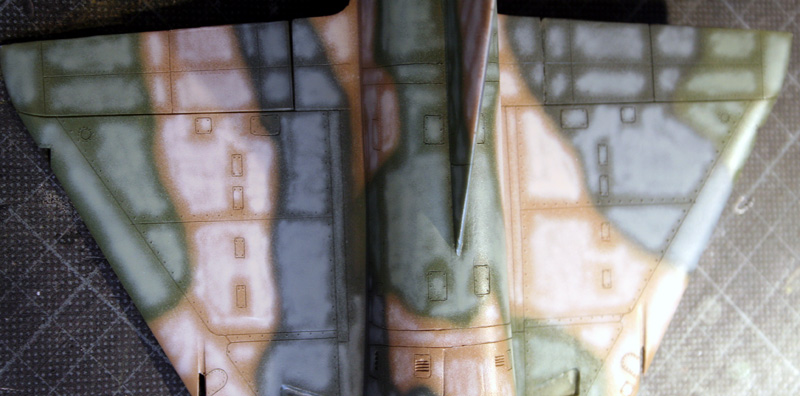
3rd step: blending:
To do that I use a mix of base colour + a touch of hite + Mr colour thinner.
It's an enamel thinner but on acrylics it also make the paint transparent, making it perfect for such applications:
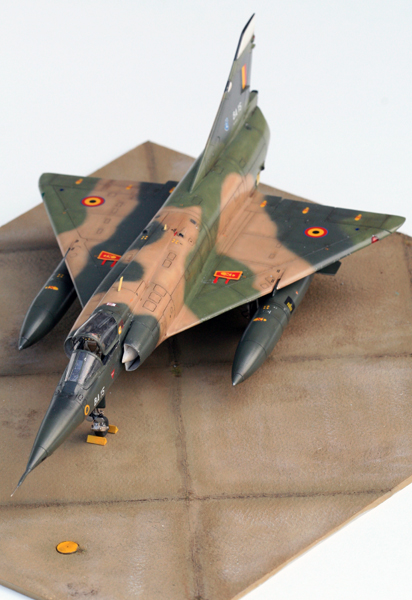
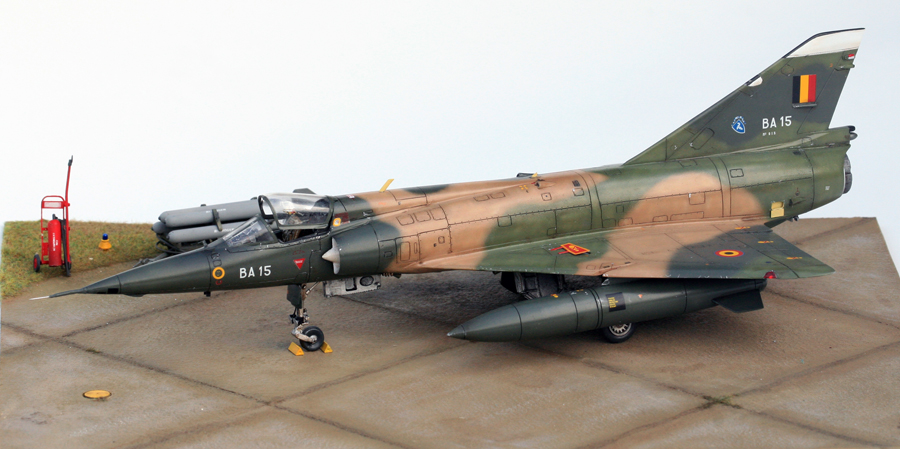
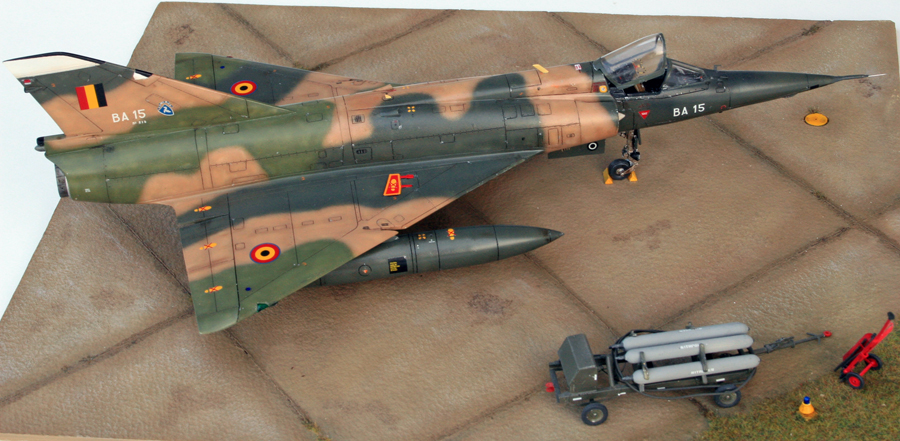
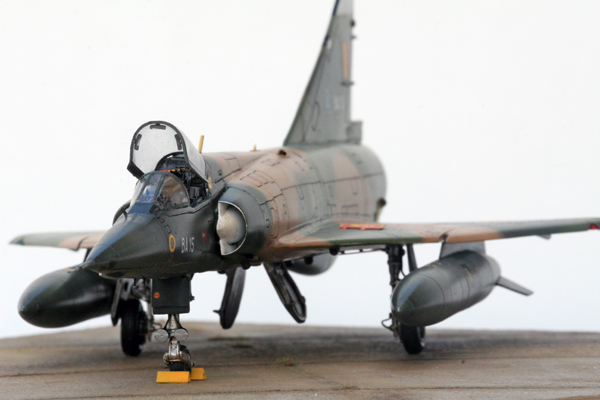
The chosen birs id the one currently being displayed at the air museum in Brussels: BA15
decals are from an old DACO sheet and are perfect.
Fonderie Miniature Mirage IIIE
PWMC Mirage V conversion (and thanks to JP for replacing the initial broken tub :)
Eduard PE
PWMC Fuel bags
Daco decals
Model completed August 2009