
Cutting tamiya tape in multiple strips of 18mm can be time consuming and it might become difficult to lift them from the cutting pad. So i decided to source ready made masks for the US national insigna.
I turned to maketar which I never tried before and provides masks in vinyl or kabuki. We probably all tried the vinyl masks already for canopies (although I tend to use tamiya tape as well) The problem with vinyl is that it skrinks quite a bit and that may deform the shape of your mask. Especially for larger shapes or masks that you have to apply in complicated surfaces.
Kabuki on the other hand doesn't shrink as much and is actually the same material as the Tamiya tape. So although you might not be familiar with the name, you are with the material.

This B-25 needs some rather large stars and bars on the wing. No way I could make that easily with strips of tape and cutting that star by hand. I decided to look for ready made masks and found Maketar US Insignia Series (MM32015). The B-25 has two 60 inches insignia on the wings. The 60 refers to the height of the real size insignia. It's the biggest on the maketar set which has 4 of them. But many other sizes are available: 55", 50" down to 14" Perfect for multiple models.

The set is made of several yellow kabuki sheets with the different sized stars and bars laser cut. The correct masks are easily identified on the sheets although it is not easy to see the cuts on kabuki.
I must confess i looked at the masks for quite a long time trying to figure the best way to proceed. Unfortunately the instructions weren't very clear about the best method to paint the star and bars. Obviously positive and negative masking can be achieved with the provided masks.
I already had my B-25 wing painted in alclad semi mat aluminium finish. So the negative masking method should be tried first.
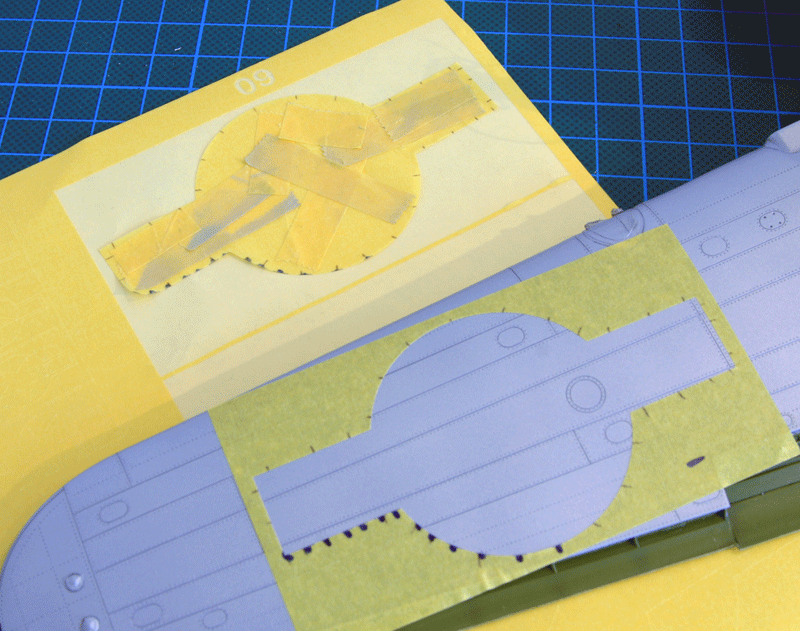
As it is often the case i screwed up the first attempt! After such a long time pondering about the method to use i simply lifted the negative mask out of the sheet to stick it on the wing. I overlooked the instructions clearly stating to use tamiya tape to keep the mask in one complete set before applying it to the model. Let's say I wanted to a test if the kabuki would remove the alclad paint.
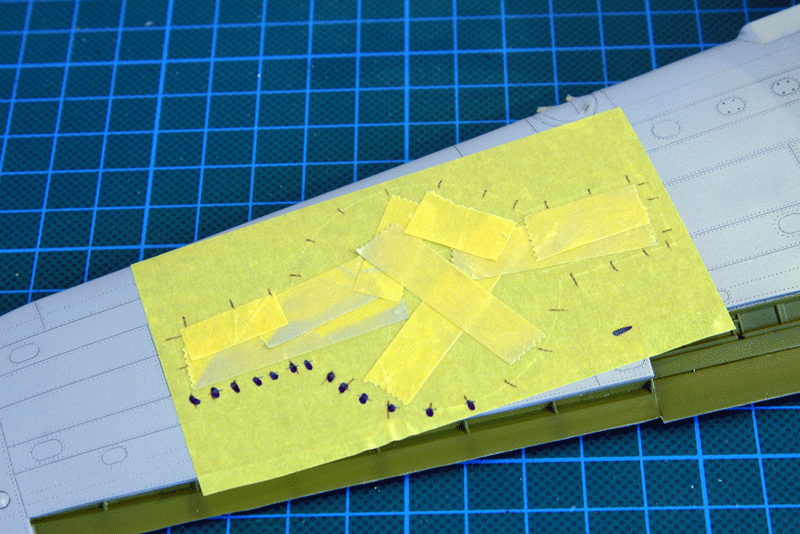
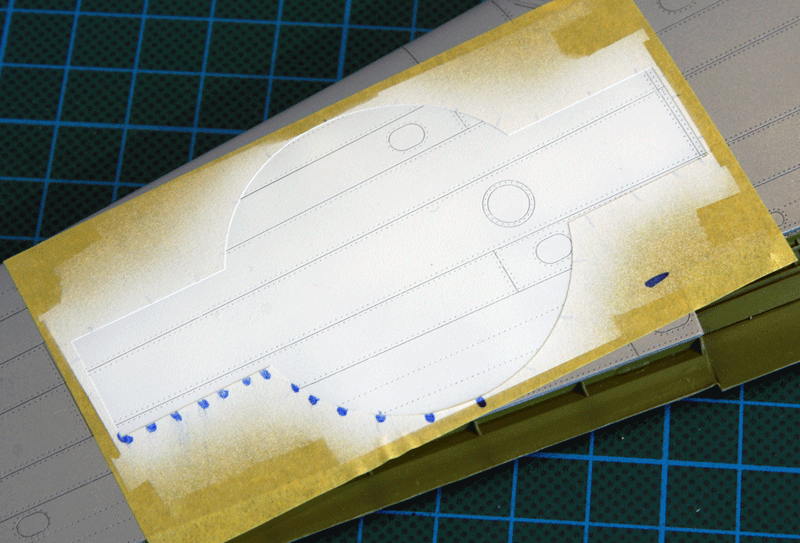
I replaced the mask on the kabuki sheet carefully aligning it and taped all the mask parts together with 5 strips of used tamiya tape. The mask was now completely removed from the support and carefully aligned on the wing.
I replaced the mask on the kabuki sheet carefully aligning it and taped all the mask parts together with 5 strips of used tamiya tape. The mask was now completely removed from the support and carefully aligned on the wing.
Aligning it correctly is not the easiest thing because you hardly see the mask cut lines. It might be a good idea to draw some reference lines to make it a bit more obvious. Now was the big question:
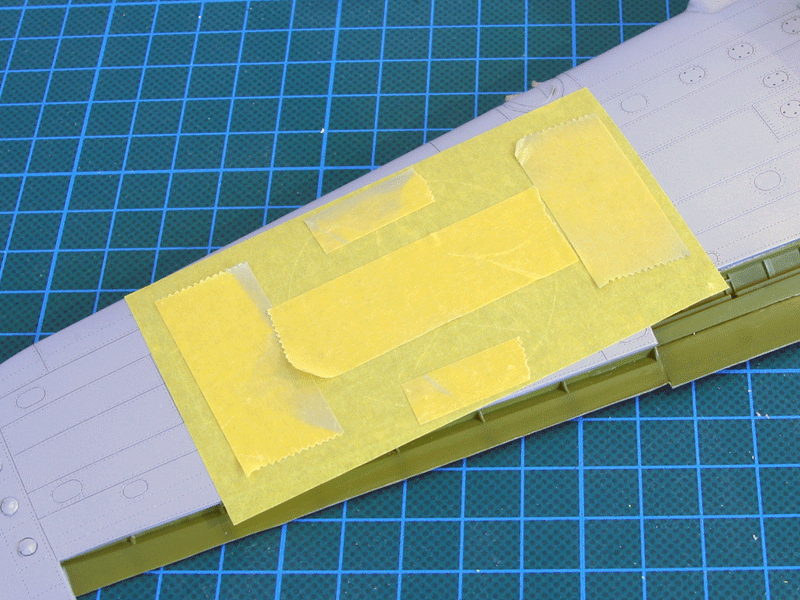
Do I paint blue or white first? In the end the old colour logic won and i decided to paint the lighter colour first. So i repositionned the used tamiya tape Inside the star and bars and removed it completely, but not before having marked some alignement tab.
Do I paint blue or white first? In the end the old colour logic won and i decided to paint the lighter colour first. So i repositionned the used tamiya tape Inside the star and bars and removed it completely, but not before having marked some alignement tab.
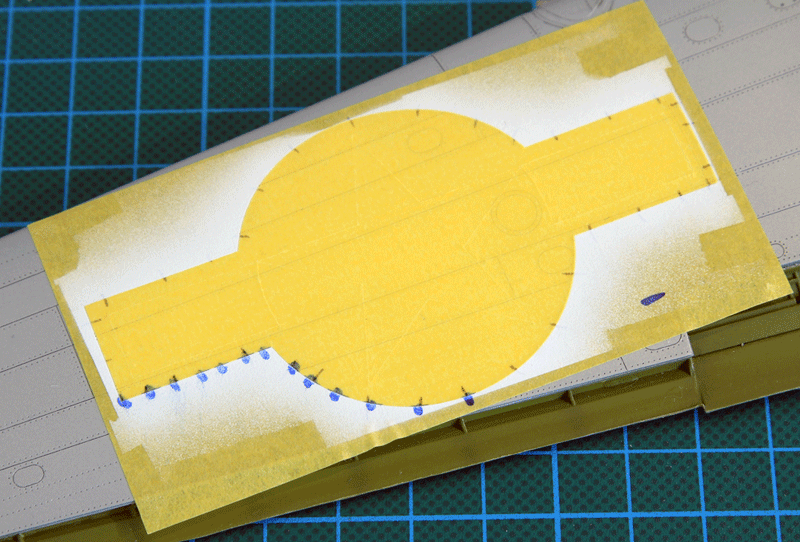
The mask was carefully stored on its support paper and tamiya flat white was sprayed.
After the white dried the star and bar was once again realigned with the mask on the wing. The alignement marks greatly helped to get proper alignement from the first try.
The used tamiya tape was removed and the mask covering the blue part were then removed.
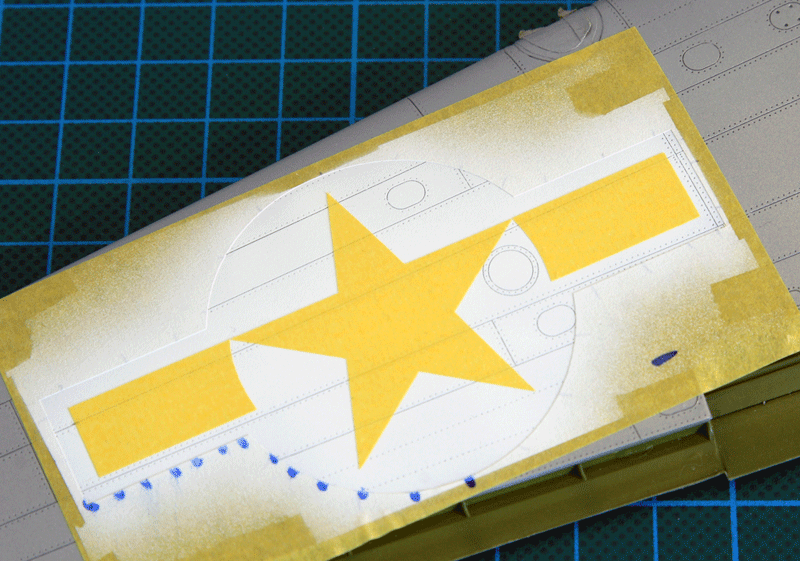
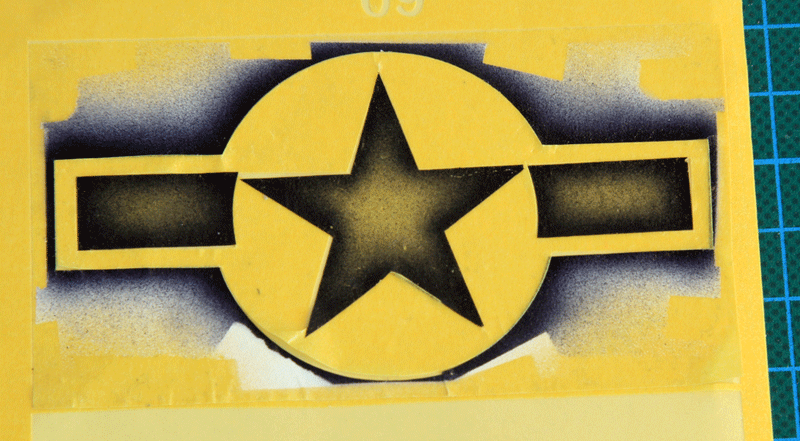
Gunze H321 was then sprayed
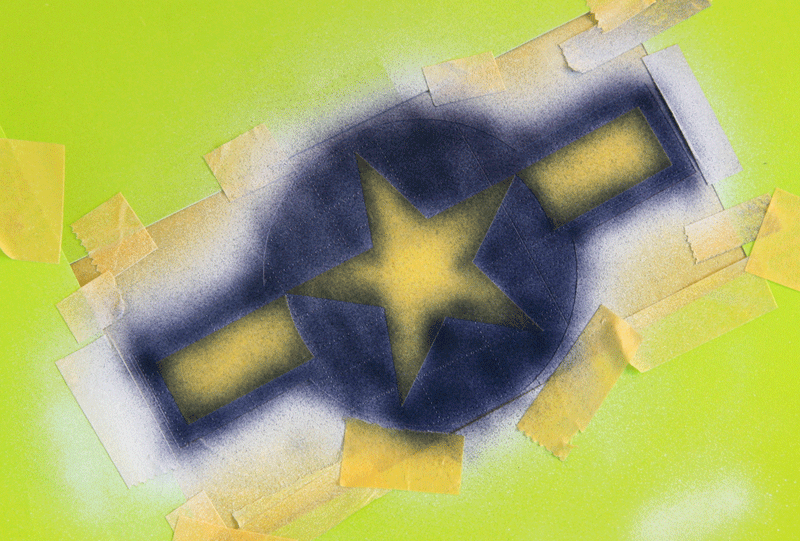
And the masks fully removed:
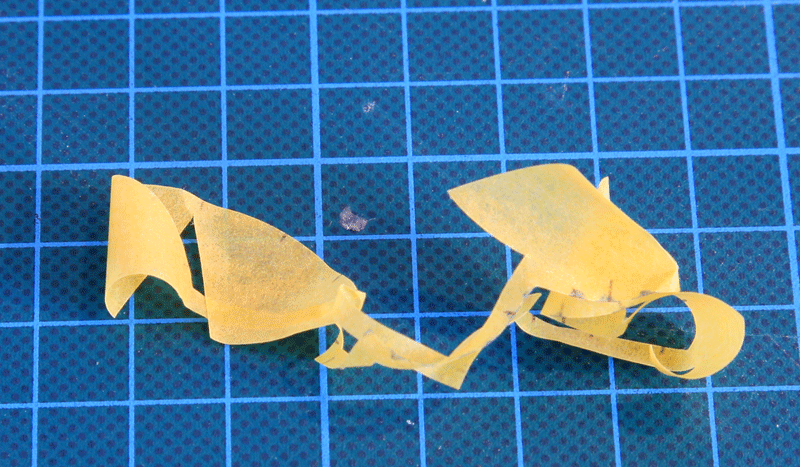
That mask was not easy to remove without messing it up. They say that kabuki can be reused multiple times and that's probably right if stored in sealed plastic bags, but the real challenge is to remove these masks without destroying them and to realign them all together. I am sure it is much easier with plain numbers masks but that national insignia wasn't easy to salvage.
But thanks to its very low tack it is possible if you are patient.
Would I use it again? Well you can see it suffered and it is bent a little so more care should be needed to align it correctly. I am sure i will try to use it again but I may do that on a underwing rather than the top of the wing :)
Would I use it again? Well you can see it suffered and it is bent a little so more care should be needed to align it correctly. I am sure i will try to use it again but I may do that on a underwing rather than the top of the wing :)
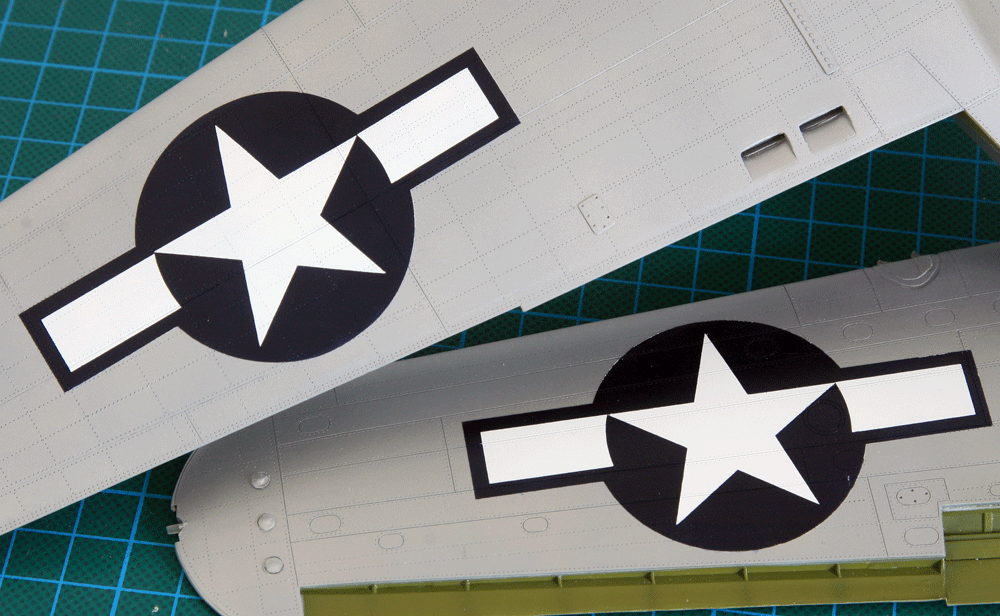
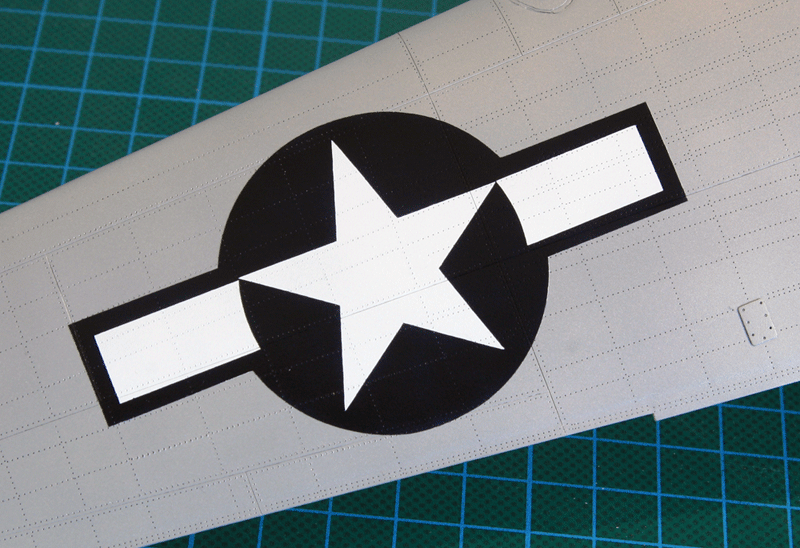
The final result though is very rewarding. The edges are very sharp and there is no paint spill under the mask. It took much more time than using water decals but the control you have on the colour and the weathering will be second to none compared to decals.
I may try the positive masking technique on the fuselage to see if it is any easier. My main concern is the alclad. I'll update this article with my findings.
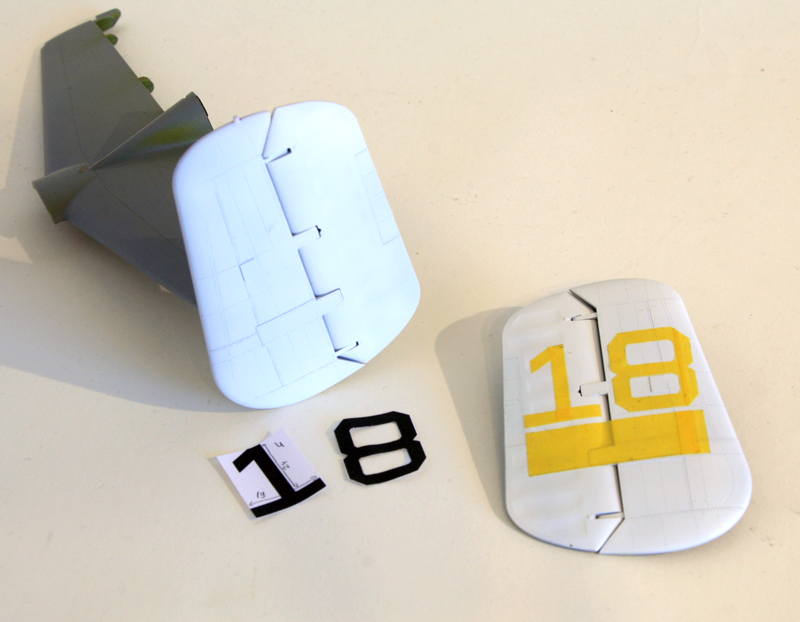
Kabuki sheet can also be bought uncut. I couldn't resit buying a few to make some experiments. As I very often design my own decals I sometimes run into decal transparency issues because the ink of my homemade decals are too transparent. When the model background colour is too dark the homemade decals may be invisible or not contrasted enough for satisfactory result. I had this very issue with my adversary OA-4M. No way I could make light grey decals visible on the dark grey camouflage colour.
Although the alclad colour used for this B-25 model is much lighter than the Skyhawk grey,
I am concerned that the maid in the shade homemade decal might be too transparent as well.
I am concerned that the maid in the shade homemade decal might be too transparent as well.
To avoid the issue I will paint the background of the nose art in white but to avoid any white outline on the finished result I will need to precisely define the outline of the artwork. This will be done with a blank Kabuki sheet I bought from Maketar as well. The homemade nose art is outlined in Photoshop in real size and printed straight on the Kabuki sheet. The Kabuki can be easily printed with your default inkjet printer, although I reckon I always tape kabuki on regular plain paper to minimize the loss of the expensive material (I always do the same with blank decal paper). Once printed the outline is cut with an x-acto knife creating a mask that will be used straight on the nose of the B-25. The white paint will ensure that the homemade decals remains perfectly contrasted.
Conclusion:
Masks are giving much better results than decals, especially in larger scales. But it also takes much more time. I was impressed with the way Kabuki behave - even when badly removed from the model - and the fact that you can reuse it is quite appealing.
If you are a die hard decal user, I am definitely recommending you try mask for once and make up your own opinion. Maketar is a good supplier to start with as they have many different masks (including canopies) made for specific models (aircraft and armor) in multiple scales and multiple materials.
Click the banner below to go to Maketar website:
