Thursday, August 20, 2009

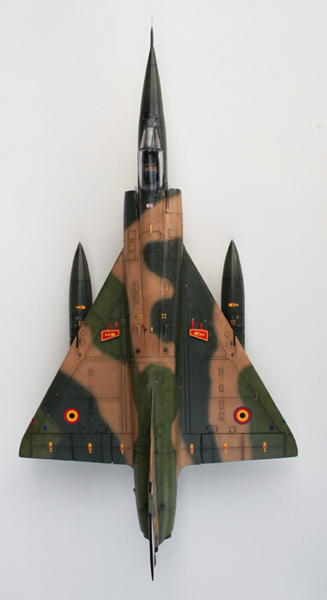
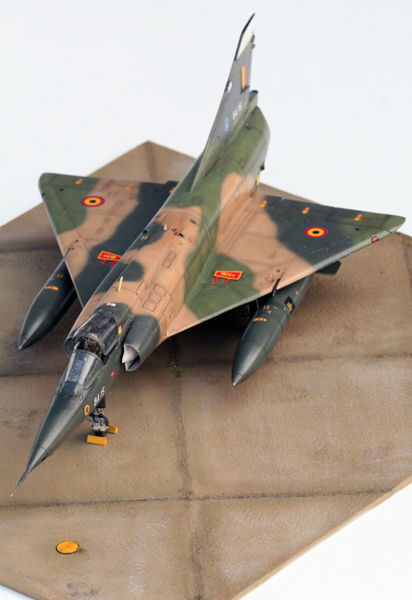
1/48 Mirage V Belgian Air Force


I have 2 Mirage V to build. The first one will be the pointy nose attack aircraft (BA) and the second will be the recce bird (BR)
To reach that goal, I have 3 boxes, 2 conversion sets, 4 big tanks and one PE sheet from eduard and 2 decal sheets. :)

The first model is a Mirage IIIE from Fonderie miniature which has the full heller Mirage in there plus specific plastic, resin, metal parts from FM.

The second model is a Mirage IIIE from Italeri.

The third is a IIIR from academy from which I'll need the nose.
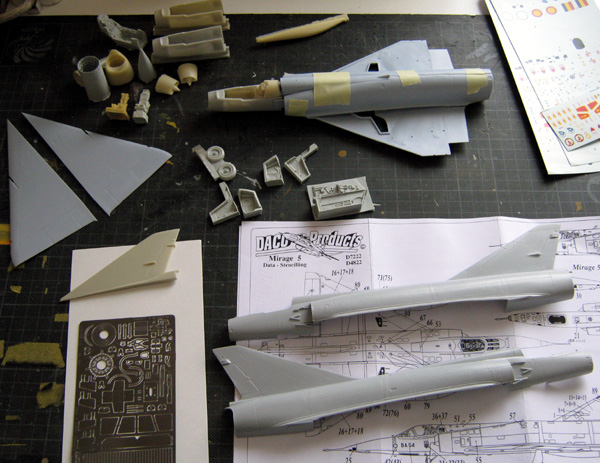
 
The first conversion kit is from Eagle design kit I think, looks quite old in quality but I'll try it anyway for the BR bird at later stages.
The second set is from PWMC and it's looking great although it could use better instructions, especially on where the front section needs to be cut.
I realized the new front fuselage resin part was broken in the PWMC and JP replaced it with a couple new parts, many thanks JP, you do have a very good after sale service.
Both set of big tanks are from JP as well.

I will use the FM model to make the BA bird and the Italeri/ Academy models to make the BR. Not sure yet which one will be better to use.
Okay, what do I need now? Time, dedication, patience, ...
Be ready for a release of a brand new Mirage V from a well known model company just after those two are done.

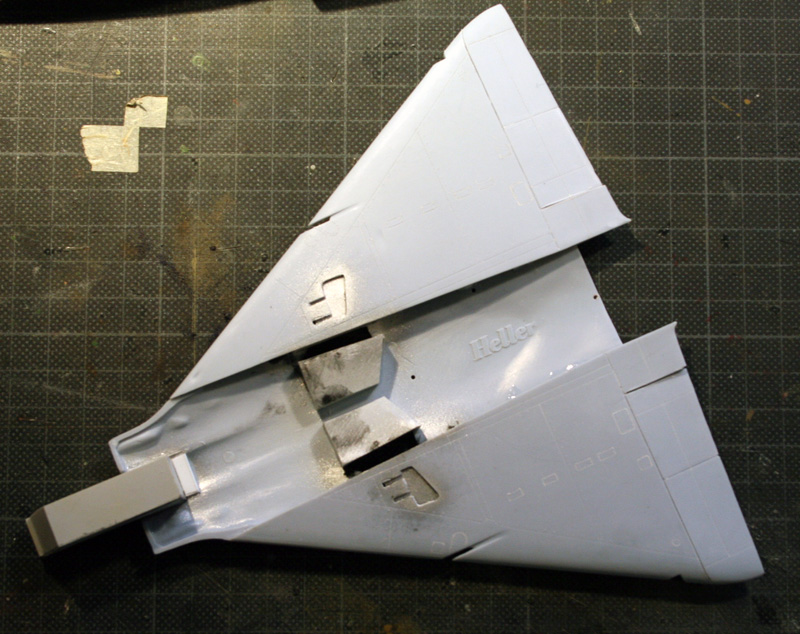
I started by regraving the whole panel lines an rivets on the FM part and replacing the raised lines by recessed engraving on the heller parts. The resin parts only needed some rivets added so I get rivets everywhere since the FM parts have them. Lots of rivetting is visible on the mirageV !
 
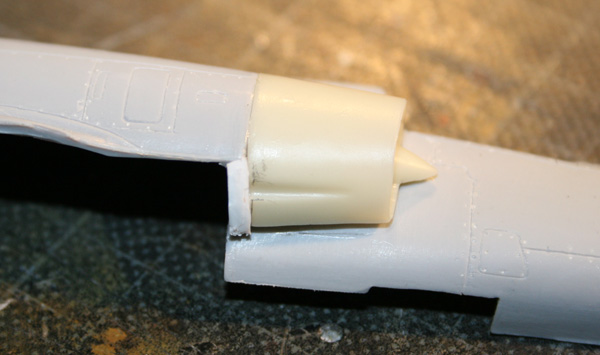
I chosed to mate the resin intakes. The FM fuselage needed a lot of sanding before the intake can be glued on. I also added plastic card on the lower part, so the intake comes flush with the lower part of the fuselage.  If it is not done, the gap to fill there would be huge once the heller wings are placed.
 
The gear bay were sanded as thin as possible and the wings where glued together. I also cut out the speddbrakes which seriously complicates the resin bay inserts but I wanted a finished bird with the speedbrakes slighly opened. The seam line between lower wing and top wing is huge and I filled it with superglue before sanding.
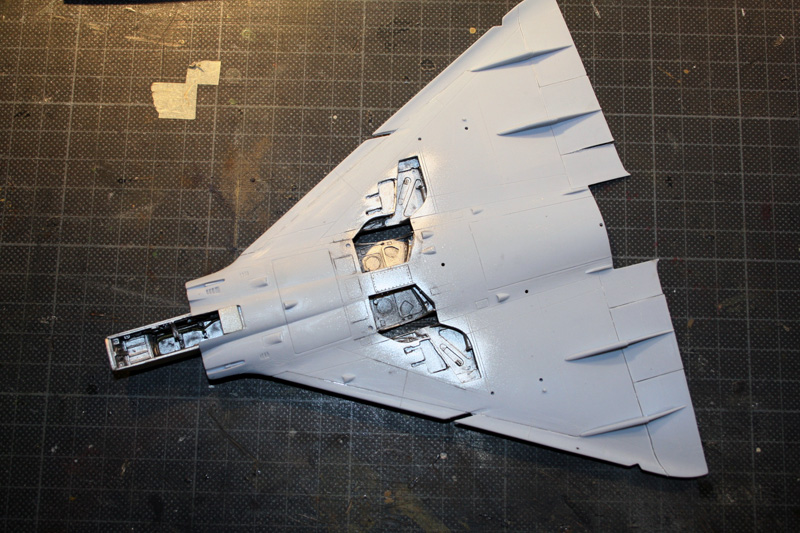
 
 
The flaps were then cut and repositionned slighly lowered as when the Aircarft is not powered up, the hydraulic is off and flaps (as well as main gear bay) drop down.
The lower wings flaps actuator were thus recut.


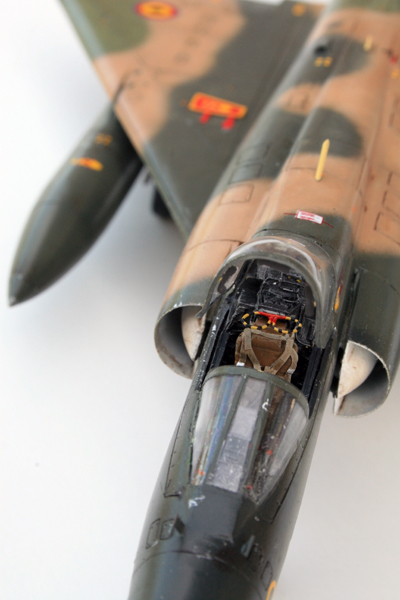
The fuselage was a nightmare. I finally opted to glue both part together (after having cut the tail) without inserting the resin cockpit. Once dry, I inserted the cockpit from the large wing hole and placed it correctly. Placing it before gluing the fuselages together is a disaster waiting to happen.
The tail cut was reinforced from the inside with plastic strips and I added three structural rods inside the fuselage that will hopefully give me a better fit on with the wings. (that's the next disaster).
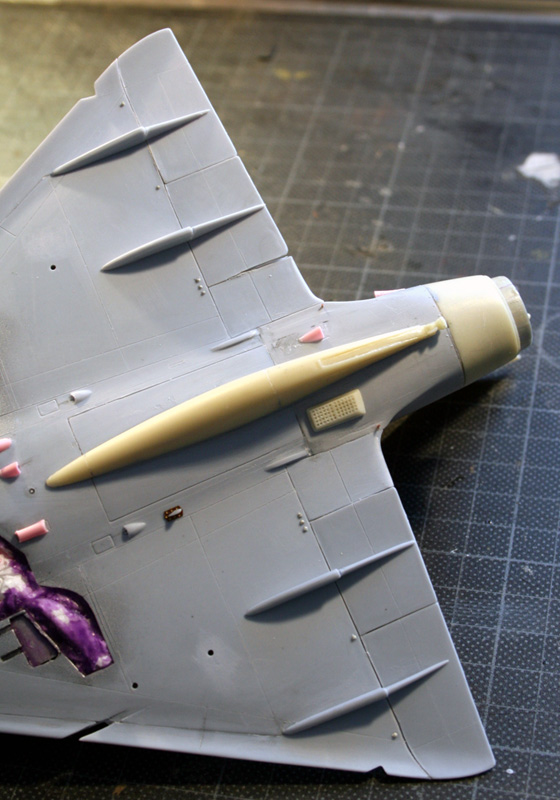
The 5BA resin engine cowling was fitted without too many problems. A light sand or the resin part was required. The back of the engine is provided with the Heller parts cut to length and detailled with the eduard pe.
I opened a small panel just aft of the wings which seel to be always opened when the aircraft is on the ground. they attached a can there to collect the leaking fuel to avoid ground fire hazard.
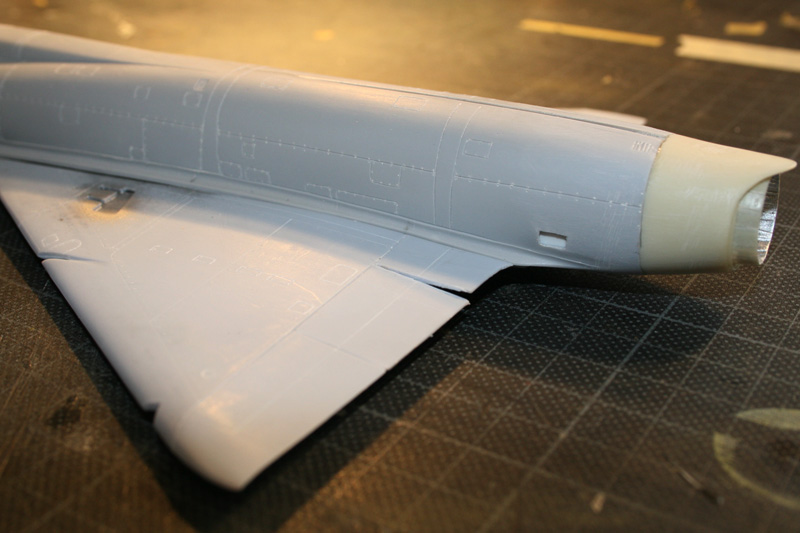

On the nose, the resin radarless cone was fitted but is smaller in diameter than the end of the FM fuselage. A lot of sanding was required here. Of course I realised afterward that I also have the Eagle design nose cone that I could have used ... but too late!
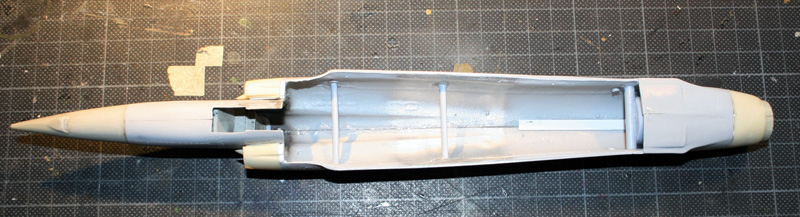
We are now ready for a dryfit.
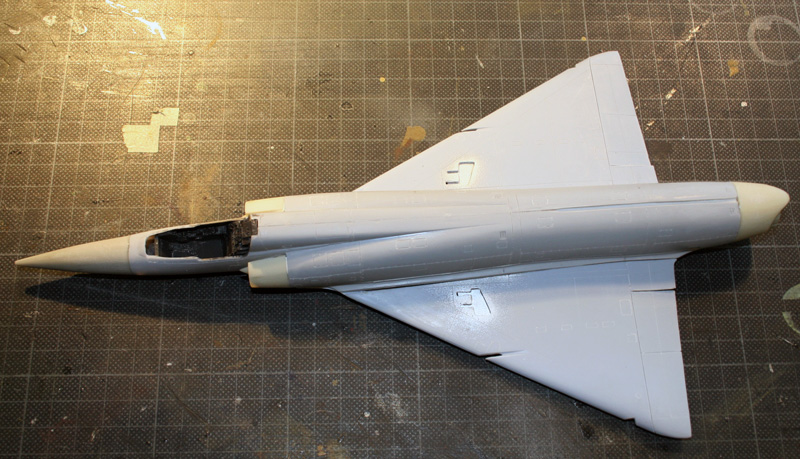
Not bad considering the huge gaps that we could have had if it was done in a hurry. I'm surprised I still can get a decent longitudinal axis. With all those resin parts, it's very easy to end up with a curved model.
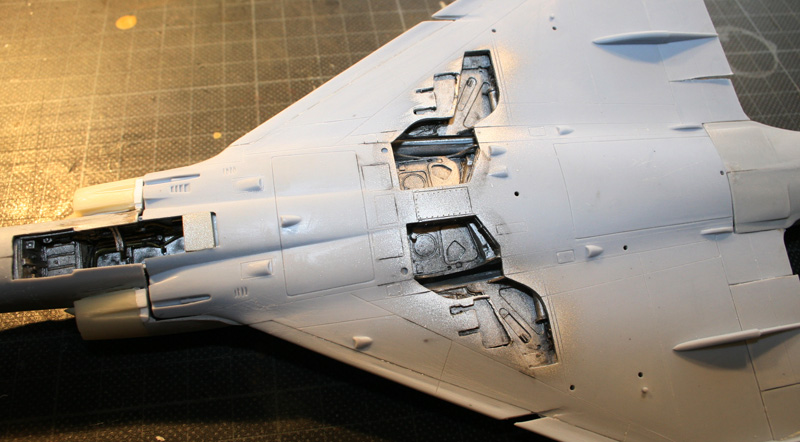
There are still huge gaps below the intakes but that will be fixed easily now. The top of the wings will nevertheless require some sanding but at least the wings touch the fuselage now :)

I detailled the airframe with new scoops (a lot of them) made with Q tips (thanks Kermeit for the tip on the Amay forum) I also added some PE from eduard and finished up the engraving (still lack a few lines)
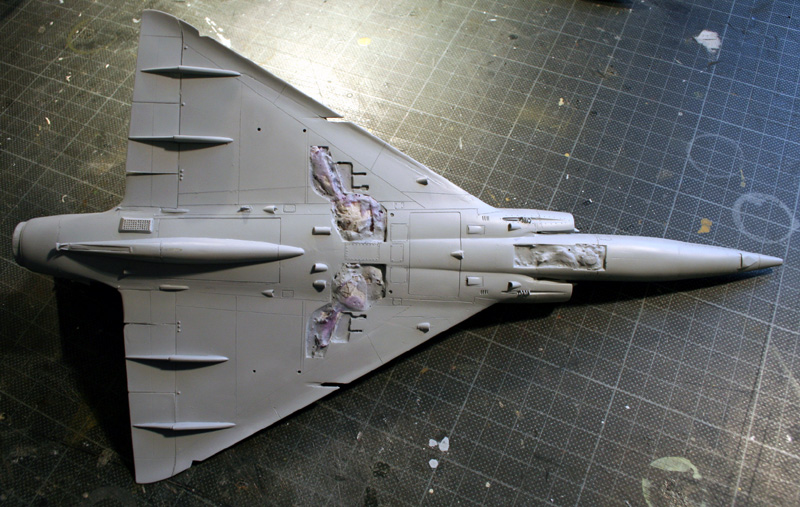
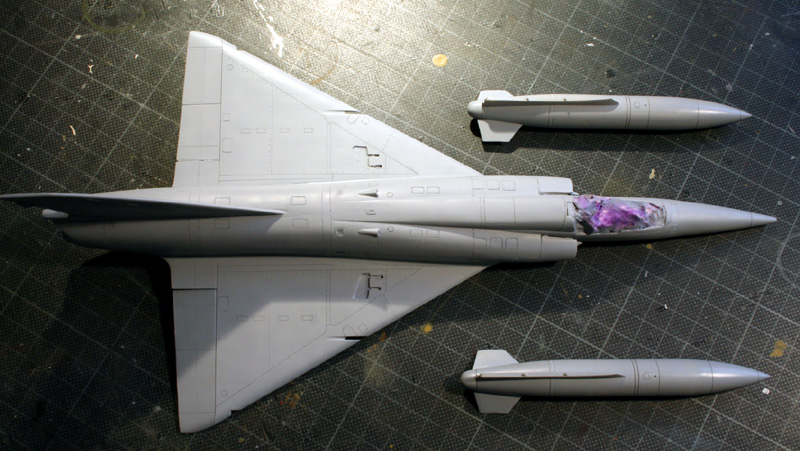
I also assembled the bags, not an easy task because of lack of documentation (especially the angle and position of the small trailing wings) Here's the model before being primed:
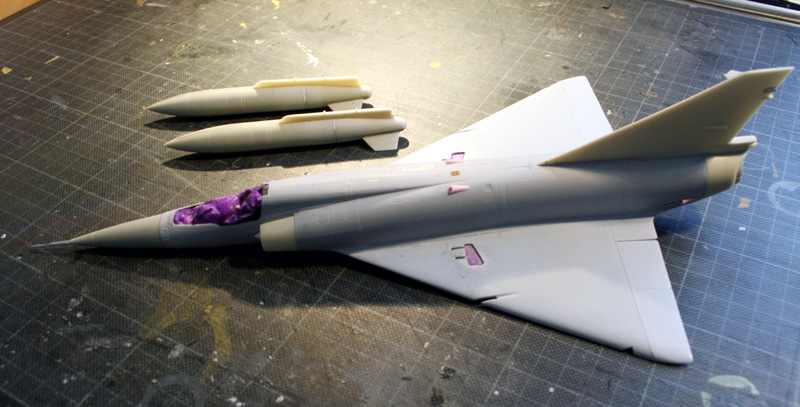
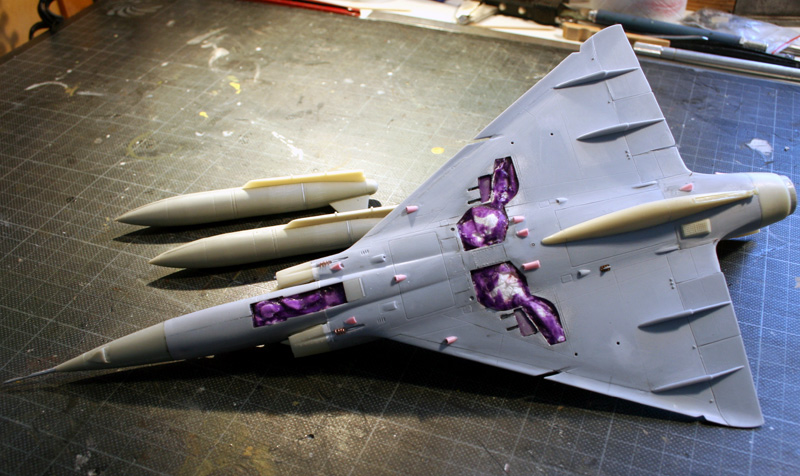


Then I really need that primer coat (Mr Surfacer 1000) because I couldn't detect which spot needed more sanding: So after the first coat of primer, a long correction session was performed, followed by a new coat of primer.


I just need to add the engraving for the doppler antenna under the nose and I'll be ready for preshading, although I don't think it will be quite usefull because of the dark camo to come over ...
I'll also have problem with the front canopy since most of the plastic was sanded during adapting the nose section. I'll address that later when the transparent parts are glued in place, it will be easier than working in the blind now.

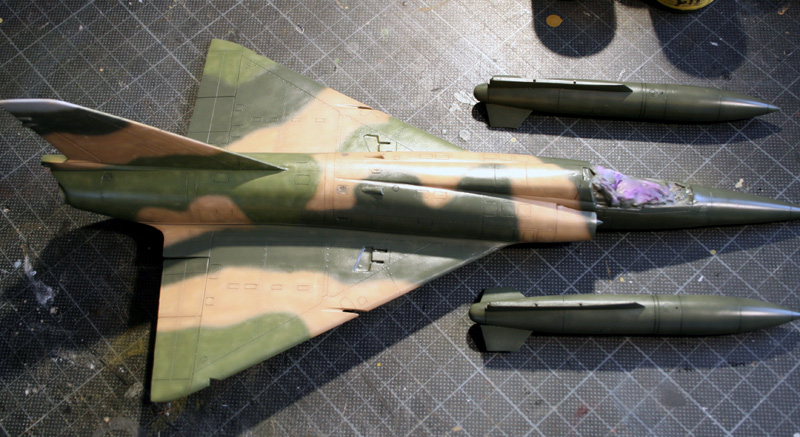
Colours are Gunze H309, H303 and H310.  Started rough freehand camo pattern.
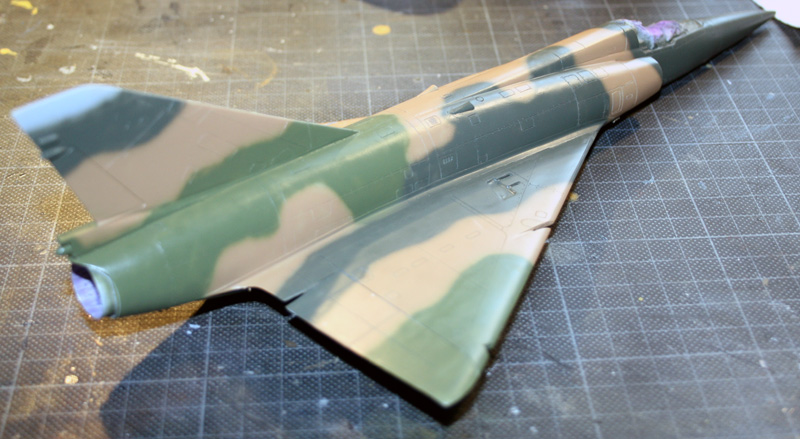
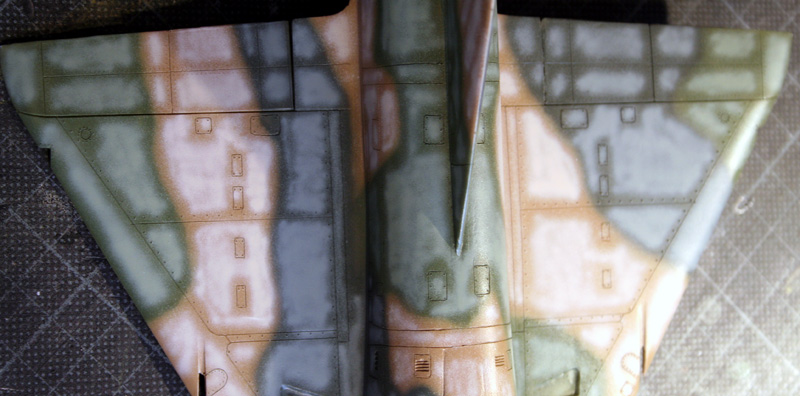
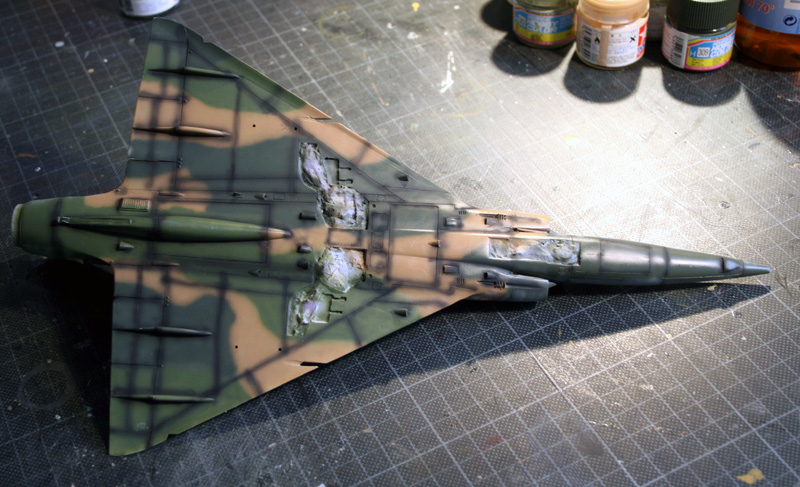
Since our Mirages were pretty weathered at some point, I will use two techniques: Lightening the colours inside the panels on top and preshading in black under the airframe. First time I try this on a camouflaged airplane:
1st step: Base colour + white:
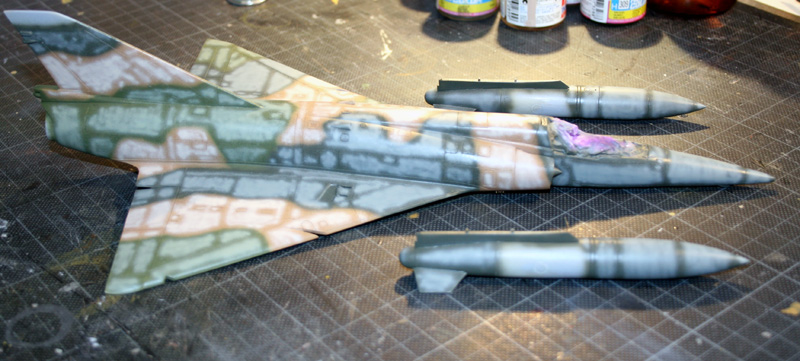
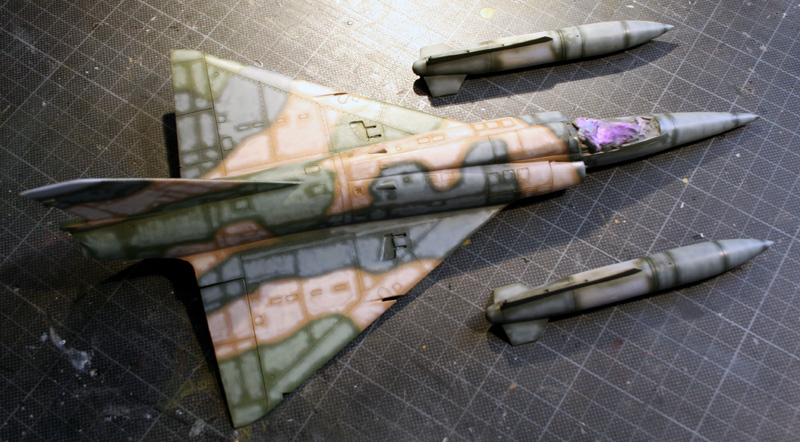
 
2nd step: preshading structures lines under the aircraft:


3rd step: blending:
To do that I use a mix of base colour + a touch of hite + Mr colour thinner.
It's an enamel thinner but on acrylics it also make the paint transparent, making it perfect for such applications:
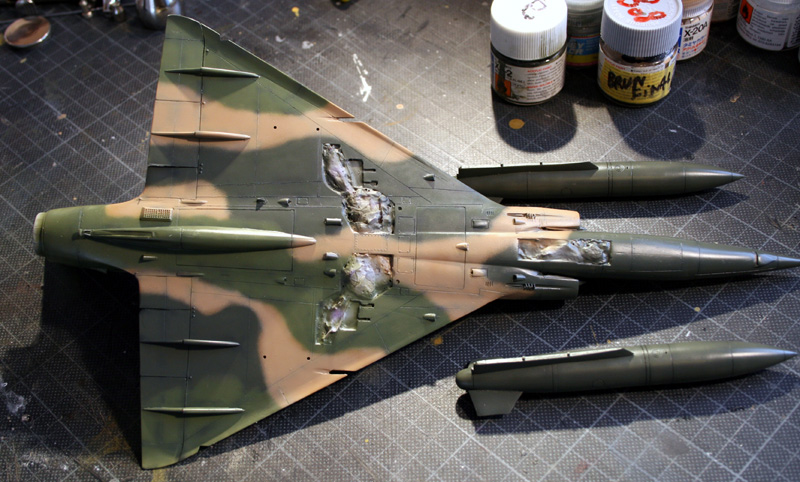


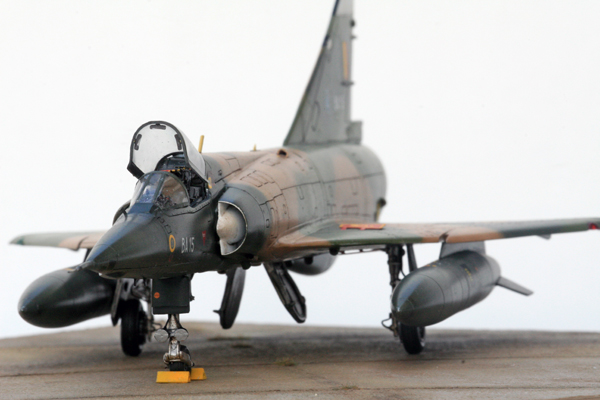
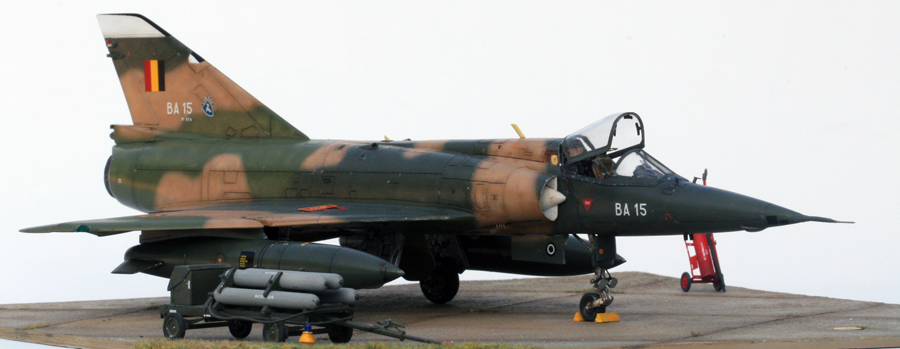
The chosen birs id the one currently being displayed at the air museum in Brussels: BA15
decals are from an old DACO sheet and are perfect.
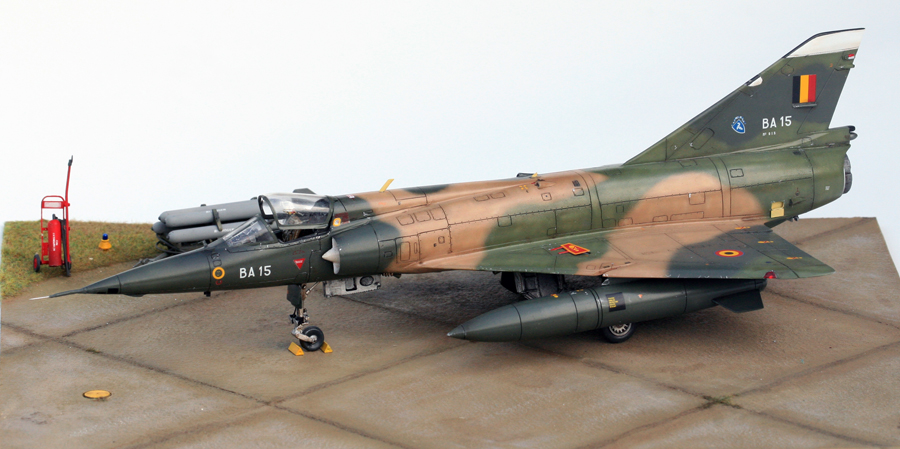
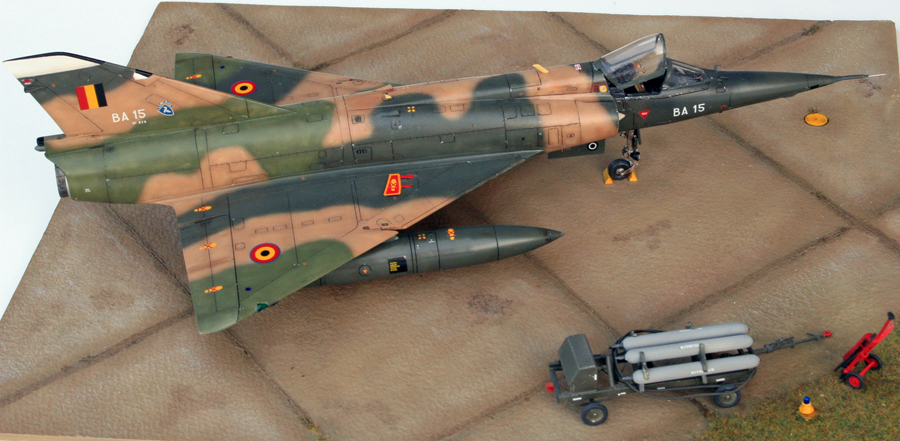


Summary:
Fonderie Miniature Mirage IIIE
PWMC Mirage V conversion (and thanks to JP for replacing the initial broken tub :)
Eduard PE
PWMC Fuel bags
Daco decals


Model completed August 2009

Wednesday, February 18, 2009
A 1/48 RAF warbirds selection

Some Typhoons:

 
Typhoons PR-D (A. Lallemant) & PR-G (R.P Beamont) both based in Manston in 1943
The models are Hasegawa and are built straight from the box except for the PE belts (LionRoar) and decals (Techmod)


Construction is very easy except for the way hasegawa dealt with the fuselage. You better glue the cockpit walls on the fuselage before assembling the two fuselage halves.
Doing so you will have a 1mm gap on top of the fuselage, which is quite easier to correct than having to sand the fuselage sides (IMHO).


Apart from that, lots of tape required to paint all the different colours - much fun :)
No preshading, mostly post shading by lightening the inside of the panels. Colours used are Gunze acrylics , mainly.


The third was build on a small diorama with a comemorative plaque for G. Jaspis - 609th Pilot who unfortunately passed away a few weeks later of having received the diorama, thanks to my initiative of my friend Philippe Lacrosse.


Some Spitfires:

Mk1 Tamiya 1/48, Décember 2004
Gunze H72/H73 - Tamiya XF21
Victory "Aces of the empire" decals
 
MkVb Hasegawa 1/48 - Décembre 2004
Gunze H73/H75 - Aeromaster Med Sea Grey
Victory "Aces of the empire" decals
 
MkVII (hi altitude) ICM 1/48 - March 2007.
Mix H335+H338 and Aeromaster PRU blue (1117)
Victory "Aces of the empire" decals


 MkVIII Airfix 1/48 - April 2007.
Gunze H73/H75 - Aeromaster Med Sea Grey
Victory "Aces of the empire" decals

MkXIV Belgian airforce (Koksijde)
Academy 1/48 - Novembre 2005
Alclad Aluminium - Daco decals
 
MkXIV Academy 1/48 - Decembre 2004.
Gunze H73/H75 - Aeromaster Med Sea Grey
Victory "Aces of the empire" decals
 
MkXIV Occidental (GE-D) 1/48
Hi decals line decals -
March 2007.
& MkXIV ICM (4D-V)
Gunze H73/H75 - Aeromaster Med Sea Grey
 
MkXVI Belgian airforce - ICM 1/48 - November 2005.
Gunze H73/H75 - Aeromaster Med Sea Grey
Daco decals

Sunday, May 25, 2008

Willys in the desert

From time to time, I need a break from aircraft and I do some vehicules.
 

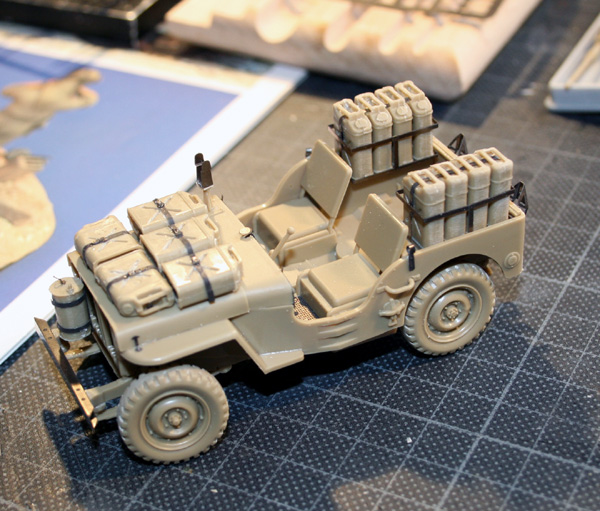
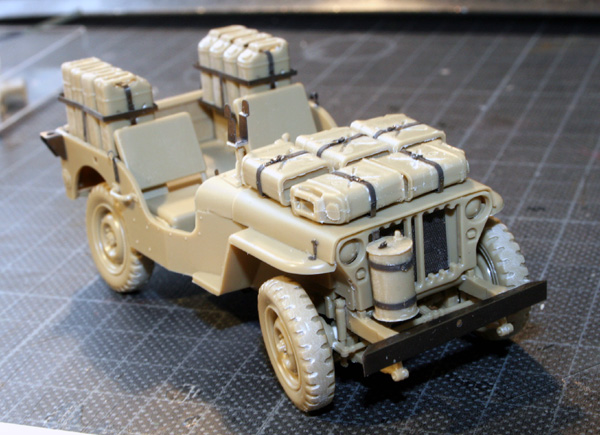
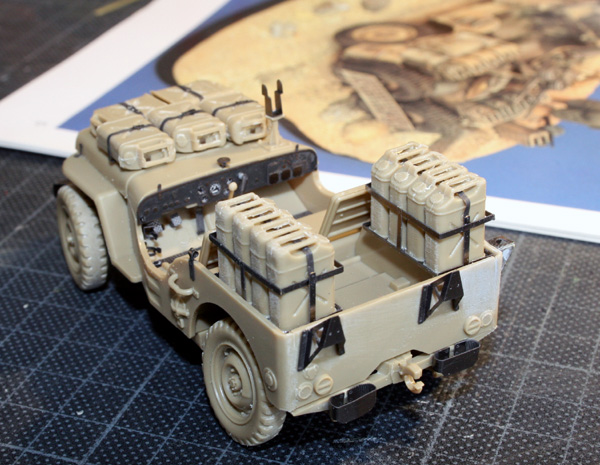
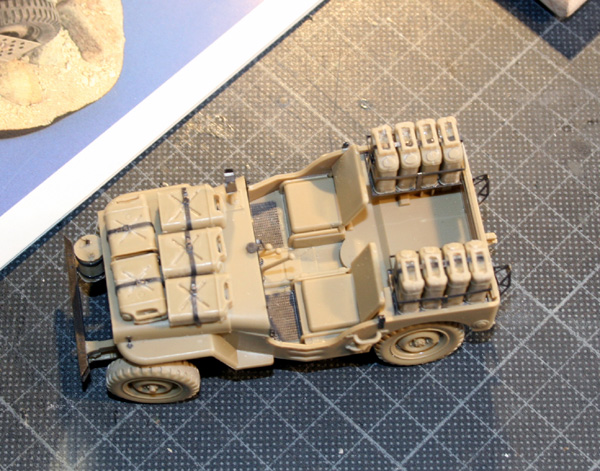
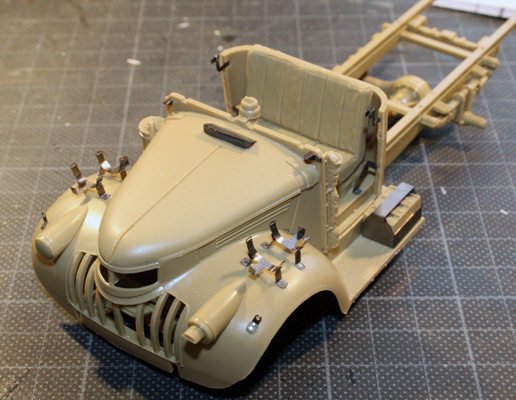
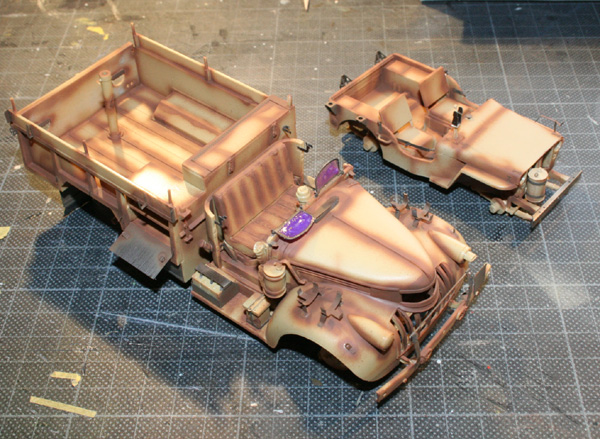
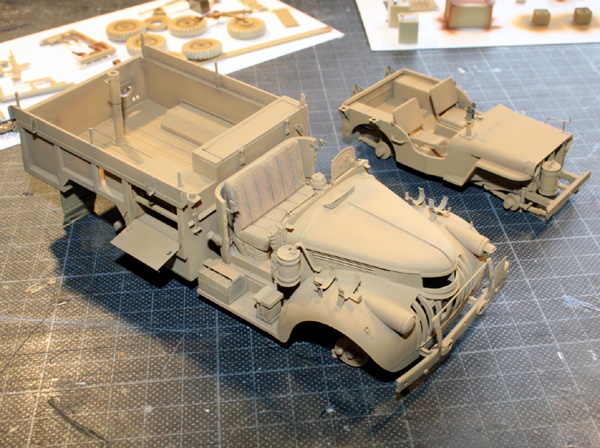
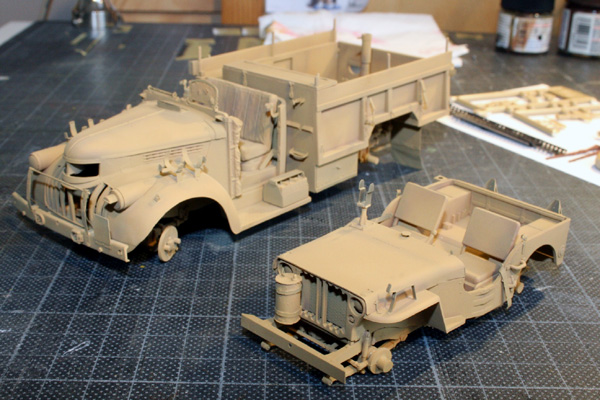
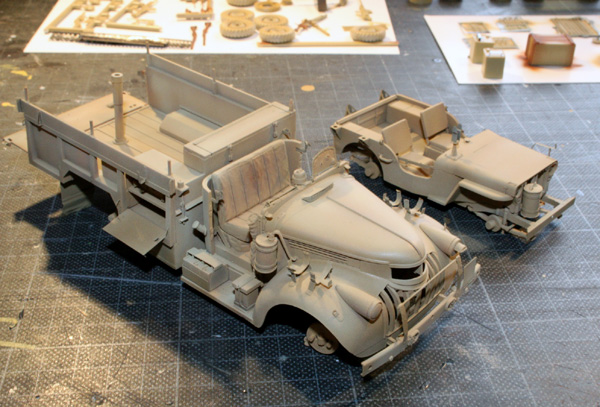
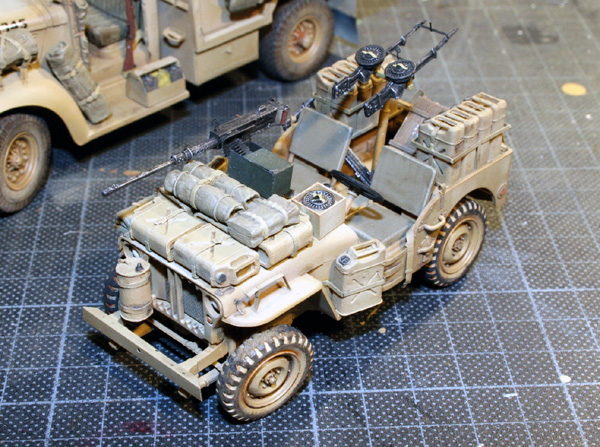
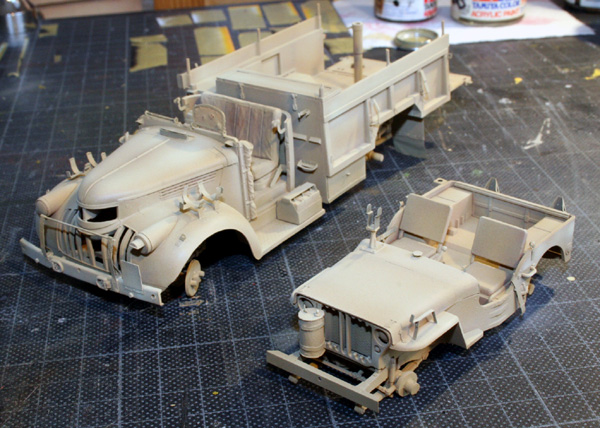
It  started with a SAS Willys Jeep from an old tamiya box I had in the stash.  I also used the Eduard PE set.The model is mainly dry assembled from now as I don't seem to be able to assemble completely the model before painting (old aircraft habit die hard :) )


I put the jeep aside, ready for painting while I build the truck, I'll paint the two at the same time.
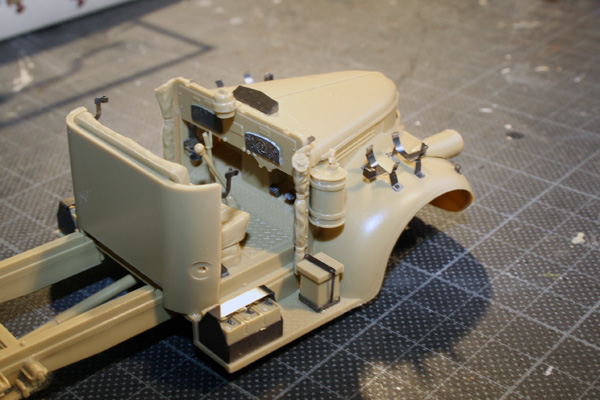
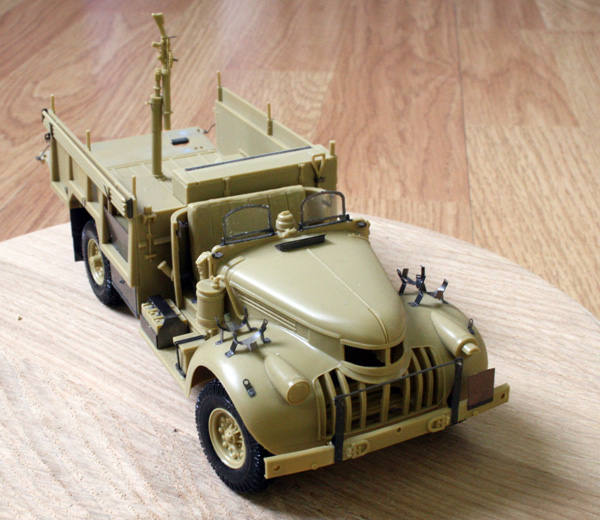
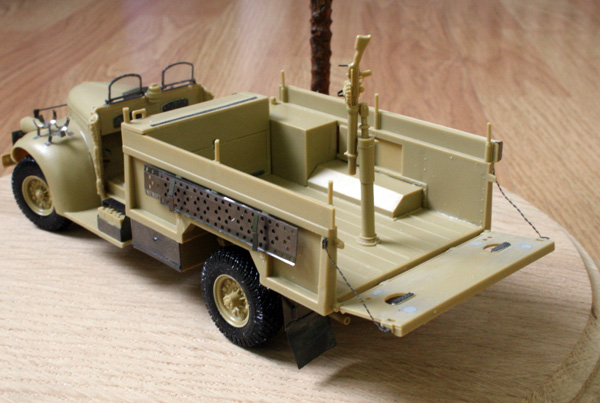
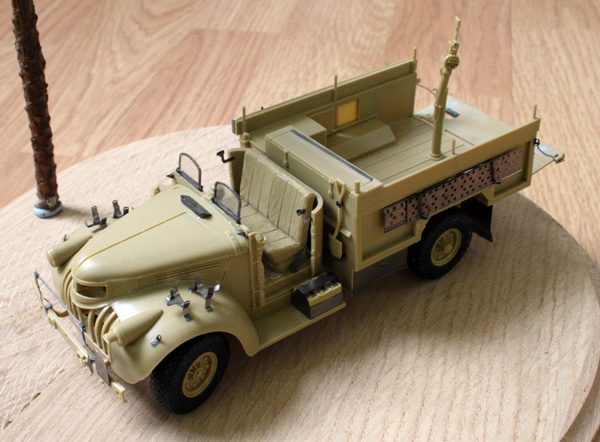
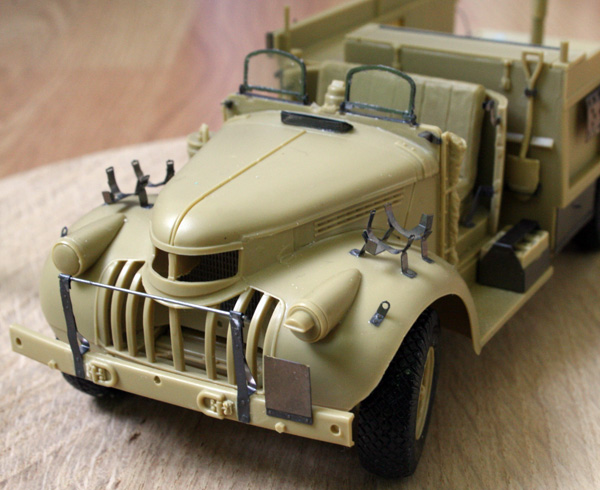
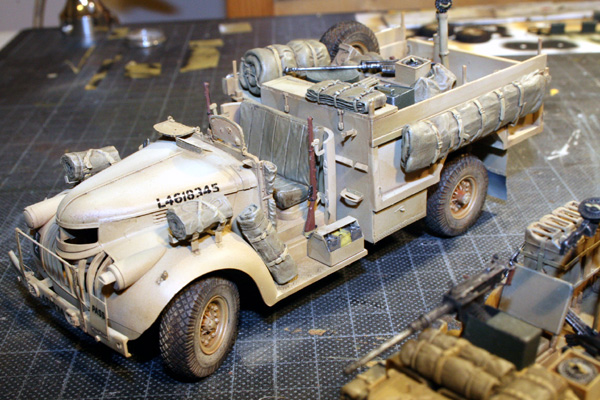
I realized the 30CWT was packed in 1976 ... almost as old as me, it was about time someone took it out of the dark and give it a better place to be displayed. So here we go, same treatment as the Willys:


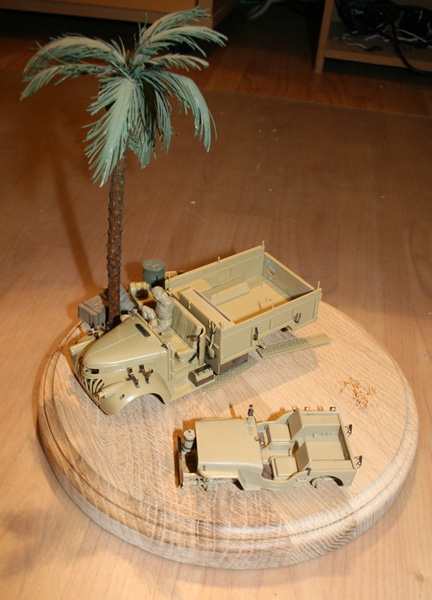
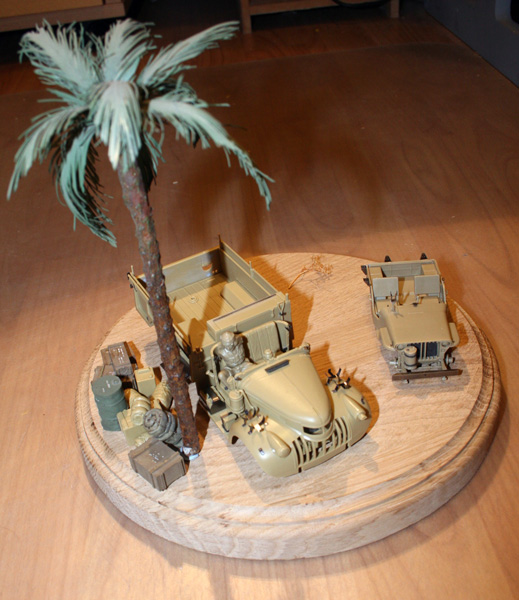
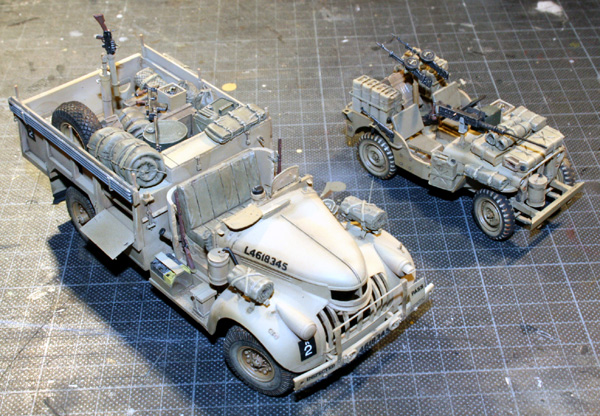
Trying the position of the vehicules on the small diorama:


Here's the scenario:
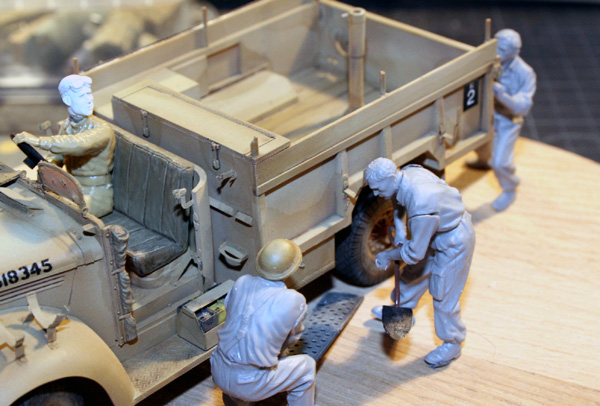
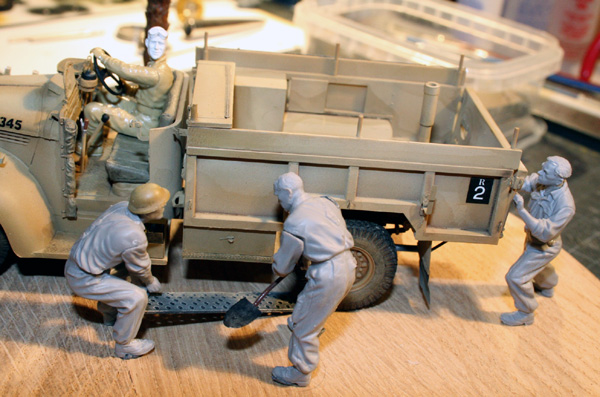
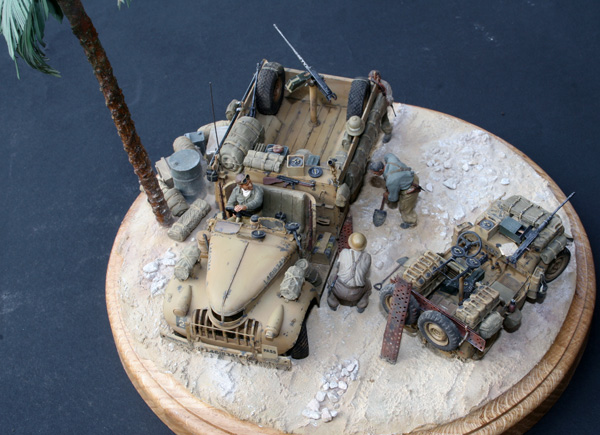
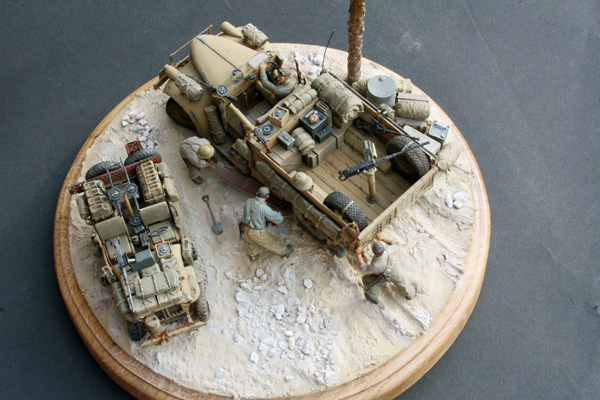
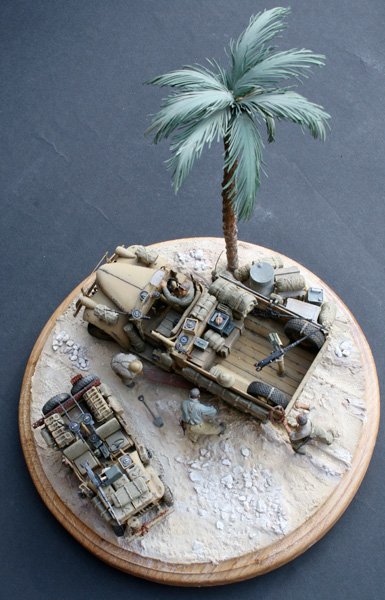
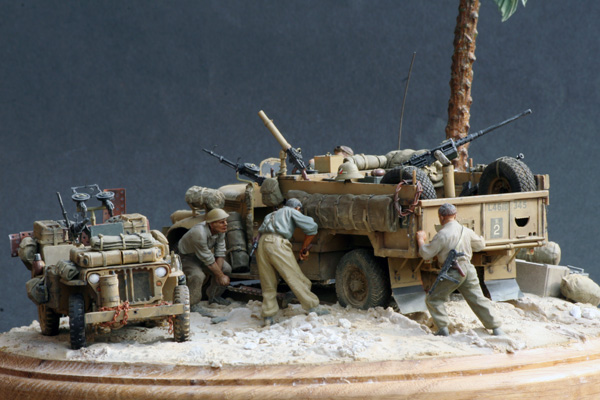
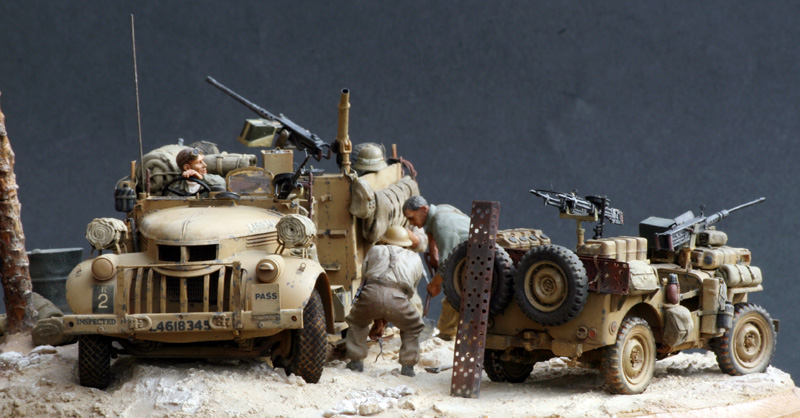
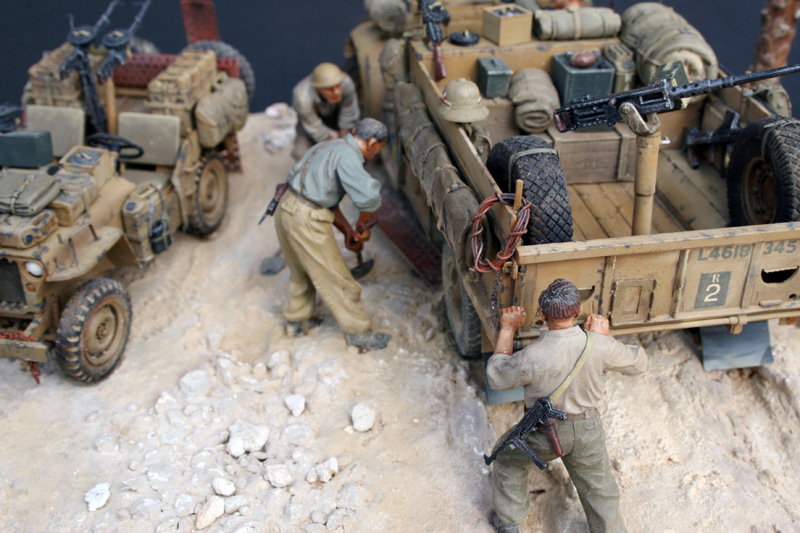
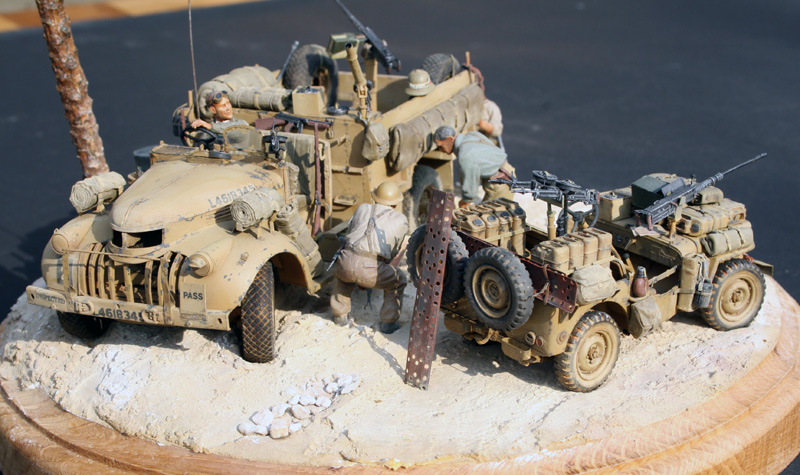
The chevy driver gor careless and stuck in the sand in a area where normally it shouldn't happen and the jeep came to the rescue. The truck was unloaded and the crew is trying to unstuck the CWT with the PSP plates.
One is at the wheel and probably 3 others will be around the truck, two pushing, one digging and placing the PSP. Well that's the idea... Now I really need to look for decent figures!

 
I have a bit of paint research dilemna ...
Apparently, there's a sensitive subject as far as the blue being used in British armor disruptive scheme in the MTO: The so called Blue Caunter scheme
Here's what I found googling:
Apparently, the 3 tone disruptive "caunter" scheme. The colours are clearly light sand, blue and green.  The colours that were actually used are light sand, light grey and slate grey.
This goes for ALL vehicles using the caunter scheme. The caunter scheme was, by the way, replaced in October 1941 (Before operation Crusader) by the 2 tone disruptive camo scheme.
The colours for these are Light Sand and Slate grey, but often different colours were used. A lot of tanks were also just fitted with a single light sand colour. The blue looks great IMHO but apparently may be an historic mistake (done also on some refurbishing armor now in museum)

I also found black and white photographs of the LRDG and we clearly see the 30 CWT camouflaged in 2 (maybe 3) tones but being B&W, I have no way to judge the colours
To illustrate the Caunter scheme:
 
The caunter scheme seems to be made of slate grey, silver grey and portland stone.
But both my vehicules will be painted in desert yellow and lightened with buff. :)
 
In the meantime, the chevy is assembled and both are ready for a long paint session during the coming week end.


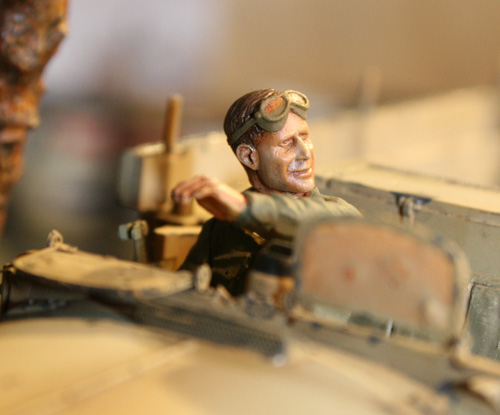
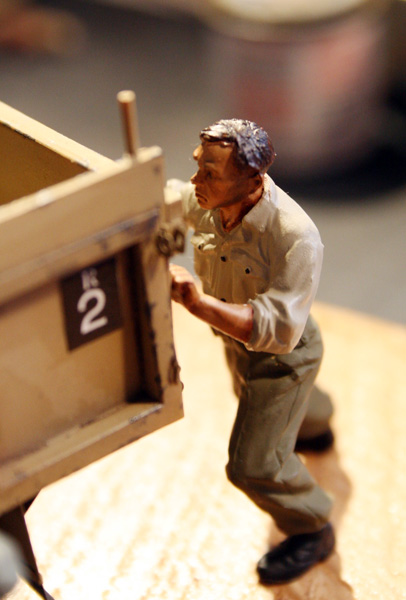
I found the figures I'll use. They are german tank crew at work from Miniart and their pose is exactly what I need. It will need only minor conversion to make those british but at least their general pose will be spot on for this project.
I'll probably change the pockets and update the heads, too bad they don't wear shorts but that will be it. One guy digging, one guy pushing, one guy placing the PSP:


Did some preshading with XF-64:


Then a coat of Tamiya desert yellow:


Next step, lightening up with Sesert yellow +white and buff:
 

Not finished yet, still some paint chipping and some more specific weathering to do but it starts to get life. The jeep is loaded not 100% decided on small details, and I still need to add some hanging bag and pouches

 
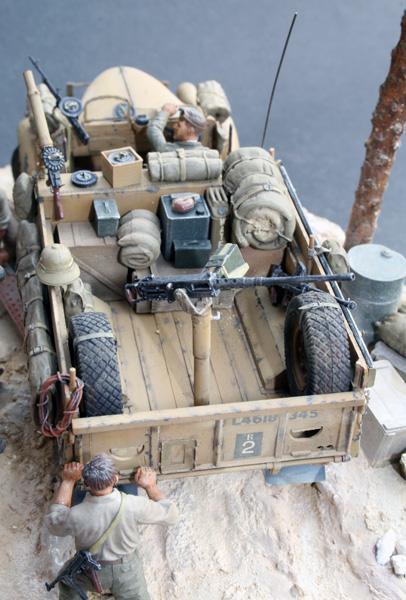
The chevy has been loaded to see if all that will be deposited on the ground can be loaded in the truck. I worked on the vinyl wheels to try a new technique which I feel gives very satisfactory results:
 

Also some more minor details needed here and there, I was concerned with the decals but gave it a go anyway.

Well, here's the idea for the figures assembled with blue tack
The driver, the digger, the pusher & well the guy struggling with the PSP:


I'm concerned with the driver's head - I don't have too many british headgear and the tamiya SAS heads aren't very fined moulded, so I'd prefer avoid using them.
The figures are painted, carnations are done with oil and clothes are done with Humbrol, they will get the oil treatment afterwards

 
I also chipped both vehicules, they are now ready for filters which I will try for the first time
 
 
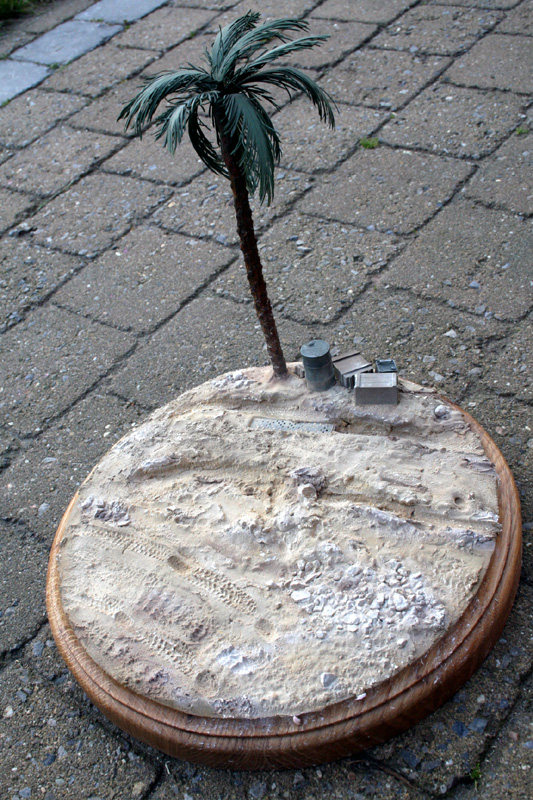
Basic work a little on the dio base.
 
The base was done with styrofoam, wall plaster, cat bricks then painted Desert yellow and lightened with Buff & white and finished with a darker wash and some mig pigments.
I tried to fix the pigment with thinner and even the Mig pigment fixer but couldn't reach the desired effect. it seems that when I put the brush with the fixer in, the pigment simply vanished.
And although using lighter pigments I ended up instead with a darker general shade because of the pigment fixer.

So after a day contemplating it, I decided to get my wife's pastels out of their hiding place (sshht, don't tell her) and applied lighter pastels on the groundwork.
Much better nuances now and I think I'm happy with the results 

 
Here it is finished then:


Figures were painted with Humbrols except for the carnations, washed with raw umber and drybrushed with oil yellow. then blended into the scene with Mig sand.
The chipping on the vehicule was done prior to the washes and I used humbrol 111 mainly. Washes were made with burnt sienna and raw umber, then Mig sand was used to blend the vehicules into the scene.
The vynil tires from tamiya surely teared as expected. I only used the spare tirein the back of the truck.
I changed the weapons on the chevy truck and added a lot of stuff from the scrap box.

It was a real nice build and a good change from stuff with wings with a lot of new technique tried.
I really enjoyed building this small diorama. It was completed in May 2008 and a present for an uncle who is an ex paratroop.